Radiohead songwriting tips can get heady and overly overcomplicated pretty damn , and “Creep” is the best place to cut through that; and i only realized that after y’all have been loving my lyric breakdown article of this exact song I did a while ago. The song is plain in the places where plainness actually contributes to the song’s vision, tense in the places where tension matters, and loud only when the arrangement has earned it.
If you want to know what to learn from Radiohead, start with how much room they leave in the whole track before the big hook drops. That space is the reason the chorus feels like it actually changes the song.
“Creep” still catches the attention of the massses since the production doesn’thide behind extra layers, nonstop movement, or studio tricks that pull attention away from the vocal. The track, even all these years later gives you a clean verse, an exposed lead, guitars that wait their turn, and one guitar interruption that still does a stupid amount of work.
That is the biggest lesson here i think espeically for newer producers: the session does not need to be filled just because the DAW has empty space. These Radiohead production tips aren’t so much about copying the exact vibes and much better used as reminders about contrast, vocal placement, guitar aggression, and knowing when to stop adding parts.
Couple things to note before we get into it – yes, the image above was made by AI but I think it’s silly so please forgive me. Second is that some of the links within this artilce are indeed affiliate links to plugin boutique!
Keep The Chords Plain Enough That The Vocal Has To Make The Point
The first thing I would take from “Creep” is how little the chord movement tries to impress you, it’s subtle and low key and unpina the rest of the track entirely. The progression gives Thom Yorke a steady place to sing from, and that puts all the pressure on the vocal instead of passing that job to the harmony. I think a lot of producers get nervous when a section feels that plain, so they start adding passing chords, extra pads, and little movements that make the session feel smarter on paper. Most of the time, that just makes the vocal less clear.
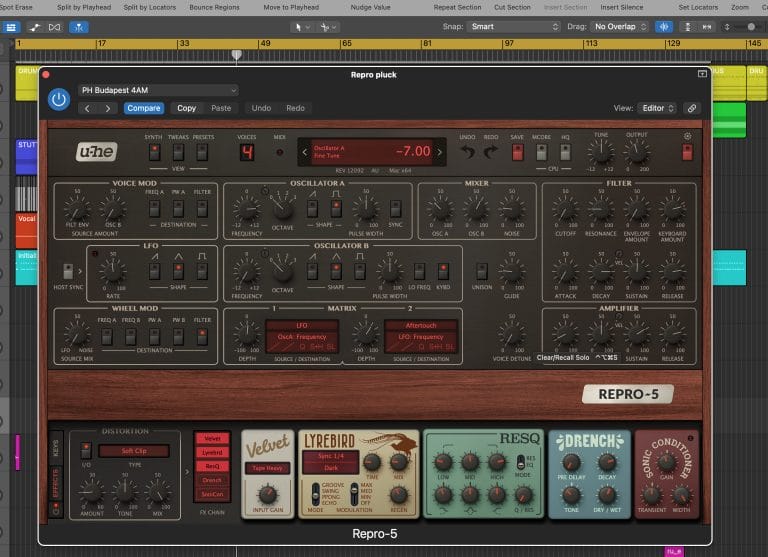
This is where I would reach for u-he Repro if I wanted a support layer under the guitars without turning the arrangement into something heavier than it needs to be. Keep it simple, maybe a Rhodes-style tone or a soft analog part that follows the chords and stays out of the lead’s way.
Make One Guitar Hit Do The Work Of Ten Transition Effects
The guitar interruption before the chorus is the move people remember so well cuz it feels like someone made a decision in the room. It is rude, clipped, and placed at the exact second where the song needs to stop being patient.
That kind of moment is hard to fake with a dope-AF riser or a unqiue FX sweep because the whole point is that it sounds physical. If I were producing a guitar track that needed this kind of lift, I would be searching for one ugly, committed accent instead of stacking five safe transitions.

Soundtoys Decapitator is the first thing I would grab for that.
I would duplicate the guitar hit, drive the copy harder than feels polite, filter out the parts that fight the vocal, and automate it so it only appears when the chorus needs that jolt. I talked about this in our Decapitator review, where the bigger point was that saturation works best when it has one clear job. Do not smear it across the whole guitar bus just because it sounds good soloed, use it for the moment that needs teeth, print it, and move on.

Let The Verse Stay Almost Too Small
The verse in “Creep” works because it doesn’t really try to setup the chorus before the chorus gets there.
The clean guitar has space, the vocal sits close, and the rhythm section keeps its head down long enough for the listener to sit with the lyric. I think this is one of the hardest habits to build inside a DAW because the second a section feels bare, the instinct is to add something. A lot of the time, that added part is really just the producer trying to feel useful.
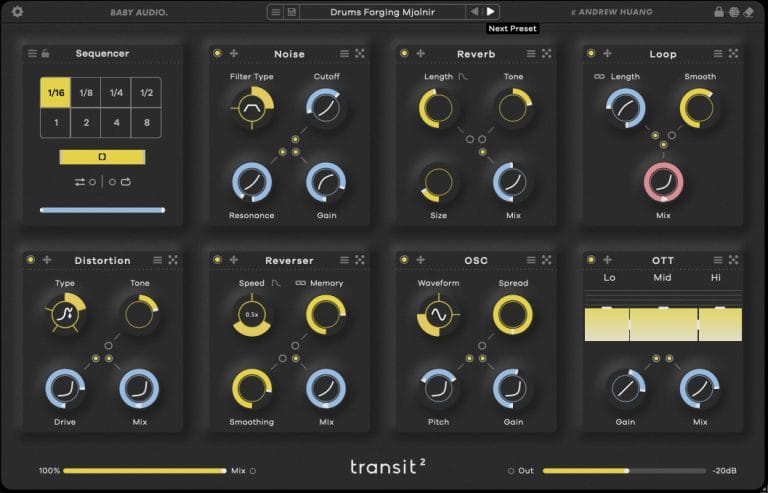
Baby Audio Transit 2 would be helpful here if you use it with a short leash. I would automate a little movement into the chorus, maybe a filter opening, a small stereo lift, or a light space change on a guitar send, then I would pull it back once the band arrives.
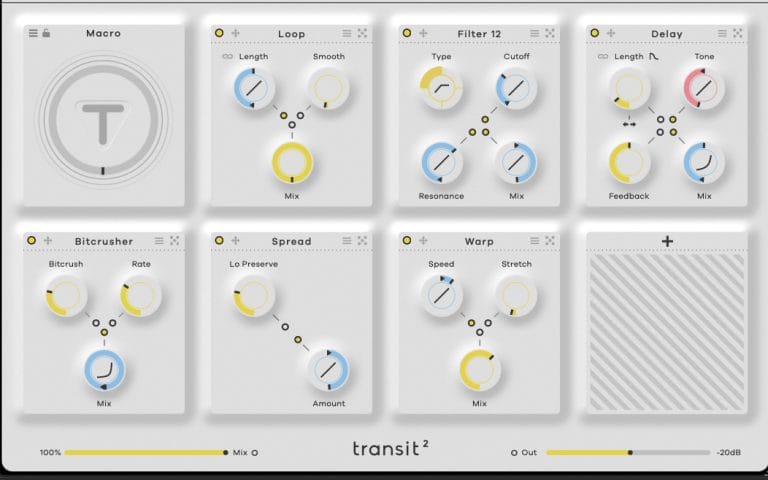
Transit can do a lot, so the decision has to come before the preset browsing. In a “Creep”-type arrangement, the transition should make the chorus feel bigger without making the listener focus on the effect itself.
Keep The Vocal Intimate And A Little* Uncomfortable
The vocal in “Creep” works because it feels close, exposed, and human. It does not sound like someone polished the take until all the awkwardness disappeared, which matters because the song depends on that discomfort. This is where modern vocal chains can get dangerous, because it is easy to tune, compress, brighten, de-ess, widen, and smooth a take until the singer sounds technically clean and emotionally less specific.
A vocal recording (or smaple if you’re aabout that splice life) this needs to be clear, yet it still needs to feel like a person is standing there with something hard to say.
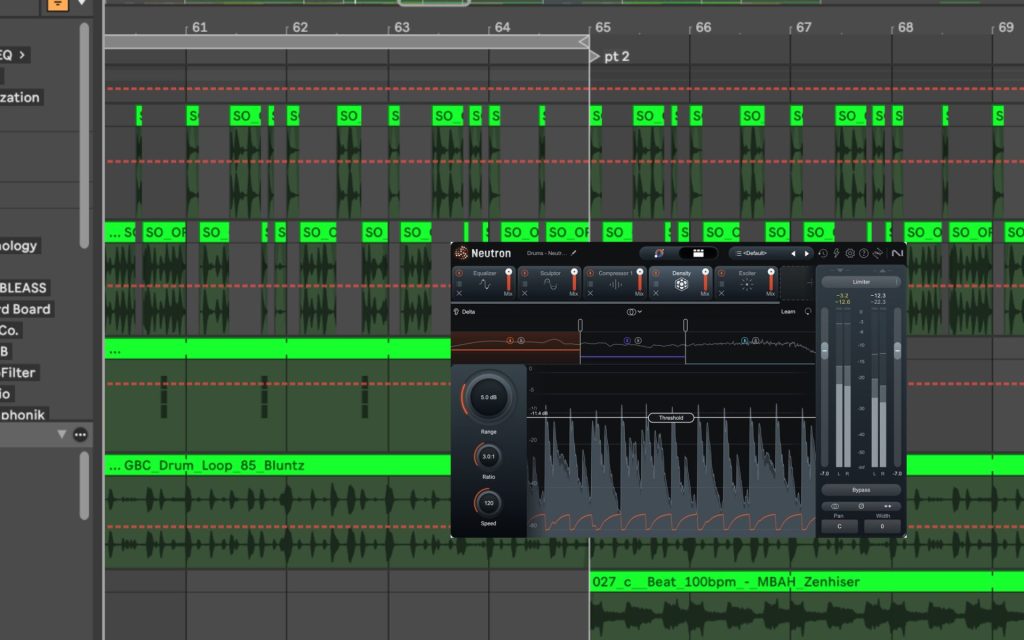
iZotope Neutron 5 is where I would go for practical control, not personality removal. I would use it for light EQ, measured compression, and a small amount of presence control, then I would stop before the vocal starts sounding too corrected.
This reminds me of my chat with bardz, where the point I kept coming back to was trusting the first honest idea before polishing it into something safer. Make the vocal readable, protect the feeling, and avoid turning the take into something less direct.
Use Width As A Section Change, Not A Default Setting

One thing “Creep” gets right is that the track does not feel wide from the first second. The verse has a center, the vocal has a fixed place, and the guitars wait until the chorus to open the track up. That sounds basic, yet it is one of the easiest ways to lose impact in a modern mix because producers spread each part too early. Width means less when the listener gets it from bar one.
Soundtoys MicroShift is the move I would make on a doubled chorus guitar, a background vocal, or a support layer that needs to feel wider once the bigger section arrives. I would keep the verse direct, then bring in the width when the chorus hits so the listener feels the change without needing to think about the processing.
I think about MicroShift the same way I think about a lot of Soundtoys tools: pick one job, automate it with intent, and do not make each layer sound impressive by itself. Keep the main vocal centered enough that the song still has a fixed point.
Keep The Bass Functional So The Guitars Can Get Messy
The bass in “Creep” is not trying to be the most interesting part of the record. It holds the progression, keeps the low end readable, and lets the guitars become the unstable element when the chorus opens. That divergence i think is pretty damn imporatnt because distorted guitars can make a track feel huge while filling the same low-mid area the bass needs. If the bass gets too fuzzy and the guitars get too thick at the same time, the chorus can sound louder without becoming clearer.
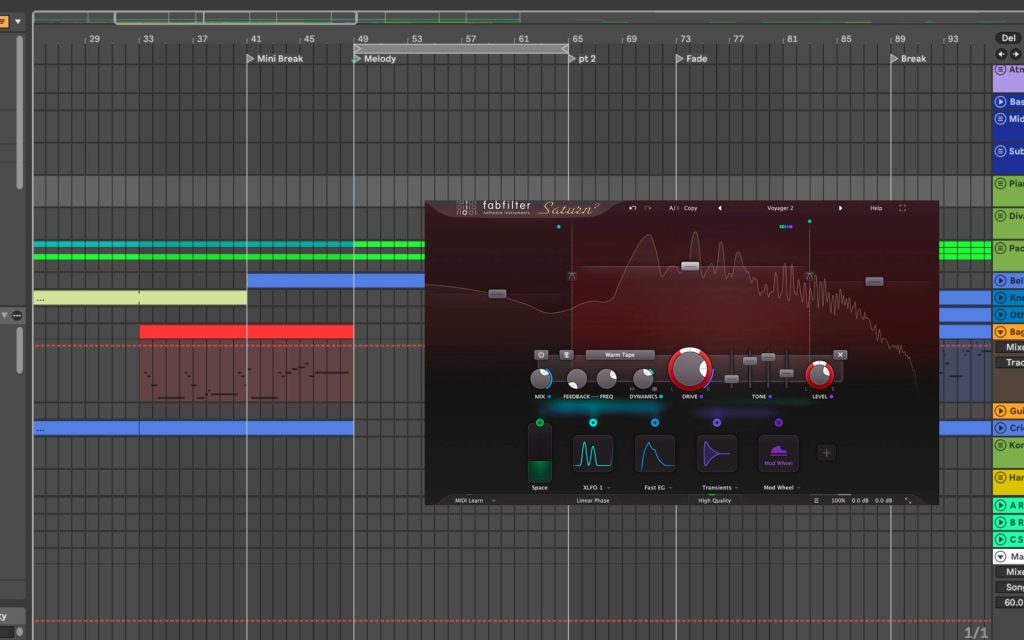
FabFilter Saturn 2 is the tool I would use to manage that balance.
I would start on the guitar bus, drive the midrange and upper harmonics, and leave the bass cleaner so the low end stays focused. I talked about this kind of thinking in our Saturn 2 review, especially around using saturation to shape a part inside the mix instead of just making it louder. Let the guitars take the damage, keep the bass grounded, and the chorus has a much better chance of holding together.
Let The Drums Support The Song Instead Of Explaining It
The drums in “Creep” understand their job and i think that’s more important than most artists and producers think about since they usually think “massive = gewd”.
They support the vocal in the verse, help the chorus feel larger, and avoid the kind of busy playing that would pull focus away from the guitar and lyric tension. This matters a lot when you are programming or editing drums in a modern session because the kit can get overworked fast. If the lyric and guitars already create the pressure, the drums do not need to keep proving the point.
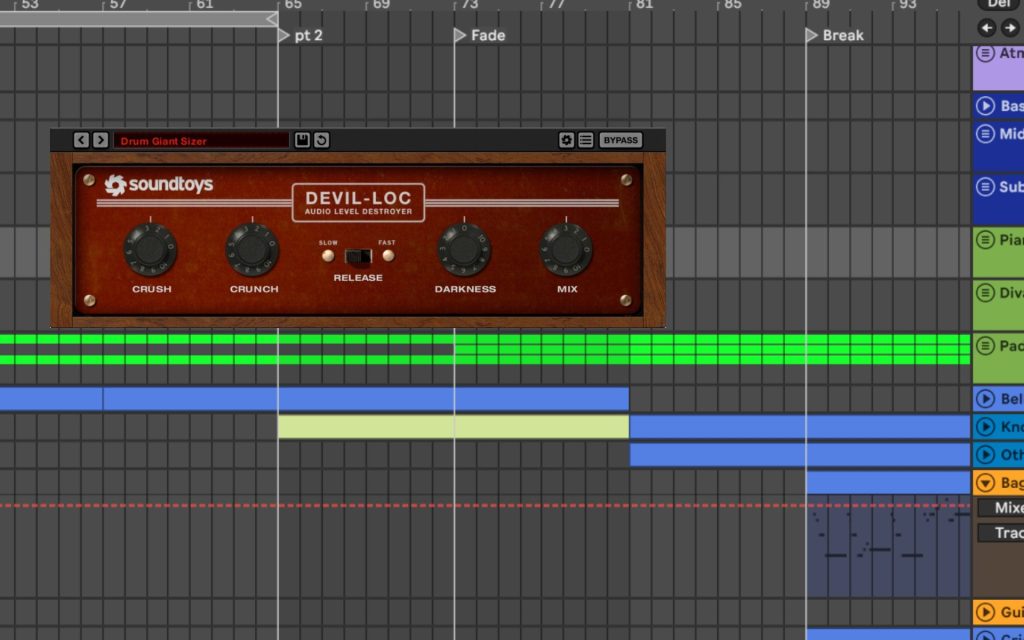
Soundtoys Devil-Loc Deluxe is where I would go for a controlled chorus lift, not as the main drum sound, but as a parallel layer. Blend it under the kit, let it add pressure when the guitars open up, then pull it back down when the verse returns. This reminds me of my conversation with Andrew Emil, where we talked about long studio sessions and the need to take real breaks so your ears do not start making bad calls for you.
If the drums start feeling small after hours of listening, the answer might be one focused parallel move, not another round of processing across the whole kit.
Control Harshness Without Making The Guitars Polite
The chorus guitars in “Creep” need to feel abrasive. That is part of the song’s emotional logic, and cleaning them until they sound polite would remove the reason the part works. The trick is knowing the difference between useful bite and harsh resonance. One helps the chorus feel urgent, and the other makes the listener turn the song down.
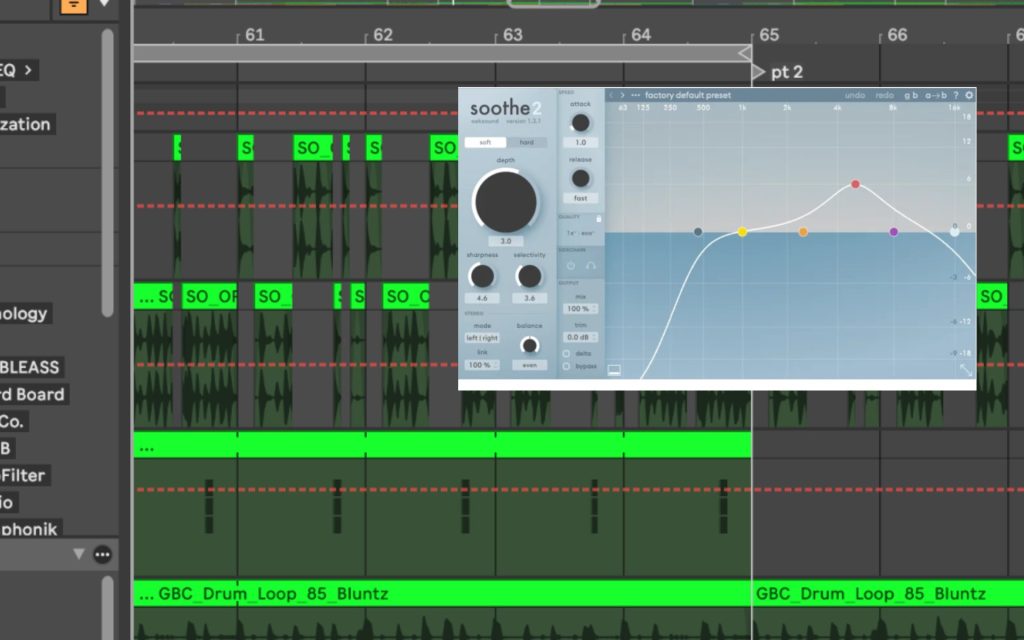
oeksound soothe2 is the tool I would use lightly on the guitar bus once the tone already feels right. I would not use it to redesign the guitar sound, I would use it to catch the worst upper-mid spikes so the aggression stays usable in the full mix.
This reminds me of my chat with Carlo, where Soothe2 came up as a way to control harsh frequencies and reduce masking after the mix already had its shape. Get the painful parts under control, then let the guitars stay rough enough to do their job.
Use Reverb To Place The Band, Not To Hide The Performance
“Creep” is a useful reminder that reverb does not need to announce itself all the time. The vocal still feels close, the guitars keep their attack, and the band feels like it exists in a room without getting buried under a long tail. I think producers often reach for big reverbs when they are unsure about a part, and that usually pushes the problem farther back instead of fixing it. A song this direct needs space, yet it also needs the listener to feel like the singer is right in front of them.

Eventide Blackhole is where I would go if I wanted one larger space to appear at a key moment.
Maybe it is a vocal throw before the chorus, a guitar swell, or a background layer that opens the section without pushing the lead away. That is something I pulled from my chat with QRTR, where we talked about using ambience as a production decision instead of treating reverb like a default wash. Keep the main performance close, then bring in the larger space when the arrangement actually asks for it.
Leave Holes In The Arrangement So The Lyric Can Actually Work
The lyric in “Creep” is direct, so the arrangement has to leave room for that directness to register. If too many parts move underneath the vocal, the listener starts tracking the production instead of the line. This is where producers need to be less precious about their favorite small parts, because a guitar layer, synth part, or background texture can sound good alone and still be wrong for the section. The real question is simple: does the vocal feel clearer when the part is muted?
FabFilter Pro-Q 4 is the cleanup tool I would use across guitars, bass, and support layers, although I would pair it with actual arrangement discipline. EQ can help parts sit together, yet it cannot fix a section that has too much information fighting for the same space.
This reminds me of my chat with Dante, where one of the most useful points was leaving space in the mix and trusting the feeling when something already works. In a song built like “Creep,” I would rather remove one part entirely than spend half an hour carving it into a place it does not need to occupy.
Let The Track Feel Like People Played It
The biggest production takaway from “Creep” is that the record still feels like a band. The guitars have personality, the vocal feels exposed, the section changes feel performed, and the track does not come across like it was corrected until all the human movement disappeared.
That is hard to protect when you are producing inside a DAW because you can fix almost anything once it is recorded. The danger is that you start fixing the life out of the session without noticing.
Soundtoys EchoBoy is the kind of tool I would use quietly here, mostly as a glue detail instead of an obvious delay effect. A short slap on the vocal, a low timed repeat on a guitar phrase, or a barely audible delay tucked under a section can make the track feel connected without making the mix busier.
This reminds me of the How It Was Made feature I did with Tiago Dima (biased here cause i made this damn track with him), where the bigger lesson was returning to tools that keep you working by ear instead of staring at the screen and trying to solve the song visually. EchoBoy is good for that because it gives you tone and timing quickly, and in a “Creep”-style track I would use it to support the take rather than decorate it.
Will Vance is a professional music producer who has been involved in the industry for the better part of a decade and has been the managing editor at Magnetic Magazine since mid-2022. In that time period, he has published thousands of articles on music production, industry think pieces and educational articles about the music industry. Over the last decade as a professional music producer, Will Vance has also ran multiple successful and highly respected record labels in the industry, including Where The Heart Is Records as well as having launched a new label with a focus on community through Magnetic Magazine. When not running these labels or producing his own music, Vance is likely writing for other top industry sites like Waves or the Hyperbits Masterclass or working on his upcoming book on mindfulness in music production. On the rare chance he's not thinking about music production, he's probably running a game of Dungeons and Dragons with his friends which he has been the dungeon master for for many years.