Is it too late for a Soundtoys Decapitator review and spew out my thoughts on this GOAT’d plugin!? I 10000% don’t think so, because there are certain plugins that keep finding their way into producer sessions year after year, and Soundtoys Decapitator is one of those tools that I have seen come up again and again while putting together our How It Was Made series, and it’s no wonder why I put it in our list of the best saturation plugins of all time as far back as 2023.
It shows up on basslines, drum groups, vocals, synths, piano parts, acid lines, recorded instruments, and all sorts of weird little texture layers that producers need to push forward in a mix. After seeing that pattern recur across so many different records, styles, and workflows, I wanted to take a fresh look at it in 2026 rather than treating it like one of those older plugins everyone already knows about.
Because that is the thing with Decapitator, which you can check out here while supporting Magetic through our affiliate partnership with Plugin Boutique.
It has been around damn near long enough that it is easy to assume the conversation has already been had, and to a certain extent it probably has… but I like yapping about this type of stuff, and I want to add my own thoughts to the convo
A lot of producers know the name, a lot of studios already have it installed, and a lot of people probably reach for it on autopilot. That can make it feel less exciting than a newer saturation plugin with a bigger interface, deeper modulation, multiband routing, or a list of modern workflow features.
Still, after looking at how often it comes up in real producer sessions, I think that familiarity is actually part of the point.
Decapitator still gets used because it is fast, direct, and extremely good at solving a common problem. Clean digital sounds can feel too flat in a finished production, even when the writing, arrangement, and mixing choices are all heading in the right direction. A bass can have enough sub and still lack midrange information. A drum group can be balanced and still feel too polite. A lead can be loud enough and still fail to sit in front of the mix.
Decapitator helps with all of that by adding harmonic content, grit, density, and tone without forcing you to rebuild the whole chain.
The main thing I have taken from seeing so many producers talk about it is that Decapitator works best when it has a specific job. It does not need to go on every channel, and it usually should not. It shines when you identify the part of the record that needs extra push, then use the plugin to help that sound read better in context. That might be a lead synth, a Moog bass, a kick, a vocal, a piano, or a parallel drum chain.
The point is to use it as a tone decision, not as a default insert.
What Decapitator Does So Damn Well
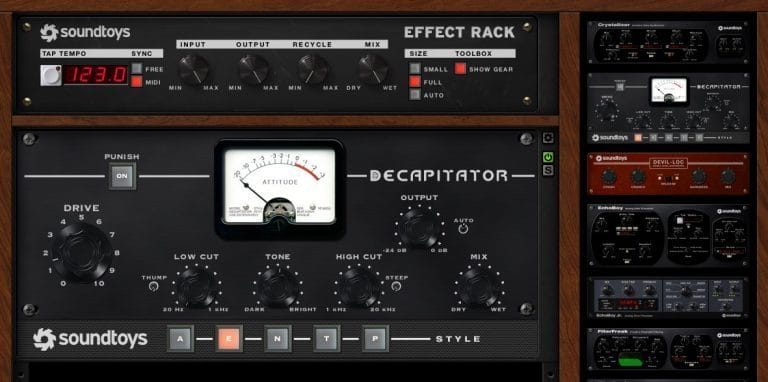
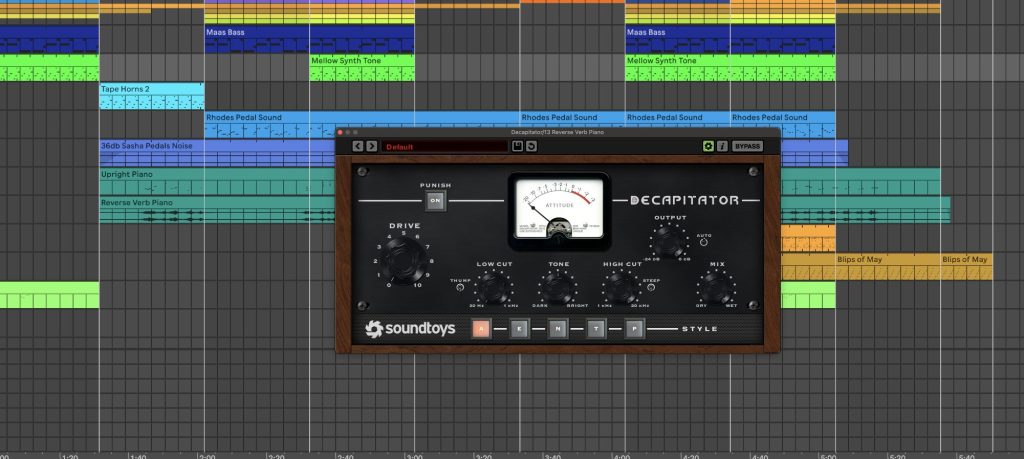
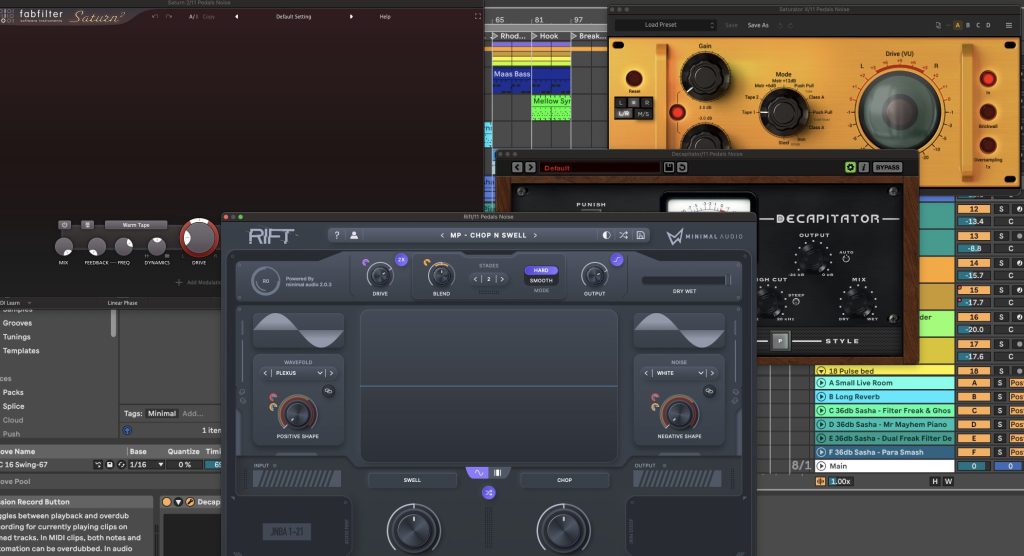
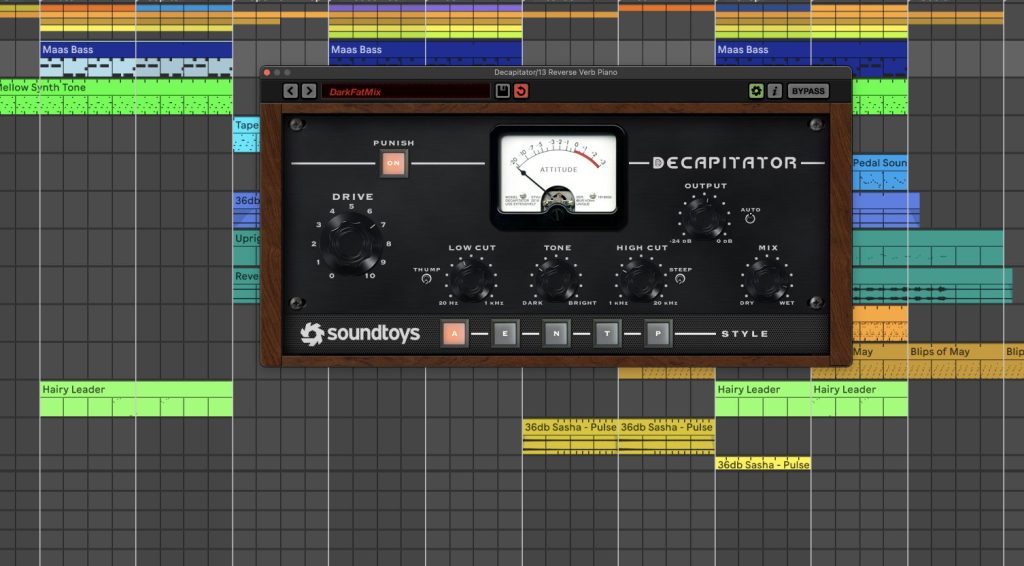
Decapitator is a saturation and distortion plugin built around five analog-style modes,which is where this really starts to come into its own if you’re looking for that “expensive” analog sound, with Drive as the main control. You choose a model, push the input until the sound starts to react, adjust the Tone control, and use the Mix knob to blend the processed sound with the dry signal.
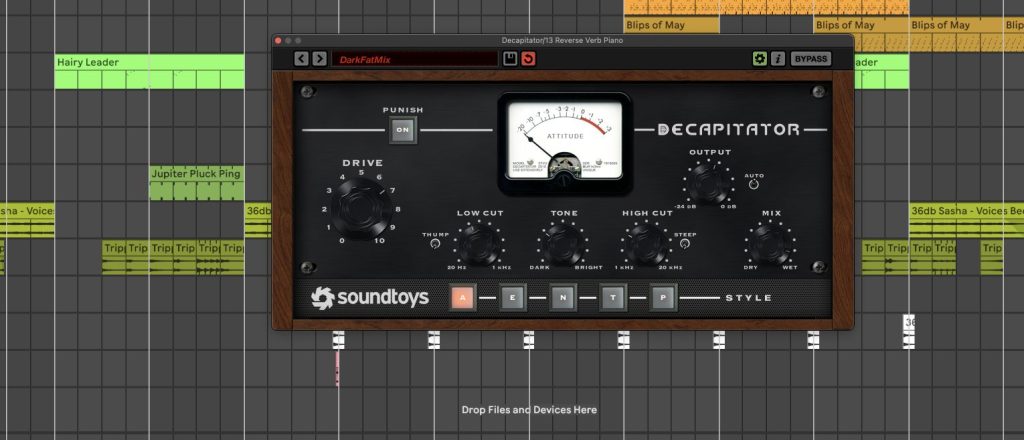
There is also the Punish button, which pushes the effect much harder and is usually best for sound design, resampling, parallel chains, or moments where you want the distortion to become part of the sound itself.
That simple layout is a big reason why I think Decapitator still holds up so damn well. So many newer plugins offer far deeper control, which can be useful, yet there is real value in a tool that gets you to a usable result quickly. With Decapitator, I am rarely looking at the interface for long. I am turning Drive, checking the modes, adjusting Tone, pulling back Mix, and moving on once the part starts working better in the record.
The biggest thing it does is add perceived level and presence without needing to raise the fader as much.
That matters because volume is not always the answer. Sometimes a part is loud enough, yet it lacks sufficient harmonic information to cut through the rest of the production. Saturation can help the ear find that part in the mix because it creates additional frequency content around the original signal.
That is especially useful for bass. A sub-heavy bass can sound big in the studio and then disappear on smaller playback systems. Add the right amount of Decapitator and the bass starts to speak through the mids without losing the low-end foundation. This is one of the places where the plugin still feels incredibly practical. It helps basslines translate on earbuds, laptop speakers, small monitors, and larger systems without making you rely only on sub energy.
It also works well on drums when the source material feels too clean.
A kick can get a little extra bite, a snare can get additional body, and a full drum group can feel less sterile with the right parallel chain underneath it. I usually like it better in parallel for full drum groups because it gives me control over how much of that grit makes it back into the clean signal. On individual drum hits, I will push it harder if the part needs to feel rougher or less polished.
On synths, Decapitator is usually all about focus. If I have a lead that feels right melodically yet feels too soft in the production, I would rather try a small amount of saturation before stacking another layer. Extra layers can solve the problem, yet they can also create new issues with phase, masking, and arrangement clutter.
Decapitator can make the original sound feel finished enough to stay as a single part, which is often the cleaner move.
Why Every Producer I Know Uses It
One reason I wanted to revisit Decapitator is that the same themes kept showing up in How It Was Made features but I only just now realized that we hadn’t ever really done out own deep dive into the plugin. Producers were using it to add body, presence, edge, distortion, bass translation, and mix density. That is a wide range of uses, yet the common thread is simple: they were using it to make important sounds feel less flat.
One of the best takeaways is how often producers use it lightly. It is tempting to think of Decapitator as an aggressive distortion plugin because it absolutely can do that, especially with Punish engaged. In practice, a lot of the best uses are subtle. A small amount of Drive on a lead, bass, vocal, or piano can be enough to make the part feel complete.
I like that approach because it lines up with how I usually use it in my own sessions.
I am rarely trying to make the listener hear Decapitator specifically. I am trying to make the bass feel present, the lead feel focused, the drums feel less static, or the vocal feel a little closer. The goal is usually not distortion as an obvious effect. The goal is a part that sits better once the full arrangement is playing.
The E mode is one of my favorite parts of the plugin for this reason. It can add a sense of top-end presence that feels different from a standard EQ lift. An EQ boost raises what is already there, while saturation generates extra harmonic content, which can make the upper range feel clearer without the same brittle edge that can happen when you simply boost highs. On vocals, leads, and synth parts, that can be very useful.
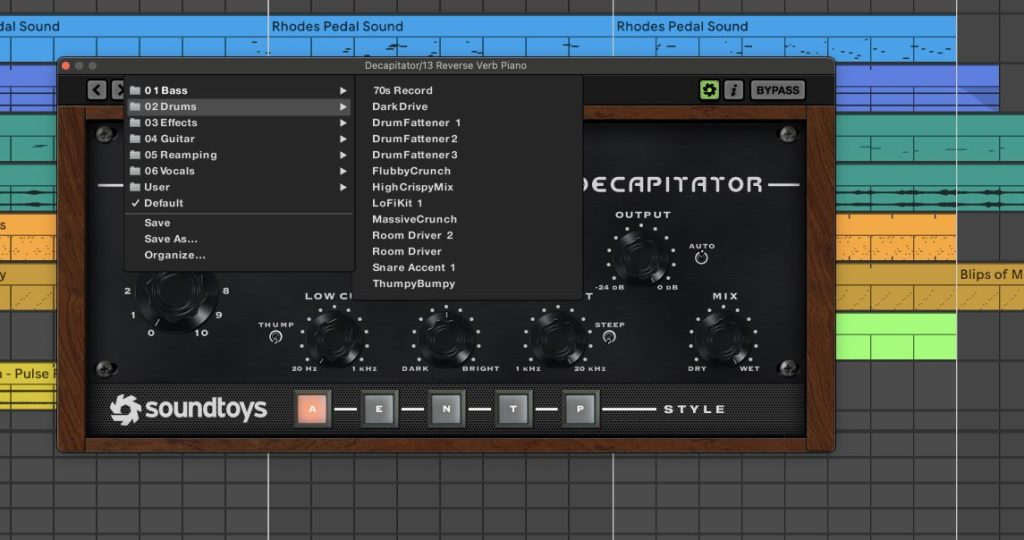
Another recurring lesson is that preset names should be treated as starting points, not fixed categories by any step or measure. A bass preset can work on a synth. A guitar setting can work on a vocal. A drum preset can work on a percussive sample or a piano layer. The source does not have to match the label. What matters is the way the setting reacts to the sound in front of you.
That is where Decapitator still feels fun. It is simple enough to move quickly, yet it reacts differently enough from mode to mode that you can find useful tones by clicking around and listening. I do not need a large visual analyzer or ten modulation lanes to know whether it is doing the right thing. If the sound gains focus and still leaves room for the rest of the mix, the setting is working.
How I Myself Use Soundtoy’s Saturator
My main uses for Decapitator are bass, drums, synth leads, vocals, and parallel texture chains.
I do not use it on everything, and I think that restraint is important. If every channel is heavily saturated, the mix can lose contrast quickly. Low mids start building up, upper mids can get crowded, and the whole track can feel smaller even though every individual part sounds exciting on its own.
On bass, I usually start by asking what the bass is missing. If it has sub but no midrange, I use Decapitator to create harmonics that help the line read on smaller speakers. If it already has enough midrange, I will be much gentler and use the Mix knob to tuck the saturation in. I often drive the plugin slightly past where I think it should be, then pull back the Mix until the bass feels present without sounding obviously distorted.
On acid lines, I am usually willing to push it harder.
Those parts take grit well because the movement and resonance already have a bit of bite.
Decapitator can bring out that attitude and help the pattern feel less polite. I still watch the top end carefully because acid parts can get sharp quickly, especially if there is already resonance or filter movement happening before the plugin.
On drums, I prefer parallel processing. I will send a kick, percussion group, or full drum bus into Decapitator, darken the Tone control if the top gets too abrasive, then blend it underneath the clean drums. This gives the group density without flattening all the transient detail. It is an easy way to make a loop feel less like a loop and closer to a finished drum section.
On piano and softer melodic parts, I use Decapitator when the part serves the right musical role but lacks sufficient presence to survive in the full arrangement. A felt piano, muted chord part, or quiet melodic phrase can sound great alone and then vanish once the track fills out.
A low Mix setting can add some grain and midrange information while keeping the performance intact.

On vocals, I am careful. Decapitator can make a vocal feel closer and give it presence, yet it can also bring out mouth noise, harsh consonants, and sharp upper mids. I usually clean the vocal first, handle harsh resonances, then use Decapitator as a tone stage.
The Mix knob is the safety net here. Full wet vocal saturation is rarely where I end up unless I am making an obvious effect.
Where It Fits Against Newer Saturation Plugins
There are plenty of newer saturation plugins that offer deeper control than Decapitator. Some give you multiband processing, better visual feedback, oversampling controls, modulation, mid-side options, and cleaner gain staging. I use tools like that too, and there are times when I want that extra detail.
That said, Decapitator still wins when I want to make a quick tone decision. It does not ask me to design a saturation system. It gives me a few modes, a Drive knob, a Tone control, a Mix knob, and the option to go too far if I want to. That limited feature set is part of why it remains useful. It keeps the decision moving.
The plugin is also very easy to commit. I can put it on a bass, find the setting, print the result, and keep writing. That matters because endless tweakability can slow down a session. Decapitator encourages a producer to listen, make a call, and move forward.
That is a big reason I think it still belongs in the producer zeitgeist in 2026. The value is not that it has the largest feature list. The value is that it gives you reliable color fast. It does the kind of job producers need every day, especially in electronic music, where so many core sounds begin as clean digital sources.
Where Decapitator Can Get You Into Trouble
The biggest mistake with Decapitator is pushing it too hard in solo. Almost every saturation move sounds better when you listen to a single channel. The real test is whether the sound still works once the whole mix comes back in. If the part gets exciting alone and then crowds the record, the setting is too heavy.
Another issue is stacking it across too many tracks. One Decapitator instance can add character. Ten heavy Decapitator instances can turn the mix into a midrange traffic jam. I like choosing a few key elements that need the color, then leaving other sounds cleaner so the contrast remains intact.
The Punish button is another one to treat carefully. It can be great for resampling, effects, transitions, and aggressive parallel chains. For normal mix duties, it usually needs a very low blend or additional cleanup afterward. It is fun, yet it is easy to overdo.
The Tone control also matters a lot.
Bright saturation can get harsh quickly, especially on vocals, acid lines, cymbals, and already-bright synths. If a source has a sharp frequency problem before Decapitator, the plugin may make that problem easier to hear. I would rather clean the issue first, then use Decapitator to add tone once the source is under control.
Final Thoughts
Soundtoys Decapitator still holds up in 2026 because it solves some of the biggest problems in a mix and in sound design quickly.
It helps basslines read better. It gives drums density. It can make leads feel finished. It can add edge to acid lines, presence to vocals, and texture to piano or recorded material. It can be subtle enough for mix work or aggressive enough for sound design, and that range is a big part of why producers keep using it.
I also think its age works in its favor compared to many other plugins available to us these days. A plugin does not stay in sessions this long by accident. Producers keep using Decapitator because it gives reliable results without slowing the process down. It may not have the deepest feature set compared with newer saturation tools, yet it still does its core job extremely well.
For me, Decapitator is best treated as a tone-shaping tool for important sounds. Put it on the parts that need focus, grip, body, or harmonic content. Use the Mix knob often. Do not judge the setting in solo for too long. Bypass it in the full mix and ask whether the part lost something useful when the plugin is turned off.
Will Vance is a professional music producer who has been involved in the industry for the better part of a decade and has been the managing editor at Magnetic Magazine since mid-2022. In that time period, he has published thousands of articles on music production, industry think pieces and educational articles about the music industry. Over the last decade as a professional music producer, Will Vance has also ran multiple successful and highly respected record labels in the industry, including Where The Heart Is Records as well as having launched a new label with a focus on community through Magnetic Magazine. When not running these labels or producing his own music, Vance is likely writing for other top industry sites like Waves or the Hyperbits Masterclass or working on his upcoming book on mindfulness in music production. On the rare chance he's not thinking about music production, he's probably running a game of Dungeons and Dragons with his friends which he has been the dungeon master for for many years.