Italian producer Roel has built his sound around disco, funk and soul, bringing those influences into house releases on Soulfuric Recordings, Groove Culture Music and Low Trax. His latest release on the latter sees him collaborate with label founder Low Steppa on “Dreamliner”, a track that began as Roel’s demo before the pair developed it together.
In this edition of How It Was Made Roel takes us through the production, from the small rhythmic edits that give the sample its movement to the guitar effects and sidechain choices that help the finished track come together.
Main plugin: Glitch 2
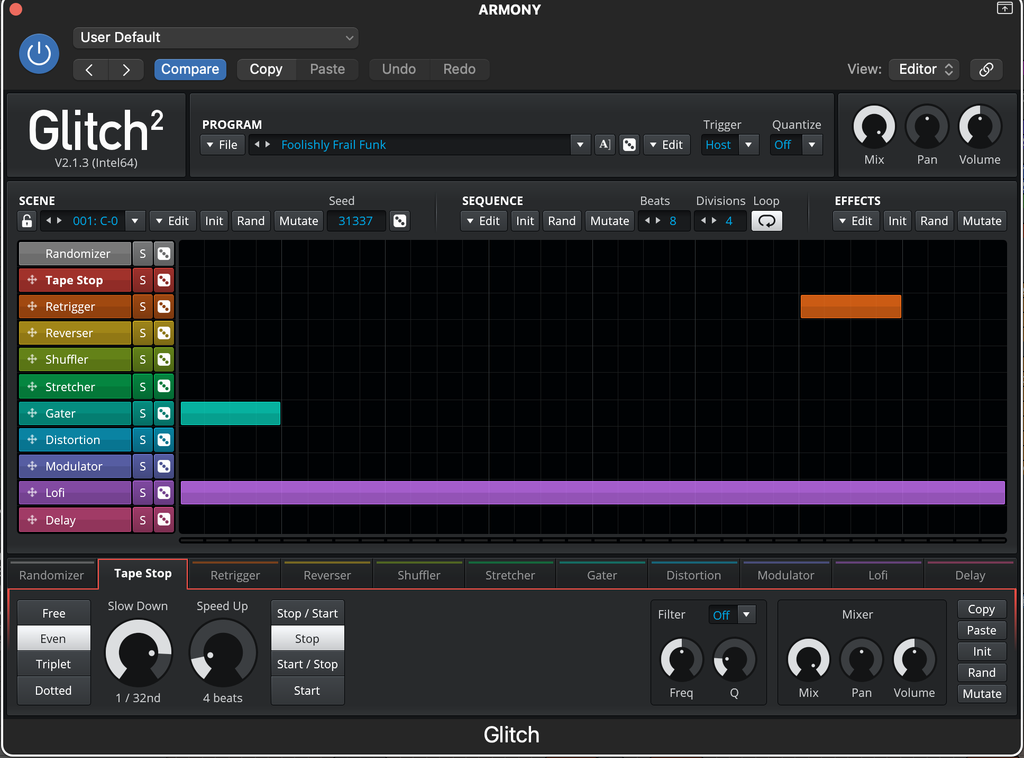
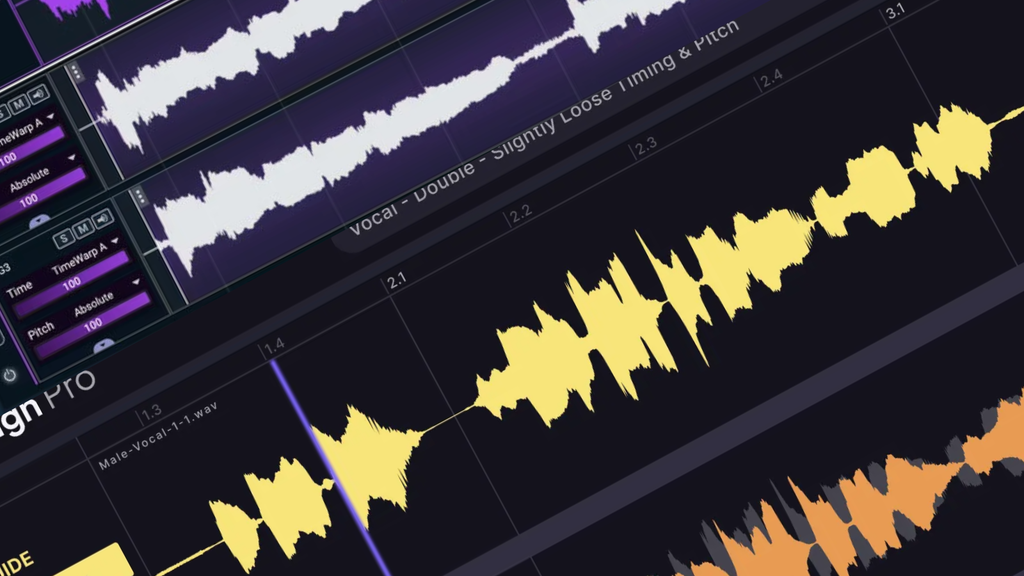
Glitch 2 is a multi-effect plugin that gives you a lot of freedom to get creative with the way you process sounds. You can combine different effects, create your own patterns and shape them in different ways, which makes it really useful for creating unusual rhythmic and textural effects. You can also control things like the mix, pan, volume and filtering, so there’s a lot of room to shape the final result. It’s one of those plugins I keep coming back to because you can approach it differently every time.
For this track, I used Glitch 2 three times in the chain to create some of the effects that became part of the character of the sample. On the first instance, I used a constant lo-fi effect to add a crunchy texture above 17 kHz, together with a Gater at the beginning and a Retrigger at the end to create a repetition effect. On the second instance, I used another Retrigger to create a second repetition in the middle of the bar. On the third one, I combined Retrigger and very fast Tape Stop effects at different positions in the pattern, which helped me create small variations throughout the sample. I also automated the overall output mix throughout the track, bringing the effect in and out at different moments rather than having it constantly active.
My main advice would be not to use Glitch 2 just to make an obvious glitch effect. I find it much more interesting when you use small, carefully placed variations to make a sample feel more alive without changing its character. Try moving the effects around the pattern and experimenting with short repetitions, stops or rhythmic changes rather than processing the whole sound in the same way. I also like playing with the mix of each individual effect to have more control over how they interact, and automating the overall output mix to bring the effect in and out at different moments. In house music, those small details can make a loop feel much more dynamic while still keeping the groove intact.
Creative plugin: Unison Zen Master

Unison Zen Master is a free creative plugin that gives you several different ways to reshape and color a sound. It combines effects that can add things like chorus, subtle pitch movement, a crunchy lo-fi character, vinyl texture and reverb, giving you different ways to change the character of a sound. I particularly like the way some of its effects can introduce small pitch variations, which can make a sound feel warmer and more organic rather than perfectly static. It’s a simple plugin, but it can be really useful when you want to give a sound a different character without completely changing its identity.
I mainly used Zen Master on the sounds where I wanted to add a warmer and more organic character. I tend to use Hypnosis and Imbalance to introduce subtle movement, with things like pitch drifting and chorus making the sound feel less static and more alive. I don’t like to push these effects too hard; I usually use them just enough to give the sound a little bit of natural movement and take away some of that overly digital feeling. That’s what I did on this track as well. It’s a small touch, but I find that using it subtly can make a big difference in how a sound feels within the track.
My advice would be to use Zen Master subtly, but also to experiment with it in creative ways rather than thinking of it only as a way to make sounds feel more analog. A little bit of pitch drifting, chorus or imbalance can be enough to give a sound more movement and make it feel less digital. You can also use it for more specific purposes; for example, I’ve used it on drum tops to soften the high frequencies and give them a smoother character. I’d recommend experimenting with the different effects and amounts, because sometimes using a plugin in a way it wasn’t necessarily designed for can give you some really interesting results.
Mixing / creative plugin: Kickstart 2

Kickstart is a sidechain plugin designed to create that classic pumping effect by automatically shaping the volume of a sound in relation to the kick. It uses different volume curves to control how the sound moves around the kick, giving you a quick and easy way to create space and movement. You can adjust the amount of the effect and choose different shapes depending on the kind of pumping you’re looking for. It’s a very simple tool, but it can be useful for both mixing and creative purposes.
I mainly use Kickstart on samples to give them more movement. The pumping effect makes the sample feel more groovy and helps it sit naturally within the rhythm, and I used the same approach on Dreamliner. I also used it to manage the relationship between the kick and the bass, using the classic sidechain effect on the bass while also shaping the tail of the kick with the curve, so I could find the right balance between the two. For me, it’s not just about creating space, but also about making sure the kick and bass work together as part of the groove.
My advice would be to experiment with sidechain as a creative tool rather than using it only to solve mixing problems. Try putting it on samples, loops or other elements and listen to how the pumping changes their relationship with the groove. I also like experimenting with different curves and amounts, because even small changes can make a sound move in a completely different way. At the same time, it’s important not to overdo it: the sidechain should support the groove and the relationship between the elements, rather than becoming the main thing you hear.
Creative plugin: Fuzz-Wah

The Fuzz-Wah is one of Logic Pro’s stock effects, and it’s essentially a Wah effect that lets you shape the movement and character of the filter in different ways. You can control parameters such as attack, release, depth, Wah level and Q, as well as the frequency range where the effect operates. There are also different Wah modes, from more classic and vintage-style options to more modern ones, as well as resonant low-pass and high-pass settings. You can also automate its movement using Logic’s modulation tools, which gives you a lot of control over how the effect opens and closes over time.
For Dreamliner, I mainly used the Wah on the guitar, which complements the sample and adds another layer of groove to the track. I wanted to give the guitar that classic wah character to make the whole part feel more funky and dynamic. I used the “Modern Wah” mode with the Depth around 4.1, and I kept the frequency range quite low so that the effect would focus more on the lower frequencies rather than the highs. This gave the Wah a smoother entrance and made it blend more naturally with the guitar instead of sounding too sharp or aggressive.
My advice would be to use the Wah creatively, but not overdo it. Depending on the mode and settings you choose, it can change the character of a sound quite noticeably, so it’s important to make sure the effect actually works with the rest of the track. Sometimes you can hear a Wah effect and think, ‘Wow, that sounds cool,’ but it might not necessarily fit the groove or the mix. I also recommend automating the frequency range to create those rising and falling movements, similar to the way a guitarist would physically engage and move a Wah pedal. If you’re working in Logic, you can also use the modulation tools to automate the Wah parameters and explore more creative ways of using it. The key is to use it just enough, stay focused on the feeling of the track, and find a way to make the effect work with your own creative idea rather than using it just because it sounds interesting on its own.
Quick-fire tips for making this genre
1. “Start With The Sample”
Start with a sample that already has the kind of feeling you’re looking for. For disco, funk and soulful house, I like to begin with the harmony and the overall vibe of the sample, then resample or replay parts of it to create something more personal. The goal is not just to use the sample as it is, but to take the musical idea behind it and reshape it into something that feels like your own.
2. “Think Like You’re Building A Band”
Once you have the right sample, think about what other instruments could bring the groove to life. I like to approach this kind of music almost as if I were building a band, thinking about guitars, rhodes, piano, bass, clavinet, mallets, vibraphone, horns and other instruments that naturally belong to the funk and disco vocabulary. In Dreamliner, the guitar was the element that really made a difference, but it doesn’t always have to be a guitar. Sometimes bringing in the right instrument at the right moment can completely change the movement and energy of the track.
3. “Parallel Effects Bus”
Try creating a parallel effects bus for your sample, with a Phaser, Flanger and Chorus running together. Blend that processed signal with the original to add another layer of movement and texture without losing the character of the sample. I really like this approach for getting a more funky, sampled feel, with the Phaser in particular adding that kind of character I love in records from artists like Daft Punk. The key is to blend it carefully so the parallel signal enhances the original rather than taking it over.
4. “Automate The Effect”
Once you’ve created a groove or effect you really like with Glitch 2, try automating the overall mix of the plugin throughout the track. Instead of keeping the effect on all the time, bring it in and out at different moments to create variation. If you don’t have Glitch 2, you can apply the same idea with other multi-effects or effect chains: the important thing is to automate the amount of processing so the effect becomes part of the arrangement rather than staying constant throughout the track.
5. “Make The Sample Your Own”
Once you find the right sample, don’t be afraid to change it. Resample it, replay parts of it, change the arrangement or build new elements around it. The original sample might give you the vibe and the harmony you’re looking for, but the goal is to transform that idea and give it your own identity.
Dreamliner is out now on Low Trax