Above Image Cred: Album cover for Olivia Rodrigo’s third album.
Olivia Rodrigo’s new album, you seem pretty sad for a girl in love, is the kind of record that gives producers a lot to steal from in the best possible way, because so much of the writing and production is built around small moves that end up doing a lot of work and after I yapped a bit about some of my favorite lyrics (spoiler alert, my two favorite tracks where what’s wrong with me and expectations) I wanted to dive into my own thoughts and takeaways on the produciton side of the album as a whole.
I did not want this to be a straight album review where I just talk about whether the songs are good or where they sit in her catalog. The much more useful angle, at least for producers, is looking at how these songs are put together, why certain sections feel bigger than they actually are, and how the smallest layers can carry a surprising amount of the emotion, and – at least if i were in the production hot seat – how I would recreate similar moves and the tools I’d first reach for.
That is where the production tips really start to show up. Across the album, Olivia Rodrigo and her collaborators lean on tight arrangements, vocal processing, guitar detail, subtle percussion, background textures, and small harmonic changes that keep the songs moving without overloading the mix.
That is the stuff I care about in the studio, because it is easy to add another layer when a section feels flat. It is harder, and usually a lot more useful, to make the existing part speak better. So this article breaks down the moments that caught my ear, what I think producers can learn from them, and the plugins or techniques I would reach for if I were trying to chase similar ideas in my own sessions.
The plugin links are affiliate links thorughout this piece, just a heads up!!!
Drop Dead
The biggest takeaway I hear in this track is how much life can come from the relationship between two layers once modulation gets involved. The pluck chords are doing a fairly standard syncopated dotted-note pattern, and on their own, they would probably be enough to hold the groove together. What makes the part feel a lot less static is the counter melody moving against it with its own LFO movement. It feels either slightly off the grid or locked to a different sense of syncopation, and that is where the track starts to feel alive to me. I hear this all the time in the studio, where two simple ideas can feel flat on their own, then suddenly make sense once one of them starts moving in a different way.
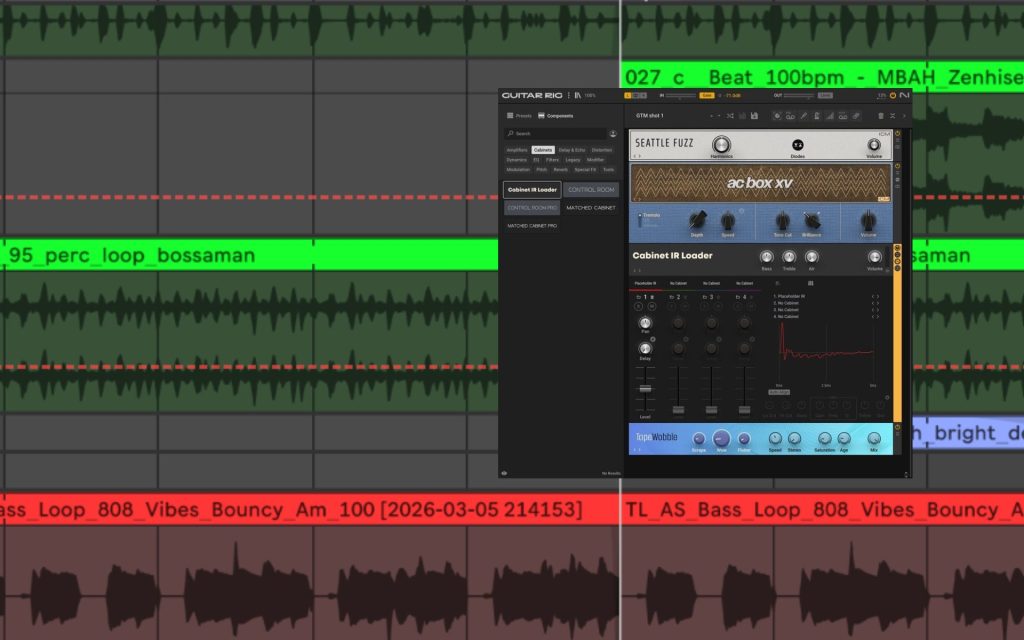
For producers trying to build that same type of movement, I would start with something like ShaperBox and use it to add controlled motion to volume, filter, pan, or width. Guitar Rig is another one I reach for when I want the modulation to bring in extra tone and texture at the same time.
Some of the presets in there can take a very simple pluck, lead, or counter melody and make it feel like it is developing without needing to rewrite the actual notes. That is the bigger lesson here for me. Sometimes the answer is less about adding another part and more about making one existing part move against the rest of the groove in a way that keeps the ear engaged.
stupid song
Listening to this one, the detail that caught me was how much emotional energy comes into the final chorus from that very subtle high string layer. It is easy to assume that a section needs to get bigger by filling up the whole frequency range with loud, upfront elements, especially when you are trying to make the final chorus feel like it has a lift. What I hear here is a smarter use of nuance. That high register gets filled in just enough to make the section feel wider and fuller, without turning the mix into something crowded or aggressive.
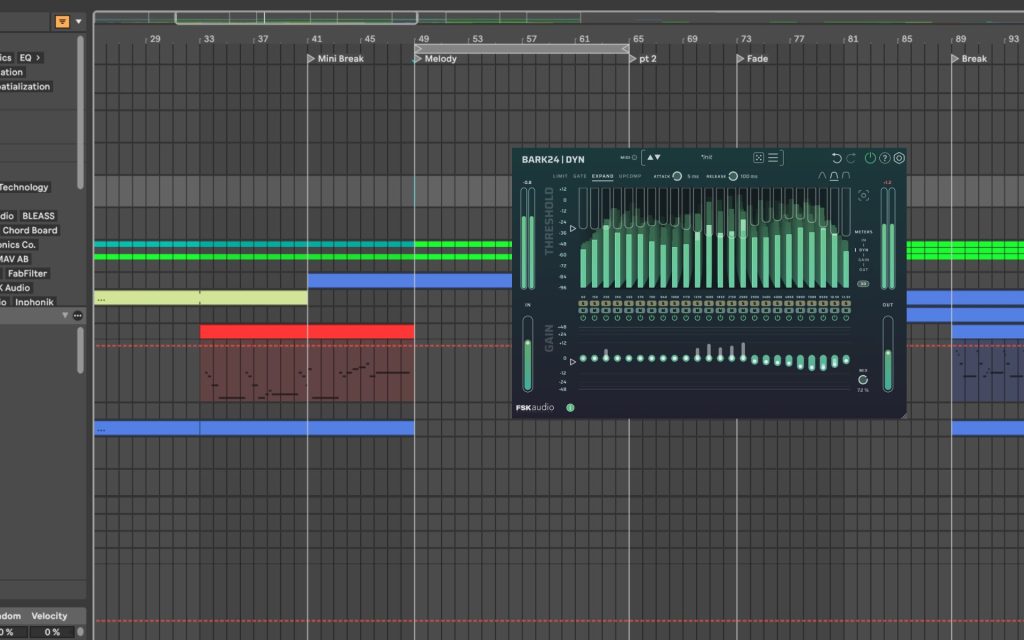
If I were trying to get a similar effect in my own studio, I would probably reach for Bark24 | Dyn by FSK Audio, depending on the source and how much control I needed. Bark24Dine can feel a little like OTT in how it pulls detail forward, except it gives me a much cleaner way to shape the upper frequency bands without flattening the whole sound. That matters here because the goal is not to make the strings obvious. The goal is to bring out enough top-end detail that the chorus feels alive at a low volume, while still leaving the vocal and lead elements in charge of the mix.
honeybee

This track gets a lot out of a very small arrangement, and that is the main thing that caught me on the first listen. The energy keeps building, and the emotion keeps opening up, even though there are not many new layers being added. The piano does a lot of the heavy lifting here. Early on, the chords feel fairly simple and predictable, which gives the song a clear foundation centered around the hook. As the track moves forward, those same chords start getting more passing notes, small flourishes, and little performance details that make the part feel much more expressive without needing to add a bunch of extra instruments around it.
If I were trying to recreate something similar in my own studio, I would probably reach for Una Corda inside Kontakt. It has that soft, sentimental piano tone that works really well when the part needs to feel personal without getting too big. The other reason I like it for this kind of move is the velocity response.
You can bring certain notes forward with a small touch of velocity, and that makes the piano feel like it is speaking a little more as the arrangement develops. That is the main lesson I take from this track. Sometimes the better move is to make the existing part perform harder, rather than adding another layer on top of it.
maggots for brains
When I am working on kicks, my first instinct is usually to make them cut through a little harder. A lot of production advice points in that direction too, with people talking about adding more transient, more click, more top end, or even layering a hat-style sound over the kick so it reads better on smaller speakers.
What I like about this track is that it does the opposite. The kick is warm, rounded, and knocky, without a ton of high-end information. Instead of forcing the kick to handle all of the emphasis by itself, the higher percussion loop sitting above it helps mark the main pulse.
You can hear how the shaker pattern leans into the same rhythmic point as the kick, which makes the groove feel clear without making the kick brighter or sharper.
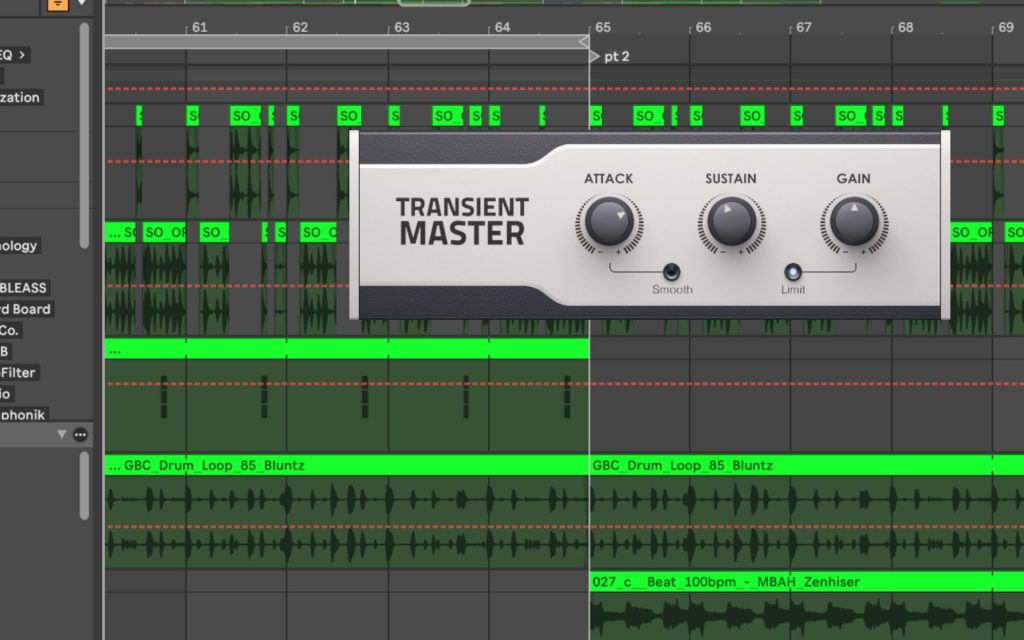
That choice lets the kick stay intimate and low-mid focused, while the percussion handles the upper-frequency definition. If I were trying to recreate this in my own studio, I would probably use EQ to roll off some of the kick’s top end, then use something like Transient Master to bring out the lower-mid knock. That way, the kick still has presence on smaller speakers, without needing to be clicky, and the higher percussion can supply the rhythmic clarity from a frequency standpoint.
u + me = <3
One of the harder things to get right in a track like this is keeping the calmer sections moving while the song ramps toward the chorus. What I took away from this one is how much the rhythmic guitar pluck does during those sparser moments. It gives the arrangement forward motion without making the section feel too busy.
Then, when the chorus arrives and the emotion of the song needs to take over, that rhythmic guitar pulls way back in the mix. That makes space for the chord layers, the dreamier lead guitar parts, and the vocal to become the main focus.
I hear this same arrangement idea in a lot of Above & Beyond’s trance records, where the intro can be groove-heavy and aggressive, then the main section shifts into wide chord stacks and a much clearer emotional center. This track uses a similar approach, just with a completely different set of instruments.
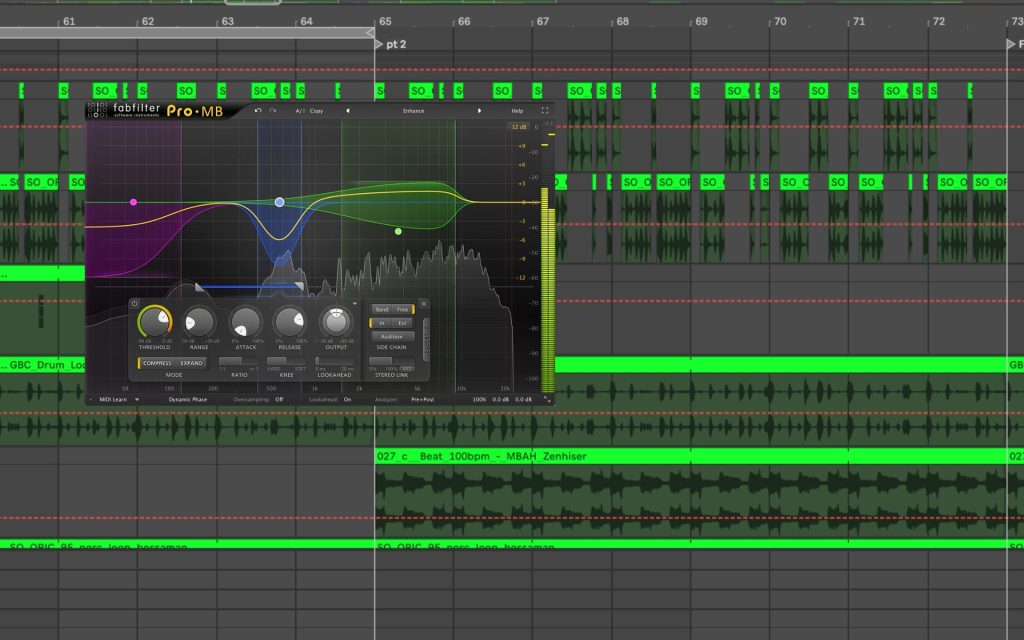
If I were trying to build something like this in my own studio, I would probably start with Session Guitarist in Kontakt because the plucked guitar sounds are easy to place in a groove, and the lead guitar patches can cover those softer melodic moments too. I would also reach for FabFilter Pro-MB to shape the midrange of the guitar, bringing out the body of the pluck while keeping the top end rounded enough that it does not compete with the higher percussion.
my way
A big takeaway I hear in this track is how the vocal processing changes the energy at very specific moments without needing a new melodic idea to do all the work. The part still feels familiar because the song is staying close to the same core material, but the vocal treatment redirects your attention just enough to make the section feel fresh. That is a useful production move because it creates contrast without making the arrangement feel like it has suddenly become a different song. Then, when the vocal comes back in a cleaner form near the end, that return feels earned because your ear has already heard the part from a different angle.
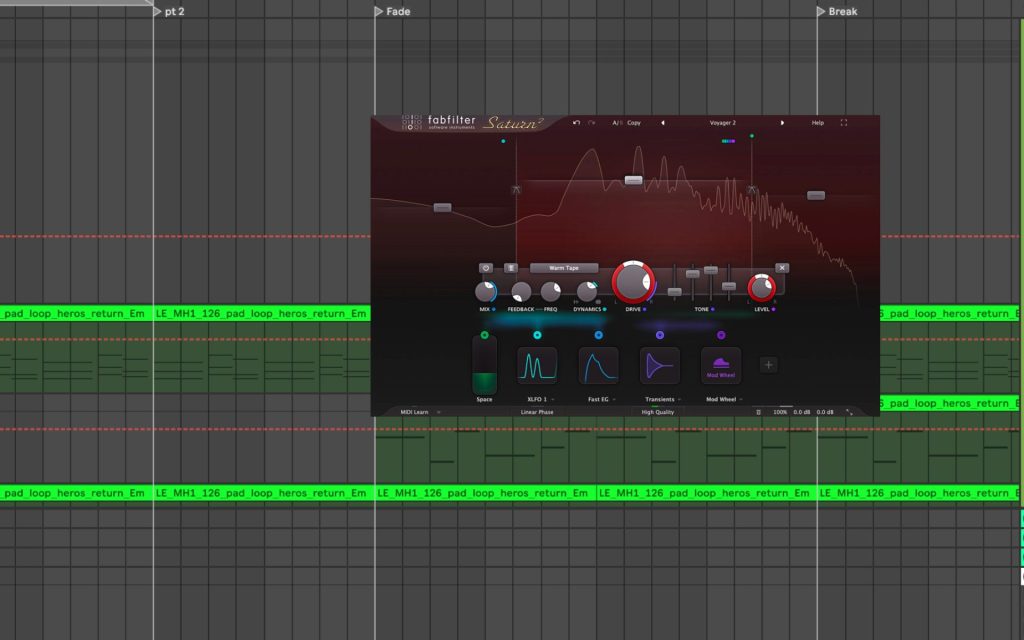
If I were trying to recreate something like this in my own studio, FabFilter Saturn would be the first plugin I would reach for. It is marketed as a saturation plugin, but the multiband section makes it useful as a creative EQ and sound design tool too.
For this kind of bridge treatment, I would start with some of the tin-can, telephone, or narrow-band presets, then adjust the band splits and drive until the vocal has that hollow, distorted tone without losing the original phrase. The key is making the processing feel intentional enough to shift the section, while still keeping the vocal connected to the rest of the track.
purple
The subtle layer that really caught my ear in this song is that filtered, shuffling percussive pattern sitting way back in the mix. It sounds almost like a short, snappy wood knock with a lot of transient, but it has been filtered enough that it stays tucked into its own pocket instead of fighting the main parts.
That is something I tell my students all the time. You would be surprised how much you can remove from a sound before it stops doing its job in the mix. A layer can sound thin, strange, or incomplete on its own, then make perfect sense once the full track is playing around it.
If I were working on something like this in my own studio, I would throw FabFilter Pro-Q on that type of layer and adjust it while the full mix is playing. I would start with a high cut, a low cut, and maybe a shelf, then see how much I can carve away before the sound loses its purpose. Sometimes you can remove an extra 400 or 500 Hz from the top or bottom and the part still fills the same rhythmic pocket.
That is why Pro-Q is such a regular tool for me. It lets me make those moves with enough precision to keep a sound useful while making sure it does not take up any more space than it needs.
the cure

What I like about this one is how much it gets out of such a stripped-back setup. It is mostly guitar and vocal, which means every small mix decision matters a lot. The challenge with a guitar part like this is that the level can move around pretty heavily from note to note, especially when the performance has softer picking, harder strums, low-end body, and brighter top-end detail all happening inside the same part. That can get tricky fast when the vocal is this full and upfront, because the guitar needs to support the song without pulling focus away from the lead.
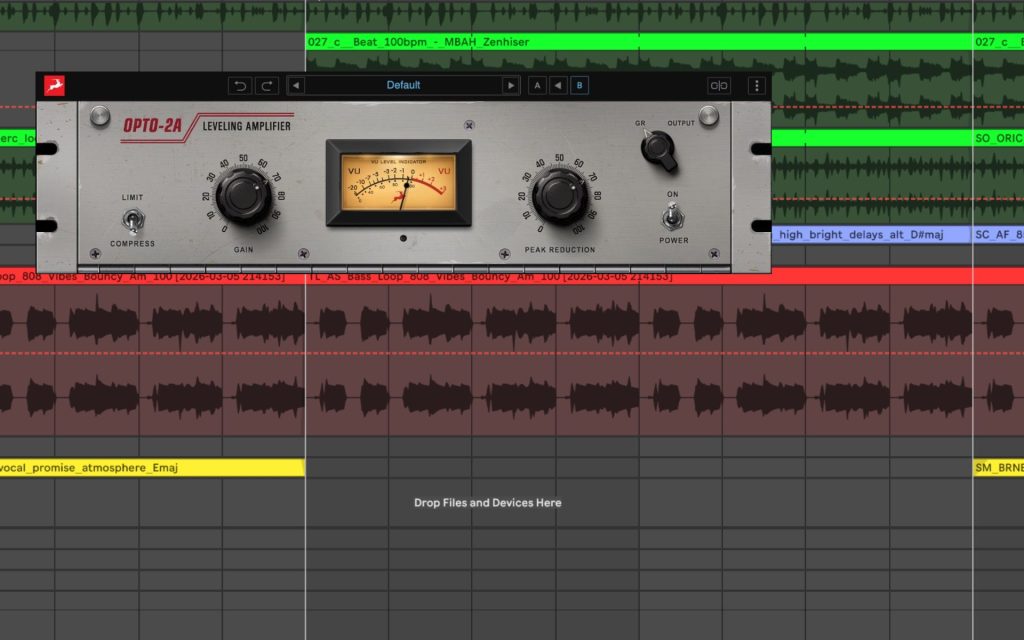
If I were working on something like this in my own studio, I would probably reach for an LA-2A-style compressor. Antelope Audio and Universal Audio have really solid options for this kind of job.
The LA-2A is useful here because it can smooth out the guitar’s level while also bringing a little extra focus around that 2 kHz range, where a lot of the clarity and pick detail can live. That helps the guitar stay present on smaller speakers without making it too sharp or too competitive with the vocal. The goal is to keep the guitar steady, warm, and clear, while letting the vocal remain the main thing the listener follows.
begged
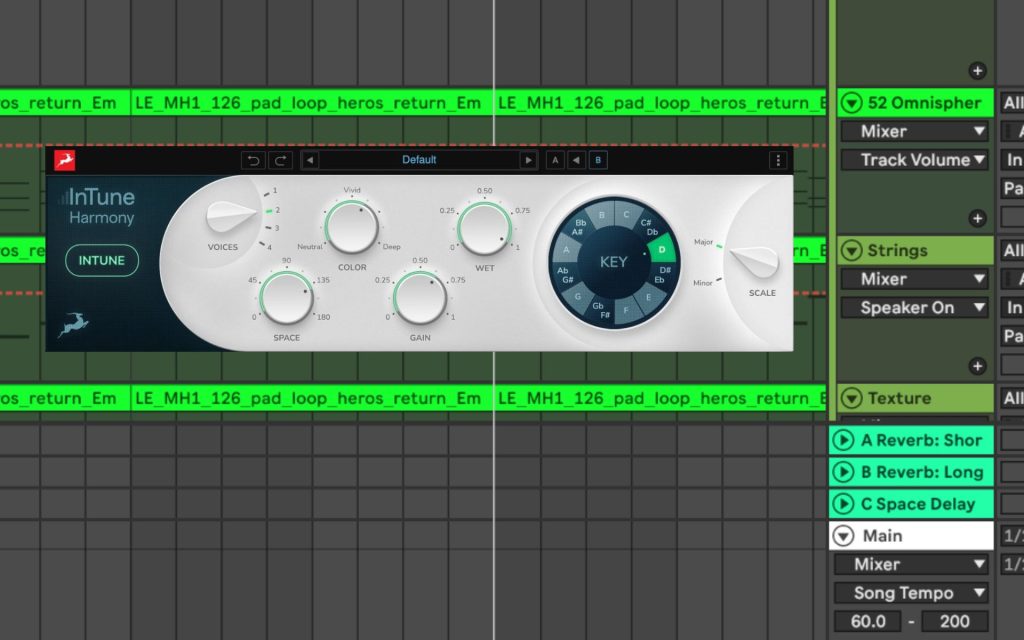
What I like about this one is the way the background harmonies play a call-and-response role with the lead vocal. They are not sitting there as one static pad underneath the whole phrase. They move around the lead, answer certain lines, and create a lot of interaction between the two vocal layers. The useful part is that you can build this kind of effect even when you are not recording your own vocal stacks.
You can cut, stretch, and pitch Splice samples into supporting harmony parts, then use something like InTune Harmony by Antelope Audio, or another harmony plugin, to push those layers closer to the key and contour of the main vocal. Add some reverb after that, and you can get a background vocal layer that feels connected to the main hook without needing a full vocal session.
The mix move I would use here is sidechain compression between the lead vocal and the harmony group. I like a glue-style compressor for this because the release can feel a little smoother and less jumpy than a harder utility compressor. I would use the dry lead vocal as the sidechain trigger, then have the harmony bus duck by around 3 to 5 dB whenever the lead is present.
When the lead vocal drops out, the harmonies can lift back up underneath it and fill the space. The important detail is using the dry vocal before reverb and delay as the trigger, because you do not want the lead vocal’s effects tail making the harmonies pump after the phrase has already ended.
what’s wrong with me
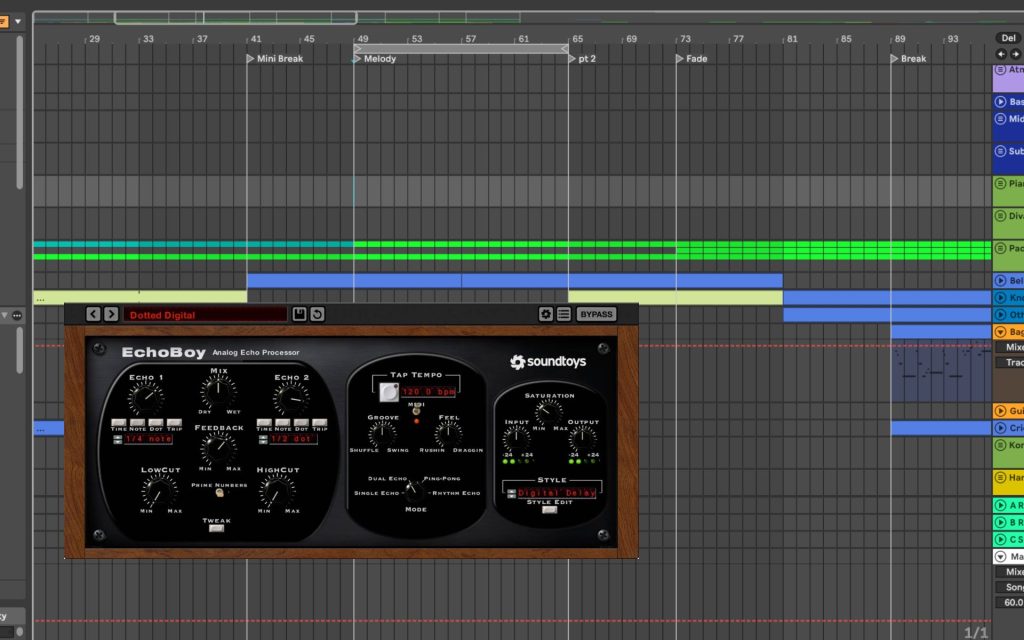
What I like about this song is that it is a good reminder that a familiar role in the arrangement does not need a familiar sound source. The snare-style hit on the two and four is strange in a really useful way. To my ear, a lot of that comes from the fast delay treatment, which makes the sound feel less like a standard drum sample and more like a processed object being used rhythmically. That is the part I would take into my own studio. Sometimes the role is simple, and all you need is something to mark that space in the groove, so the actual sound can be much weirder than you might first assume.
If I were trying to build something like this, I would start with a foley hit, a metallic sound, or some short found-sound transient, then run it through EchoBoy.
The preset choice matters here. I would avoid going straight to the obvious drum delay presets and instead check vocal delays, dub delays, slap delays, or anything that pushes the sound away from its original source. That is usually where the better ideas happen for me. Since the sound only needs to fill a rhythmic slot, you can get away with a lot of processing, and that kind of choice can give the track a much clearer identity than another standard snare layer would.
less
This is another one of those stripped-back, intimate tracks where every layer has to justify its place. When you are writing something this minimal, you do not have many cards to play, so the smallest details have to do a lot of the work.
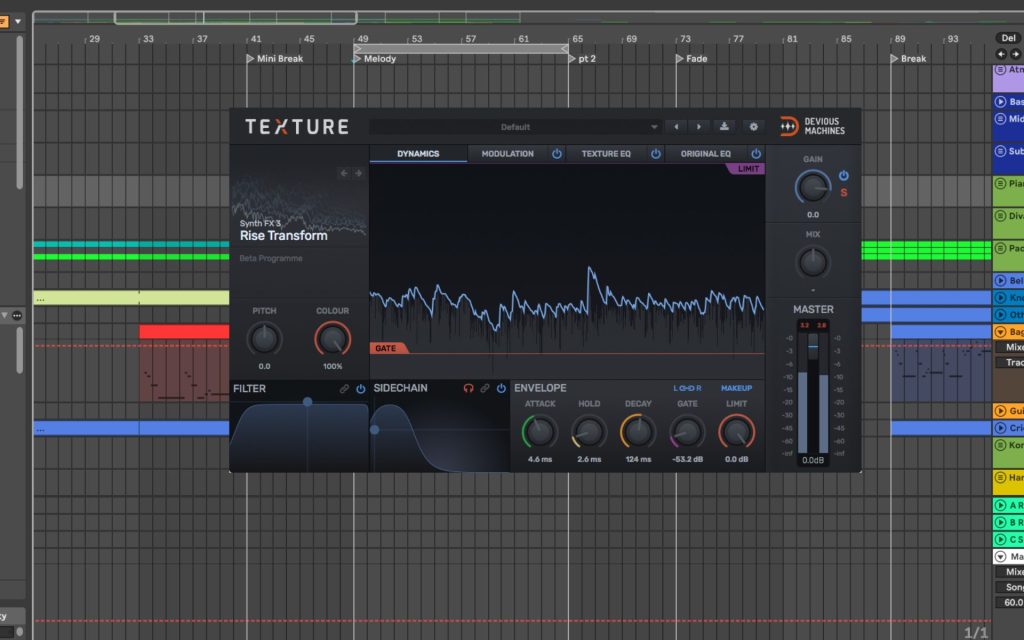
The detail that caught me here is that dry, scratchy texture sitting way back in the mix, almost like a straw being dragged across a washboard. It is quiet, it is tucked behind the main parts, and it does not run constantly through the whole song. That restraint is the useful lesson for me. You can use Foley loops and odd textural layers to create motion and progression without adding another melody, another chord part, or another obvious percussion loop.
If I were building something like this in my own studio, I would probably reach for Texture by Devious Machines.
I already use it a lot for adding detail to snares, guitar plucks, counter melodies, and little rhythmic layers, but this track makes me want to use it in more selective moments instead of letting it sit there the whole time. The way this sound moves in and out of the mix gives the arrangement a small sense of development while staying extremely subtle. That is the main thing I would take from it. A quiet layer can still change how a section feels, as long as it enters with purpose and stays out of the way when the vocal or main instrument needs the space.
expectations
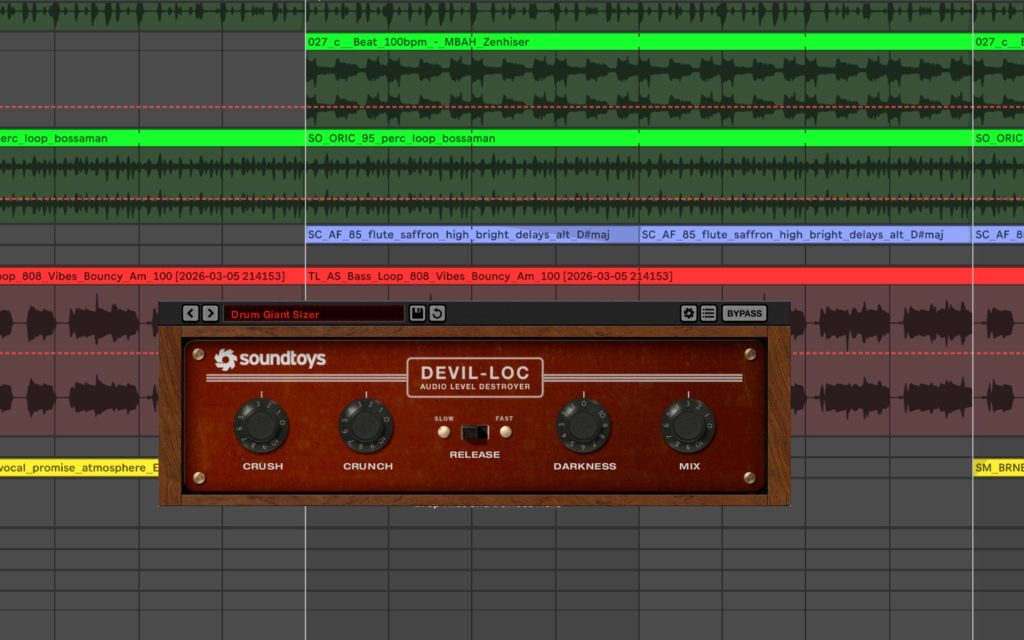
This one caught me because the sound selection feels pretty far outside the usual lane. The lead synth has that older, rougher, grungier character, and it does not feel polished in the clean, modern sense. That is a big part of why it works for me. The tone has compression, grit, and a slightly abused quality to it, which gives the lead a lot of attitude without needing the part itself to get overly complicated.
If I were trying to recreate that in my own studio, Devil-Loc Deluxe from Soundtoys would be the first thing I would reach for. It is based on an old compressor that was known for a pretty extreme character, and part of its appeal now is how hard it can flatten and distort a sound when you push it.
On a lead synth, that can be really useful when you want that grizzled, hyper-compressed tone that feels rough around the edges. I would use it less as a clean mixing tool and more as a character processor, then blend or dial it back until the synth has enough bite without swallowing the rest of the track.
cigarette smoke

The vocals are the thing that grabbed me most in this song. They feel wide, close, and lifted in a way that is hard to pull off, because vocals can take over a mix fast if the processing is not handled carefully. I do not know the exact chain here, and I am sure there is a lot happening under the hood, but the result feels controlled. The vocal sits right in front of you, while the width and delay treatment make it feel like it is wrapping around the track without getting washed out.
If I were trying to get close to this in my own studio, I would probably start with MicroShift before Little EchoBoy (in fact, why don’t you just snag the whole bundle, it’s GOAT’d). MicroShift is great for adding that smooth vocal width without making the vocal feel detached from the center, and Little EchoBoy has a lot of vocal presets that can push the delay outward in a really usable way. Used together, they can give a lead vocal that lifted quality while still keeping the phrasing intimate and clear.
The important part is keeping the dry vocal present, then letting the width and delay create the space around it instead of letting the effects become the main thing.
Will Vance is a professional music producer who has been involved in the industry for the better part of a decade and has been the managing editor at Magnetic Magazine since mid-2022. In that time period, he has published thousands of articles on music production, industry think pieces and educational articles about the music industry. Over the last decade as a professional music producer, Will Vance has also ran multiple successful and highly respected record labels in the industry, including Where The Heart Is Records as well as having launched a new label with a focus on community through Magnetic Magazine. When not running these labels or producing his own music, Vance is likely writing for other top industry sites like Waves or the Hyperbits Masterclass or working on his upcoming book on mindfulness in music production. On the rare chance he's not thinking about music production, he's probably running a game of Dungeons and Dragons with his friends which he has been the dungeon master for for many years.