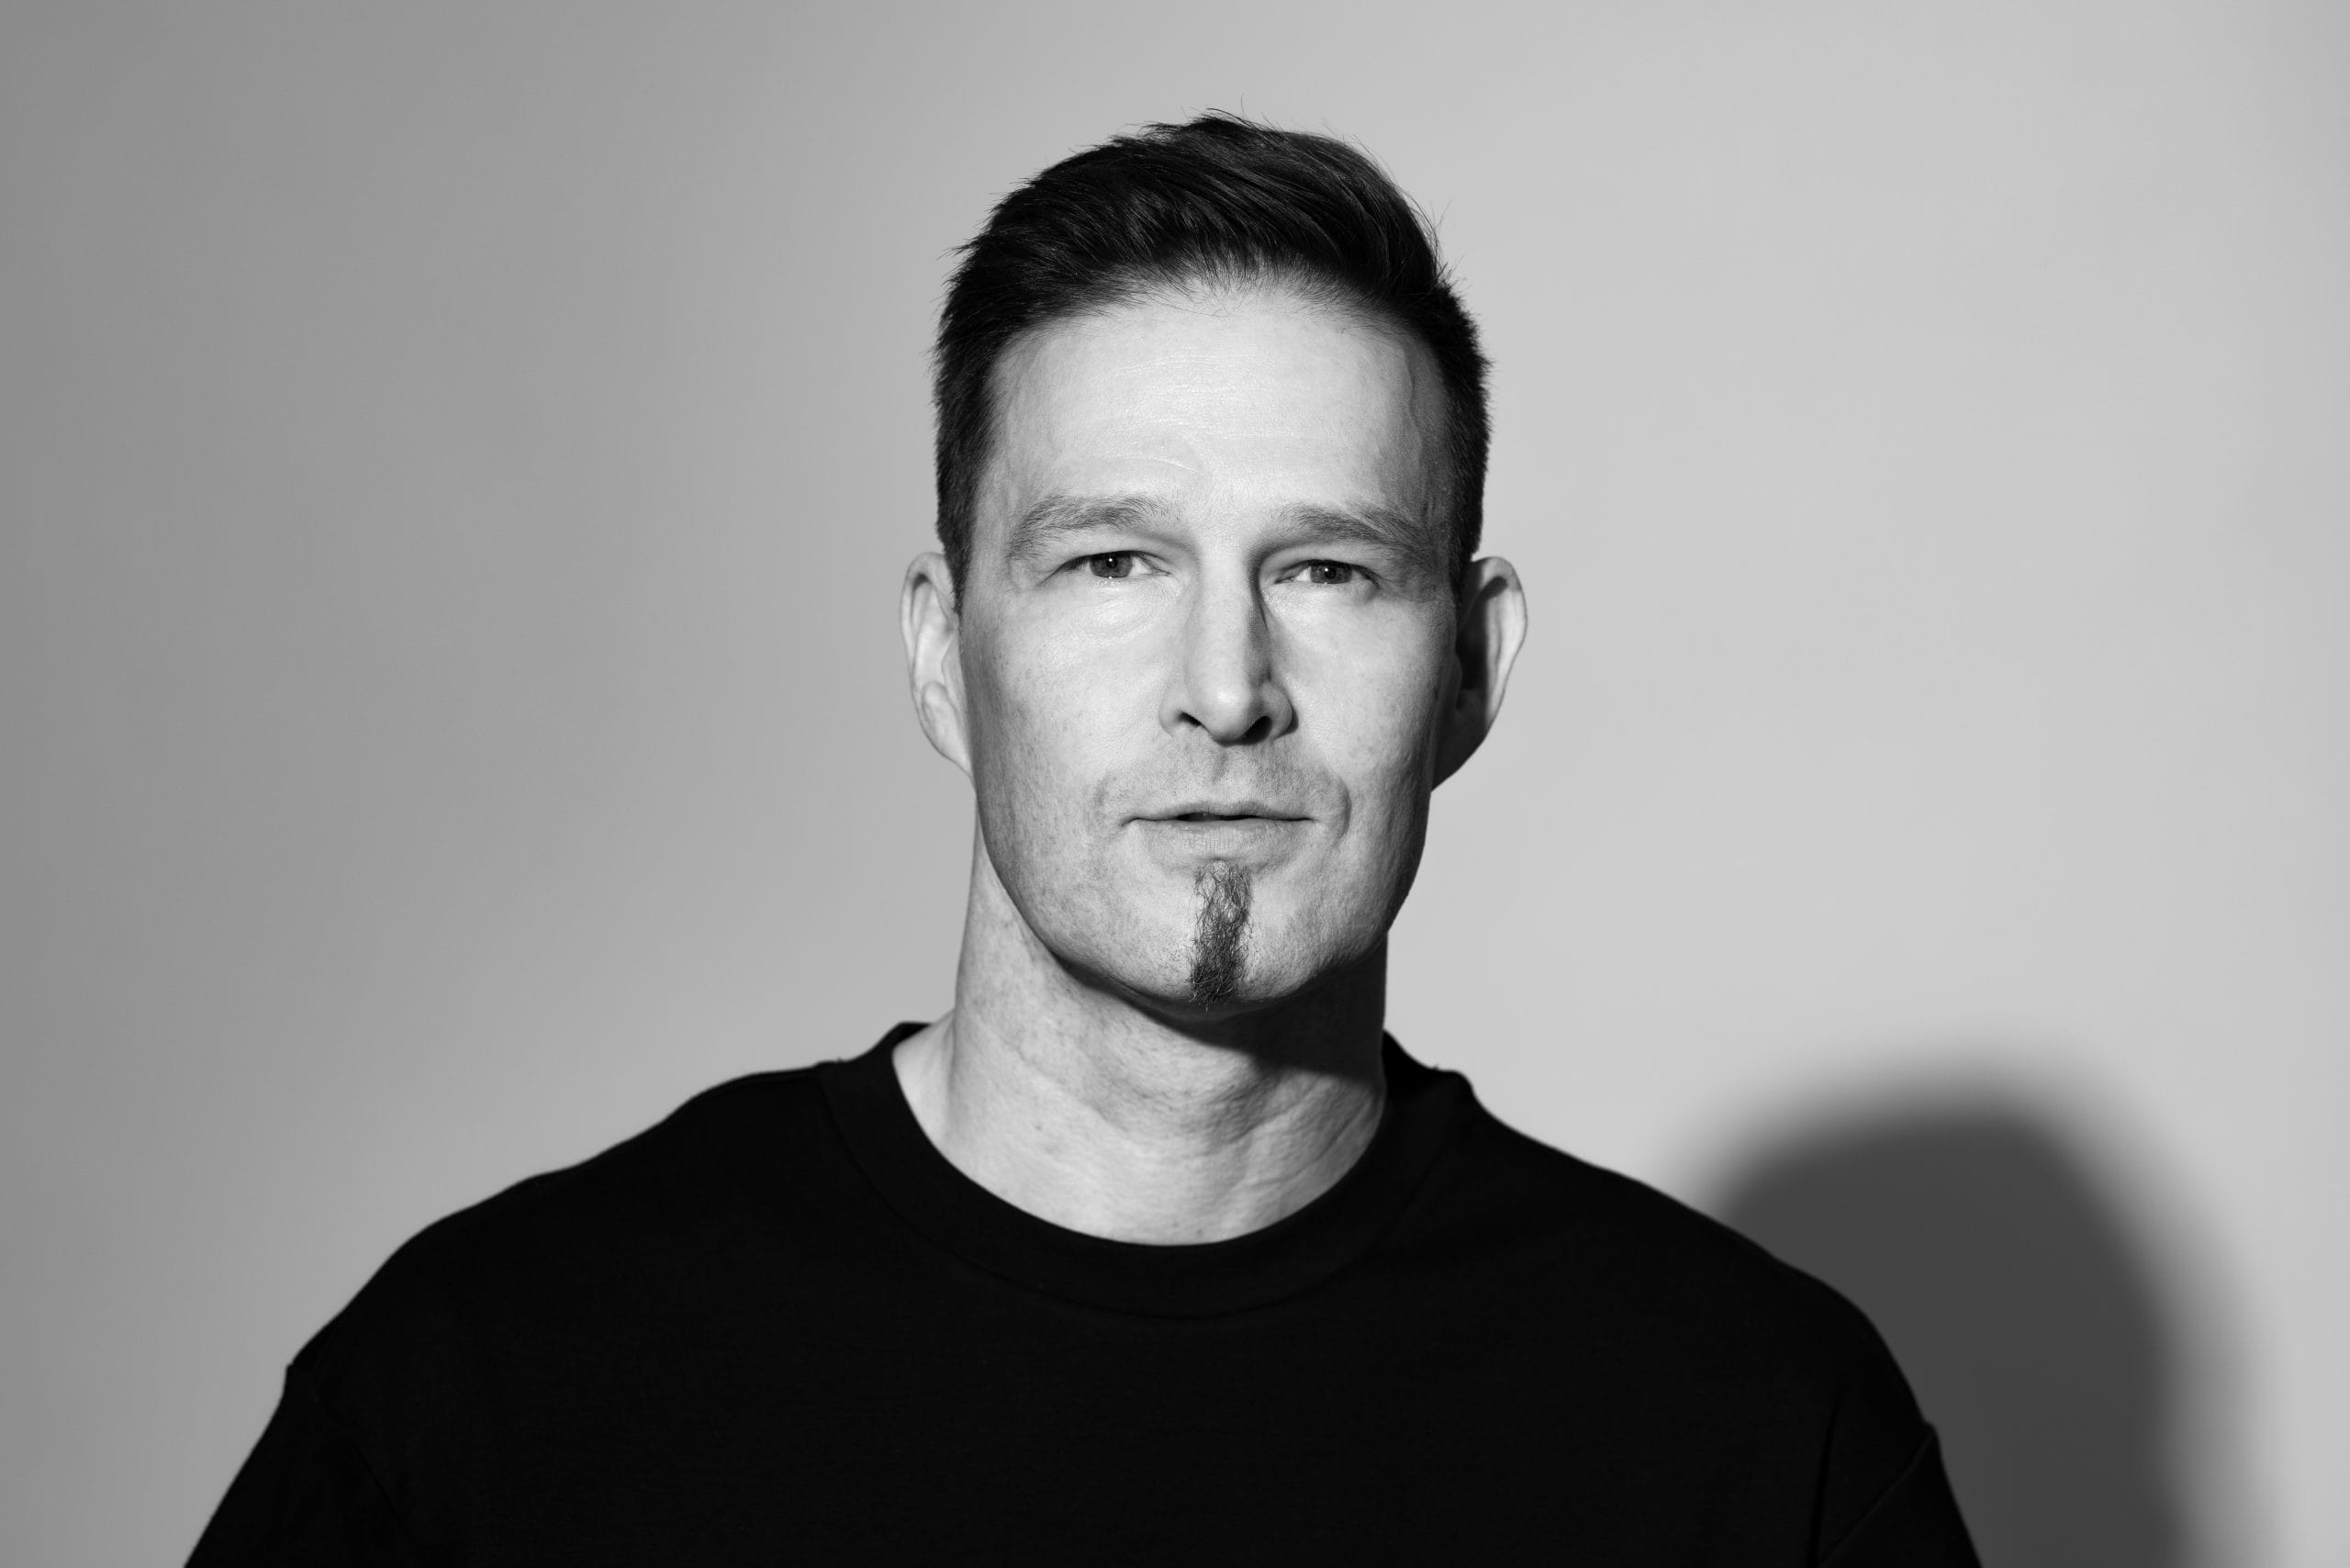
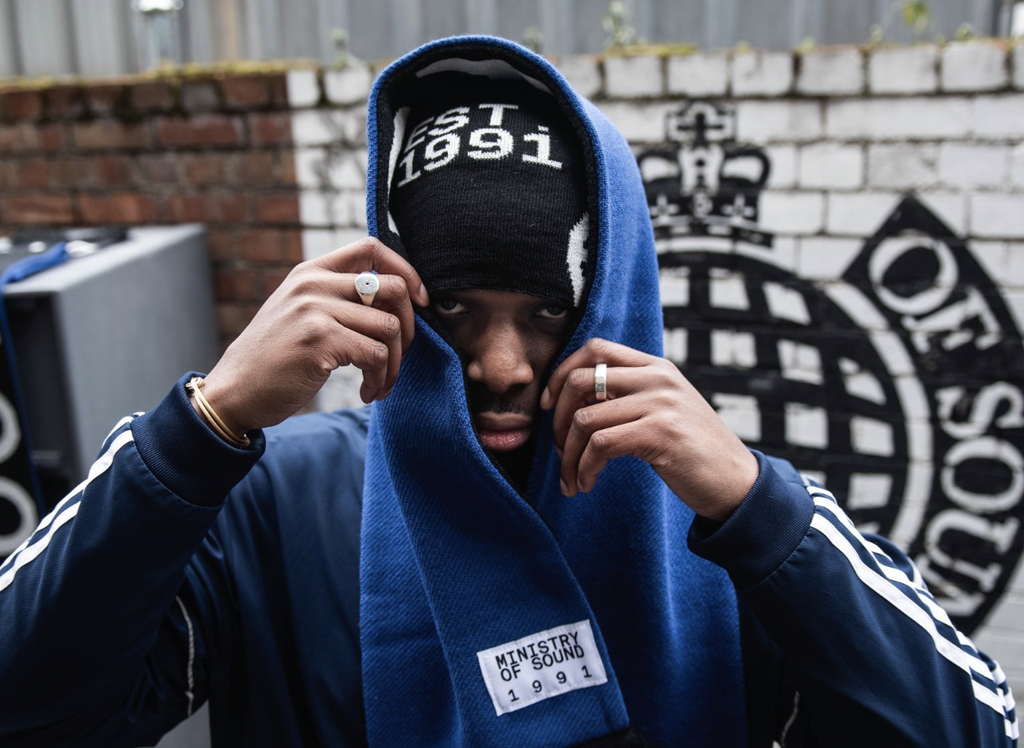
Lloyd Barwood (@lloydbarwoodmusic) wrote “Nothing Like It Was” for a very specific moment: his first set handing the decks over to Sasha at 909 in Liverpool. That context shaped the record from the beginning, with Barwood aiming for the melodic character associated with Sasha’s sets while keeping the production connected to the sound he has been developing across his own releases.
The resulting track became the title cut of Barwood’s Nothing Like It Was EP, arriving September 11 on Sasha’s Last Night On Earth. Its defining musical idea is a chord progression that changes every four bars across a 16-bar phrase, while a syncopated dotted-eighth rhythm keeps the harmonic movement connected to the groove. Barwood then builds around it with layered synths, a resampled vocal hook, a musical bassline, and a deliberately restrained 909-based drum section.
The production also shows how much of the record was decided before the mix stage.
Barwood focuses on selecting parts that occupy different areas of the frequency range, separating his sub- and mid-bass, and leaving room around the melodic material rather than relying on processing to address an overcrowded arrangement later. Below, Lloyd Barwood explains how he made “Nothing Like It Was.”
The rest of the feature is from the artist himself…
Hey, this is Lloyd Barwood, and this is how I made my record ‘Nothing Like It Was’, forthcoming on Sasha’s Last Night on Earth label on Friday 11th September 2026.
‘Nothing Like It Was’ is a very special release for me because it was born out of my debut show handing over the decks to Sasha at 909 in Liverpool back in February. I wanted to write a record specifically for that set, which would capture the essence of a Sasha set whilst still staying true to my own sound.
Shortly after the set, I sent the record to Sasha, he loved it and started playing it all over the world, and now it is being released on his label. Here is how I made it.
Chord Progression and Synth Line
The record all began with the chord progression, which, for me, is what makes this track so unique. The chord progression constantly changes and evolves every four bars across the 16-bar phrase, creating a feeling that the record is constantly moving and evolving. The pattern also follows a syncopated dotted 8th-note rhythm, which gives the chords a driving energy and helps create the groove of the record.

There are three main synth layers that follow this same chord progression, each contributing something different to the overall sound. I find it really important to layer sounds when writing music because it allows you to combine different timbres across the frequency spectrum. This can help you create a much bigger sound without making the record feel overly busy or muddy.
The first layer is the main Piano Bell Pluck, which uses my new favourite synth, VPS Avenger 2, to provide the brightness and high-end sparkle towards the top of the frequency range. This is the element that creates that big, hands-in-the-air moment.
Underneath this sits the warm stab layer, which creates the main body of the sound and fills out the low-mid to mid-frequency range. This was actually just a preset I found and loved in Roland’s ZENOLOGY synth, another synth that I love and one that always seems to make its way into my projects.
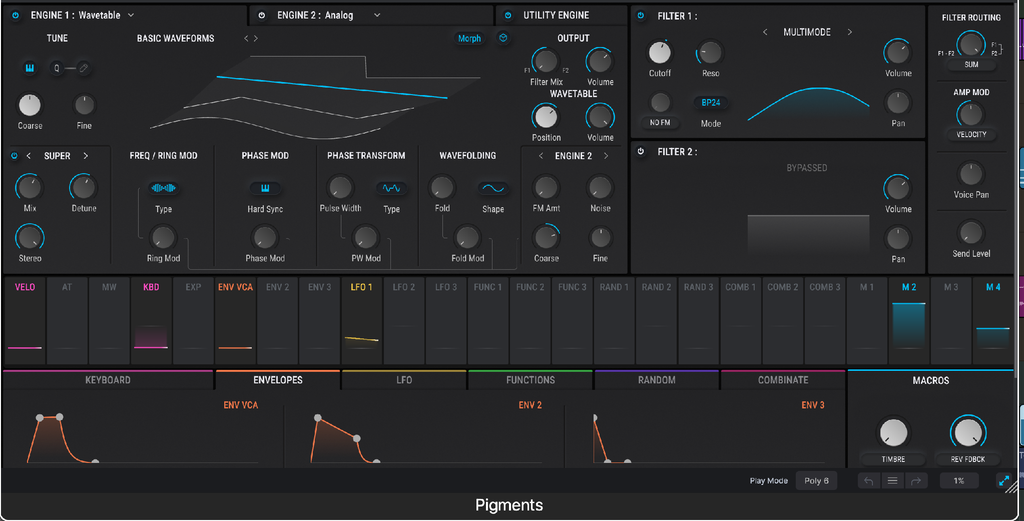
Finally, I have the moving pads, which provide a lot of the movement and ethereal quality in the track. This is a patch I made in Arturia Pigments using a supersaw oscillator with a band-pass filter, which is modulated by an LFO to create that constantly moving sound.
Main Vocal
Next up, we have the main vocal, which I believe is the real hook of the record. I mostly use it during the transitions throughout the track and on the main drop to create that impactful, hands-in-the-air moment.
For this element, I found a vocal sample I liked on Splice and used the Sampler within Logic to create a new melody from the sample. I then played it in on the keyboard until I found something that worked.
This is a trick I use a lot in my music, especially with vocals. I will find a sample I like, place it into the Sampler and then play it on the keyboard to create a completely new sound or melody that wasn’t initially there in the original sample.
I love doing this because you can take a small piece of audio and completely transform it into something that feels unique to your own record.
Rhythm Section (Bassline and Drums)
I find that once you have the chord progression and rhythm of your record, the bassline almost writes itself. The bassline in this record is no different and follows the root notes of the chord progression. For the bass synth, I used VPS Avenger 2, which is probably my favourite synth for basslines. I love using the macros on the presets to create movement in the sound across the track through automation.
I also always separate the sub-bass and mid-bass. The sub-bass is a simple sine wave that provides the weight and low-end energy, while the mid-bass sits above it and has the very low frequencies filtered out. This creates the more melodic part of the bass that you can hear on headphones or smaller systems, whilst allowing the sub to focus on providing that solid low end.
I love a big bassline, so pretty much all of my records will have a musical bassline that plays an important role in the track.
For the drums, these are kept very simple because there is already so much going on musically and I felt the record needed space to breathe.
I love the sound of the classic Roland 909 drum machine, probably from my days of being heavily influenced by tech house, so the drums are all based around samples from the 909. Keeping the drum section relatively stripped back allows the chord progression, bassline and vocal to remain the focus without overcrowding the mix.
Mixing Tips
The biggest lesson I have learnt when it comes to mixing is that the most important stage in the mixing process is actually the production itself – choosing sounds that complement each other and knowing when to remove or add elements throughout the arrangement.

If you are finding that the track doesn’t feel right, it is usually because the sounds you have in it don’t work together, rather than because you need to add more sounds.
This is the exact mindset I took with this record. I focused on creating core elements that sounded really great on their own and then gave each element the space to breathe.
Here are some of my favourite plugins I used during the mixing process:

- FabFilter Pro-Q 3 — Aside from levelling, EQ is probably the most important tool in my box. Pro-Q 3 has such an easy-to-use interface and allows for both static and dynamic EQ, which makes it incredibly versatile. I have heard Pro-Q 4 is even better, so that will probably be my next Black Friday purchase!
- Waves RBass — I love using this on the bass bus to create a fuller and more powerful low end. Use it in moderation though, as it is very easy to overdo it.
- Soothe2 — A necessity to have. It is great for dynamically controlling harsh or resonant frequencies in sounds, and I also use it to help create space between competing elements. It can be particularly useful when you have frequency clashes between things like the kick and bass, or instruments and vocals.
- Waves Magma BB Tubes — A fantastic saturator that adds analogue-style warmth and character to your tracks. I love using saturation to give sounds a little more weight and help them sit better in the mix, it can also give you more headroom with your mix.
- OTT — I use this on almost all of my synths. Even a tiny amount can really transform a sound, bringing out detail and helping it feel more open and upfront. Again, less is definitely more with this one!
And, most importantly, use your ears! There are so many techniques and supposed ‘rules’ when it comes to music production, but ultimately, if it sounds good to you, then that is what matters.

Will Vance is a professional music producer who has been involved in the industry for the better part of a decade and has been the managing editor at Magnetic Magazine since mid-2022. In that time period, he has published thousands of articles on music production, industry think pieces and educational articles about the music industry. Over the last decade as a professional music producer, Will Vance has also ran multiple successful and highly respected record labels in the industry, including Where The Heart Is Records as well as having launched a new label with a focus on community through Magnetic Magazine. When not running these labels or producing his own music, Vance is likely writing for other top industry sites like Waves or the Hyperbits Masterclass or working on his upcoming book on mindfulness in music production. On the rare chance he's not thinking about music production, he's probably running a game of Dungeons and Dragons with his friends which he has been the dungeon master for for many years.