Bruno Roth has always leaned toward intention over excess, and you can hear that mindset all over Sweet Paradise EP on Onysia. The Ibiza native brings a soulful, focused take on deep house that feels grounded in classic techniques while still landing cleanly in modern NYC club spaces. With remixes from J Gabriel and Tommy Vicari Jnr, the record balances restraint and personality across four cuts that are built for selectors who understand pacing.
The title track “Paradise” sets the tone with warm vocal samples, subtle string lines, and crisp drums that feel right at home in a big-room warmup or a late twilight slot. J Gabriel flips that energy into something more off-center and rhythmic, adding a slightly left-field lead and punchy swing. “Sweet Expression” moves into Indie and Nu Disco territory with a lofi bassline and tight arrangement, while Tommy Vicari Jnr reshapes it into a disco-focused club tool that feels classic without sounding dated.
To mark the release, Bruno shared five production philosophies that sit underneath this EP – a hardware-first mindset, bus automation for tension, controlled reverb inspired by Abbey Road techniques, balance-driven mixing, and rhythmic delay over wash-heavy space. They are practical decisions that shape how drums hit, how breakdowns breathe, and how a drop lands on a club system. If you want to understand what gives Sweet Paradise EP its character, the walkthrough below breaks it down from the inside out.
Bruno Roth – 5 Production Tips
1. That Old School Sound – A Hardware-First Mindset
In the 90s, limits shaped the sound. Producers did not have endless automation lanes, infinite undo, or the option to keep everything in MIDI forever. The key idea was to commit early.
Print audio instead of keeping everything MIDI and playing around with the same sound endlessly. Bounce effects into the sound – reverb, delay, distortion – as if the FX were part of the sound itself. This gives you much more uniqueness because the tone and the processing are inseparable.
Avoid endless automation and use performance takes instead. Sometimes simply playing with the sound and FX in real time gives you many different types of results that fit better in your mix because they unconsciously come from the same source.
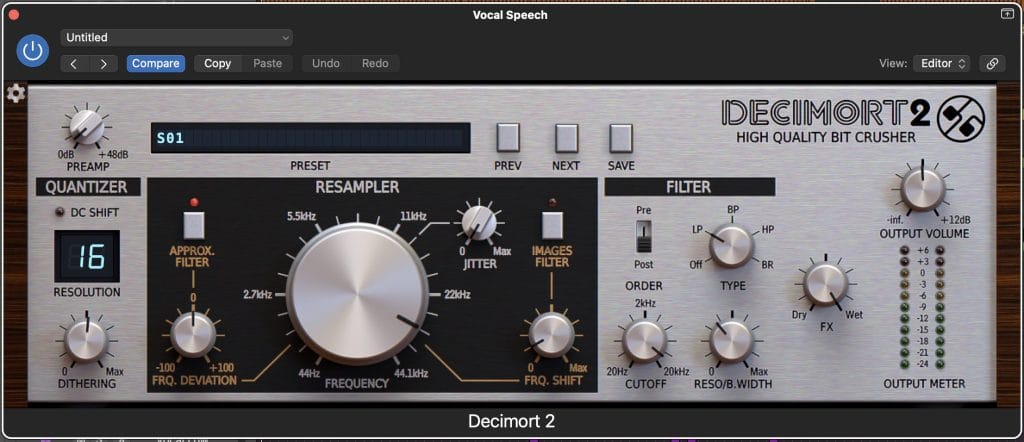
Use analogue cheap mixers or emulations of samplers to give all of the sound sources that feel. Distort, do not saturate. Producers could not endlessly tweak, so they made bold decisions. That created character.
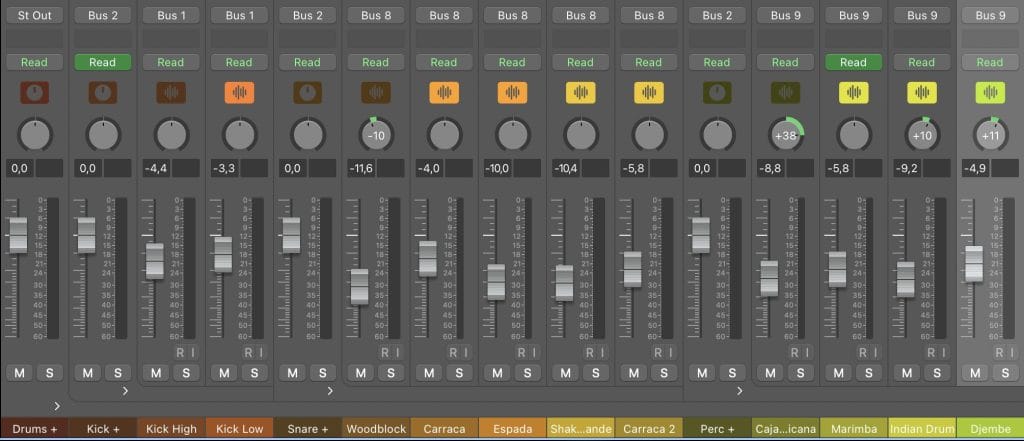
2. Create Movement With Bus Automation
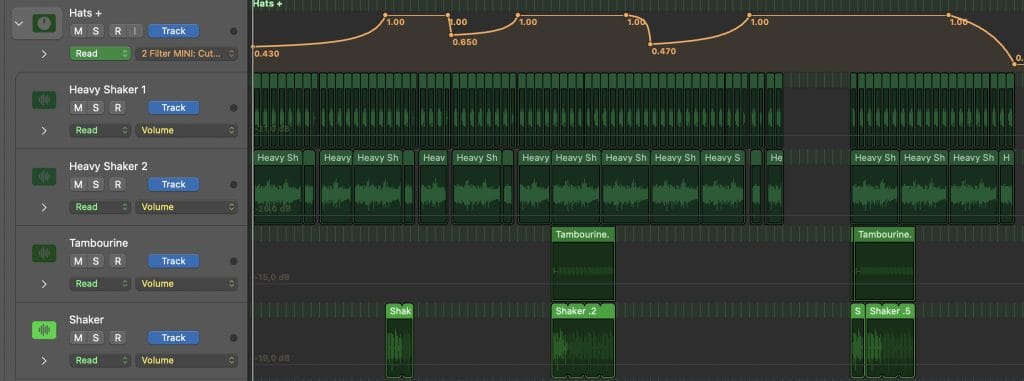
Bus automation works because you move groups of sounds together, so the listener feels a structural change instead of a small tweak.
The core principle is simple. Automating buses changes the context of the music, not the notes. When you automate a bus, multiple sounds react at once. The ear interprets it as a section change and tension builds faster with less complexity.
In the 90s, grouping was necessary because tracks were limited. There were no infinite automation lanes and hardware mixing meant riding a single fader or knob. Producers automated the drum bus, the music bus, the FX bus, or the reverb return. They did not automate individual tracks constantly.
Filter automation on a bus is one of the most effective tools. Low frequencies feel like power and grounding. High frequencies feel like excitement and urgency. Removing one builds tension.
A classic move is placing a high-pass filter on the drum or music bus. Start around 30 to 60 Hz and slowly rise to 200 to 400 Hz over 8 to 16 bars. Snap it back at the drop.
Reverb send automation is another 90s technique. Automate the send amount to a shared reverb bus and gradually increase it during a breakdown, then sharply reduce it right before the drop. More reverb makes sounds feel farther away and less solid. When it drops back to dry, it feels punchy and immediate.
Volume automation is subtle but powerful. Slowly raise the music bus 0.5 to 1.5 dB over 8 to 16 bars and reset at the drop. The ear adjusts gradually, so when it returns, it feels explosive. This was often done manually on consoles.
3. The Abbey Road Bus Room Approach
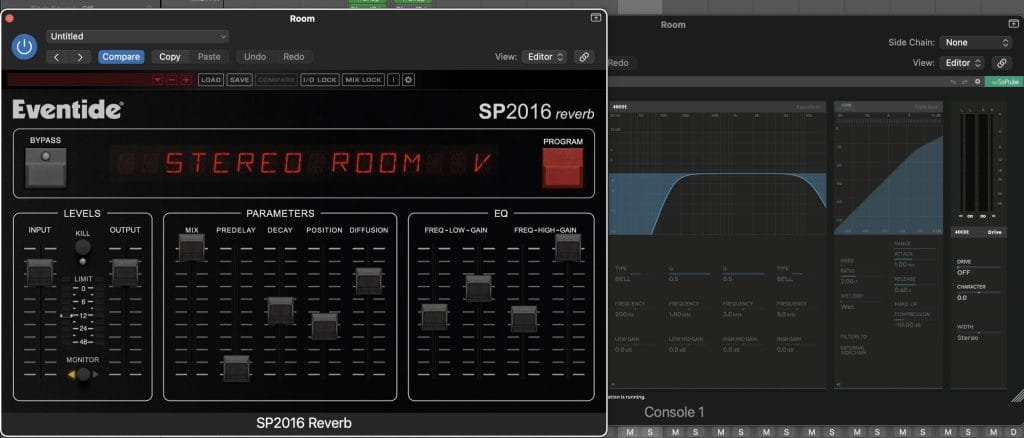
The Abbey Road reverb bus technique came from necessity in the 60s and 70s and was still heavily used into the 90s. The idea is to control reverb so it adds size without destroying clarity.
You do not send full-range sound into reverb. You EQ before the reverb and compress the return so it sits behind the mix instead of washing over it.
Create a dedicated reverb bus with one main plate or chamber. Send multiple instruments into the same reverb so they share an acoustic space. This is why those mixes feel cohesive.
EQ before the reverb. High-pass the send and cut everything below 150 to 600 Hz. Vocals might sit around 200 to 300 Hz. Drums and synths are often higher. Low-pass the send and cut above 5 to 8 kHz. Low end makes reverb muddy and high end makes it hissy and overly modern.
Use shorter reverbs than you think. Plates around 0.8 to 1.6 seconds. Chambers around 1 to 2 seconds. Almost no pre-delay, between 0 and 20 ms. The goal was depth, not obvious tails.
EQ the reverb return again. High-pass once more, apply a gentle dip around 2 to 4 kHz to keep vocals upfront, and roll off slightly above 10 kHz. The reverb becomes dark and soft instead of bright and sparkly.
Compress the reverb return with a ratio around 2:1 to 4:1, medium attack between 10 and 30 ms, fairly fast release around 100 to 300 ms, and 2 to 6 dB of gain reduction. This keeps the reverb consistent, stops loud hits from splashing, and glues it to the source.
Keep it quiet. If you mute the reverb bus and the mix collapses, you are on the right track. If you clearly hear reverb, it is probably too loud.
4. Mixing Is About Balance, Not Perfection
In the 90s, mixing was about making everything work together at all times. There were no visual analyzers and no safety net. The mix had to make sense from the faders up.
Volume faders were the main tool. If two sounds fought, engineers lowered one instead of reaching for EQ first. That preserved tone, phase, and energy.
EQ was mostly subtractive. Boosts added noise, phase shift, ate headroom, and exaggerated harshness quickly. Engineers used high-pass filters on anything that did not need low end, applied small cuts between 1 and 3 dB, and used wide Q curves. Tone came from the source, not the EQ.
Without multiband compression, you could not fix frequency clashes after the fact. You had to choose sounds carefully, arrange parts to avoid overlap, and mute elements instead of tucking them in. Silence became a mixing tool. Punch came from arrangement decisions.
To apply this today, start with faders only. High-pass aggressively. Cut before boosting. Mix in mono regularly. Leave around -6 dB of headroom. Fix problems in the arrangement first. When you work this way, plugins become optional.
5. Delay Over Reverb
Reverb creates space. Delay creates rhythm.
90s producers often chose delay because it reinforces the groove, does not blur transients, can be played like an instrument, and survives loud club systems better than reverb.
Reverb tells you where a sound is. Delay tells you when it happens again. Add a rhythmic pattern that talks to the drums.
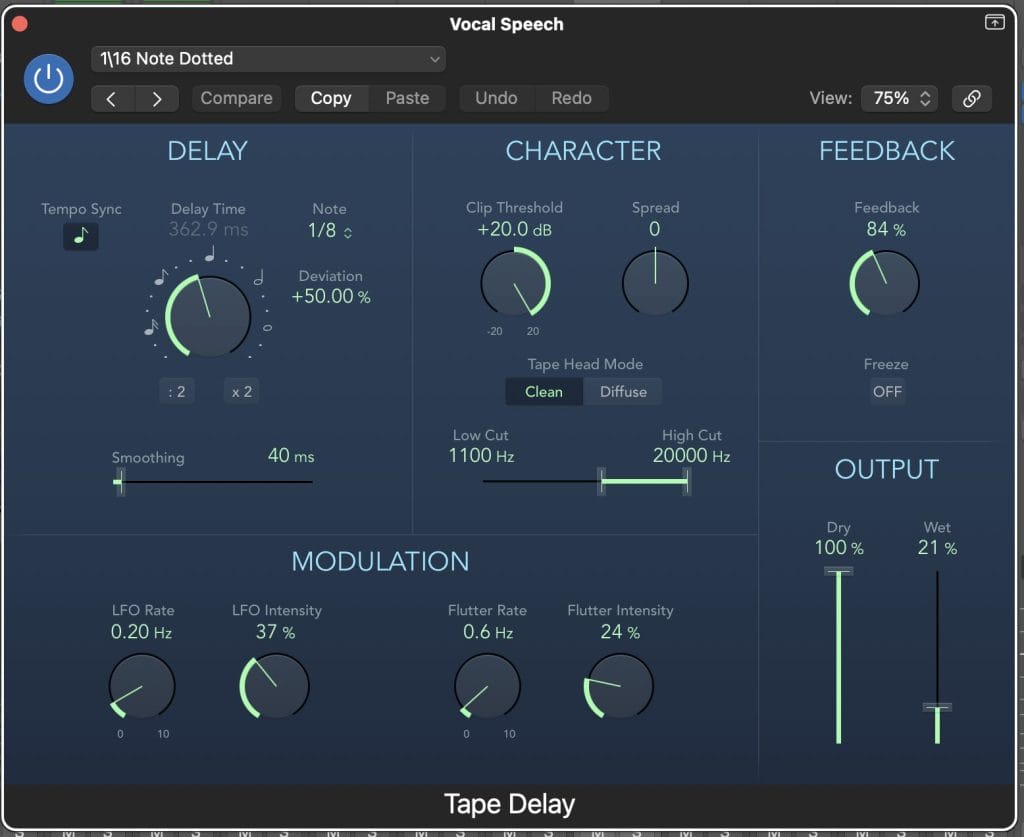
Common note values include 1/8 dotted for house and techno, 1/4 dotted for dub, trance, and breakbeat, and 1/16 straight for IDM and electro. Dotted delays push against the grid, which creates movement.
Feedback controls how long repeats keep going. The sweet spot was often between 60 and 85 percent so the repeats almost run away without fully self-oscillating. This creates tension without automation and makes the delay feel alive. Small changes in input cause big shifts in energy, and engineers often rode the feedback knob live.
A practical 90s delay setup would be a delay bus set to 1/8 dotted, around 70 percent feedback, high-passed at 300 Hz, low-passed at 4 kHz, with slight saturation and mono in to stereo out. Use it on one main synth, occasional vocal words, or percussion hits. If you mute the delay and the groove collapses, you nailed it.
Magnetic byline note: This byline is used for staff produced updates and short announcements, often based on press materials and official release information. Editorial responsibility: David Ireland (Editor in Chief) and Will Vance (Managing Editor). About: https://magneticmag.com/about/ Masthead: https://magneticmag.com/masthead/ Contact: https://magneticmag.com/contact/