There’s something quietly alluring about gutinstinct’s productions – a kind of emotional precision that sneaks up on you mid-groove. On “Back To The Roots“, his latest for Vienna-based Fortunea Records, that sensibility is dialed in from the very first beat. Opening track “Art” wastes no time in establishing its tone: moody, melodic, and kinetic. It’s a cut that doesn’t so much announce itself as envelop you, with dark pads humming beneath, rhythms rolling forward with purpose, and a synth hook that shimmers like a memory half-remembered.
At once raw and refined, “Art” is the kind of track that feels like it’s always been playing somewhere in the back of your mind. It sets the emotional architecture for the rest of the EP while standing firmly on its own: a floor-filling opener with an unusually introspective core.
In this breakdown, gutinstinct dives deep into how “Art” came together: from main arp, to the reverbs and specific EQ techniques, as well as some tips to help you create your own house track. If you’ve been looking for some great tips from a standout house producer, now’s your chance!
Prophet-VS V

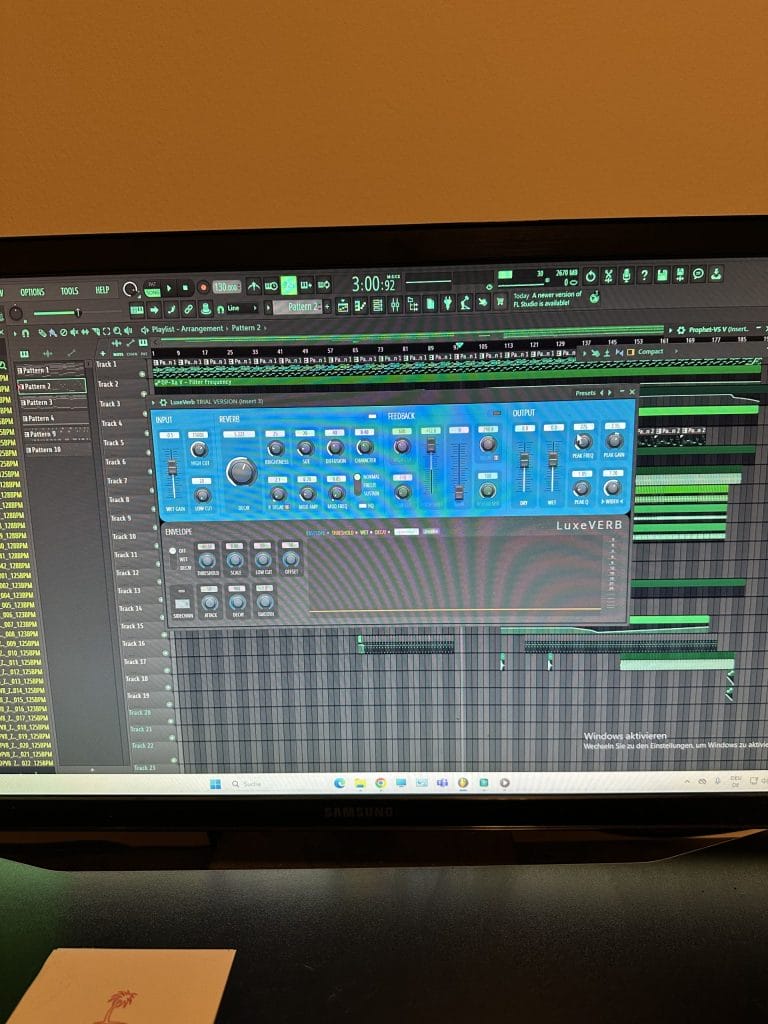
The Prophet-VS V is a synth Plugin from Arturia, and it’s funny because I really rarely use this plugin, but I looked for a good arp and found the perfect one in the Prophet-VS V. It has wide possibilities for programming already existing presets, which includes Filter, Envelopes, LFO, Arpeggiator, Modulations, Effects and Voice Control, so you can adjust everything you need to be able to listen to the same created loop for hours. I normally love to use the Cutoff, but this time I didn’t, because the frequencies I heard were just peacefully chilling.
The Preset I used for “Art” is called “Drifting Pressure” and is included in the Arturia V Collection X. I turned on the Arpeggiator in the UP mode with an 1/16 rate and synced it and suddenly I just felt the groove while jamming around with it and immediately recorded the sequence – you can hear in the track. I didn’t automate any functions of the Prophet-VS V, because I think the preset itself is perfectly programmed. I processed it then with a Fruity Reverb 2, which I automated from 0% to 100% in the break of the track and a Fruity Delay 3 for some more room.
The last plugin I used in the processing chain is theLuxeVerb, which I used for more character, beginning in the end of the break driving you threw the drop and coming to an end at the end of the Arpeggiator sequence. Also, I made an effect chain in the Prophet-VS V in the Effects section starting with the Compressor into the Distortion and Delay. No Equalizers or other mixing plugins were used for processing the Arpeggiator.
Due to the fact I barely program my own presets, I really can’t give you tips for using this plugin for house music, but I would recommend you browsing through the presets, and if you feel something while playing around with one of them, go for it. Try to use the Arpeggiator with its variation possibilities, and browse through the Effects section and use your favorite effects to process, mix and add character to it. As Arpeggiators are often used in house music, I can definitely recommend using the Prophet-VS V and just trying out what flows.
If you would like to use the exact same preset I used for “Art”, I would recommend you play around with the Cutoff, choosing the correct rate and mode. You can also detune it to the harmony or disharmony you want. You can use it also as plucks or driving electronic arp basses. It also includes a fanfare preset, with which you can produce dreamy house music. It only depends on you. Play around with the white and black keys of your midi keyboard and feel the magic of the Prophet-VS V.
Luxeverb
Luxeverb is a Reverb Plugin from Image-Line, which you can also use in other DAWS than FL Studio. It has a very unique sound, with which you add character to every kind of sound or sample. It has everything a real Reverb plugin needs: Wet Gain, High Cut, Low Cut, Decay, Dry, Wet, Brightness, Size, Diffusion, Character, Feedback, Width and many more.
I sometimes use it as mixing plugin for certain sound elements, like synths, to let them shine through all other sound elements. In this case, I used Luxeverb as second Reverb plugin for adding a different sound spectrum to the synth. The exact settings of Luxeverb in this case are:
Wet Gain -0,5dB, High Cut 15k, Low Cut 20, Decay 5.222, Brightness 25, Size 20, Diffusion 40, Character 0.40, P.Delay 2.1, MOD AMP 0.20, Mod Freq 0.05, Reverb Freeze Mode normal, and I activated HQ. The Feedback is turned off, so you can clearly hear the unique sound Luxeverb gives to the synth. Output of Dry & Wet is both on 0.0, Peak Freq 275, Peak Gain 3.15, Peak Q 1.05, Width 1.20, the Envelope Section is turned off, and Sidechain is also turned off.
It’s very technical, but if you want to recreate my sound of the Luxeverb you can use these settings. You just need to play around and see what you like. I sometimes use different Reverb plugins on the same channel and automate them in a row, so sometimes more Reverbs play at the same time and at another point of the track only few Reverbs are, or just one is activated. You definitely need to try out Luxeverb. It is a great Reverb, if you like its unique sound.
Fabfilter Pro-Q4
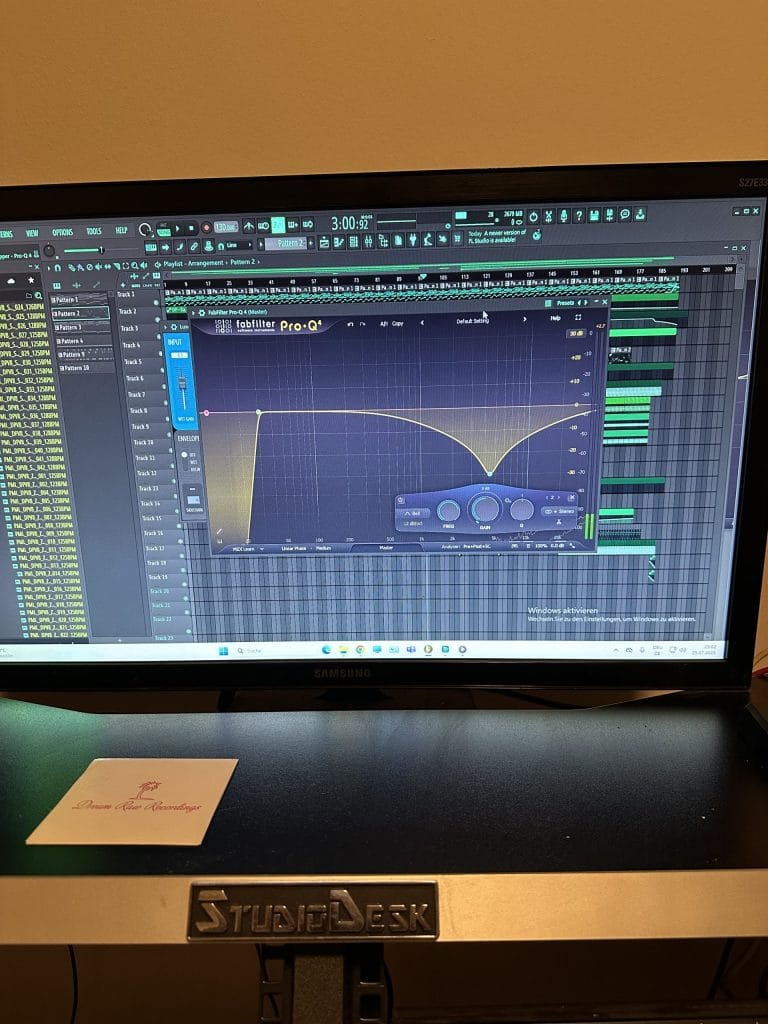
The Fabfilter Pro-Q4 is an Equalizer Plugin from Fabfilter, probably the most used Equalizer on this planet. You can cut frequencies up to -30db in the frequency range, starting with 10Hz to 30kHz. It has a preset section, where you can select some classic presets used in the industry. It has certain different cutting modes, like Bell, High Cut, Low Cut and so on. You also have a FREQ, GAIN, Q Section, there is a dB/oct Section, and it has a Panorama, M/S and Stereo mode.
You can choose between Linear Phase, Natural Phase and Zero Latency mode. It has some sick features in comparison to the older version Pro-Q3 and to other Equalizers: It has an AI Frequency Analyzer, which automatically recognizes all frequencies from your track, and if there are frequencies not cooperating with each other, a red color is shown in this section, which shall help you make a clean mix.
I always use the Pro-Q4 on the Master channel for getting a clean low-end in the mix, preparing it perfectly for the mastering, in the same way real audio engineers do it. I never use a preset of the Pro-Q4: I always do a Low Cut at 30 Hz, with 96dB/oct and with Linear Phase. This creates a clean low end in your mix, so your bass can be heard better and can be better processed in the mastering process. I always set it on Linear Phase, as I learned in my audio engineering education, because this kind of aggressive low cut might cause a Phase problem and if you choose Linear Phase this won’t happen.
Use the Pro-Q4 on the Master Channel with exact these settings to get a clean low end in not only house music, but for all genres. Your mixing engineer would do it the same and it helps your mastering engineer get a clean master.
BX Shredspread
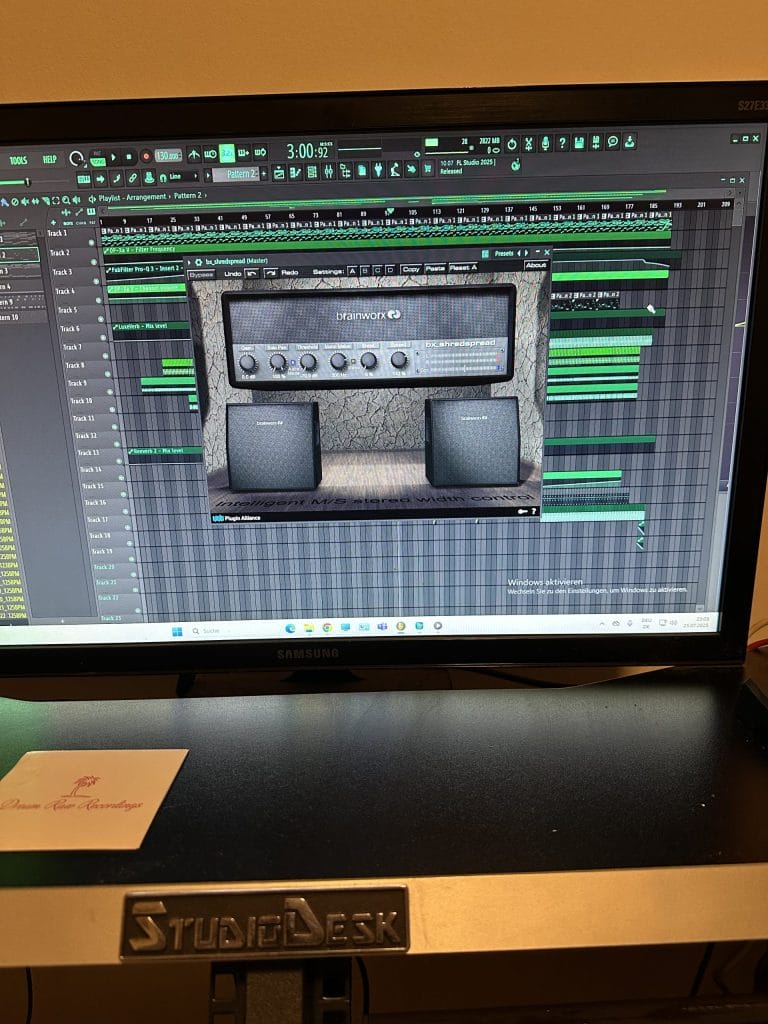
The BX Shredspread from Brainworx is a mixing tool for a lot of purposes and it is included in a PluginAlliance subscription. It has different sections: Gain, Solo Panorama, Threshold, Mono Maker, Shred and Spread. It can be used for many pro Mixing steps.
I use the BX Shredspread on the Master channel, because of the Solo Panorama, the Mono Maker and the Spread (Stereo Widener) sections. I sometimes (like I did it here for the track “Art”) set the Solo Panorama completely on 100% left and right, and the Mono Maker always on 200Hz, which helps clean your mix because all low frequencies are mono. The is especially important for music which will be later pressed on vinyl, so always remember setting the Mono Maker on 200Hz if your music will be pressed on vinyl. The spread is nothing else than a Stereo Widener – I use it for getting a wider and brighter Stereo image on the track. The MSW2 and the Maag EQ4 MS also have similar functions, and they’re also in the PluginAlliance subscription.
I recommend you set the Mono Maker on 200Hz even if you don’t press it on vinyl, as it helps your mix get cleaner. All pros do it. If you want to get a wider Stereo Image you can use the spread and set it higher than 100% and your stereo sound will get wider, but always listen to the whole song while you do it so you can set it on the correct setting. You can also automate the spread over your whole project and listen to the parts of your track with different settings of the stereo image. But be careful and don’t go too high with the spread, because a wide stereo image can cause phase problems, which can be hard to correct. You would need a phase correcting plugin to fix that – for example, Auto Align 2 (it is an automatic phase correcting plugin and costs 200€).
Quick Fire Tips
1: Repeat the kick on the 1st step of 4, to get a 4/4 Beat, with an open hat of your choice on the 3rd step of the 4, clap on the 5th and 13th step of 16, 1/16 closed hi hats, and some shakers and percussions for a great drum beat.
2: Choose a pad preset you like and make a chord progression you enjoy, add a melody with a pluck or synth preset, add some notes of a string preset or a continuing high note of it for the harmony, and add a repetitive harmonic arpeggiator for a good melodic section.
3: For basses, use a reese or sub bass and play single notes which are in key with the sound design, and set it on Legato and Mono. Or, choose, for example, a Moog bass preset, and play a simple but cool melody with it.
4 + 5: Arrangement and Structure are the key for a good driving track. You can it simple too, like the pioneers of house music did with just a few elements in the track, but if you stick to these tips, you have several sound elements that you can play with. Start with the drums all together or adding every drum element every 4, 8, 16, or 32 bars, starting with the kick. Then add a sound element of your sound design (Synth, Bass, Pad, Keys, Plucks, Arpeggiators, Strings) at the point you want them to be heard.
For the beginners, try out different variations of the sound elements together, picking the ones you like the most and start structuring your track into an intro, a break, a build up before the drop, the drop, another break and then a second drop or long main part and then ending in an outro. When you go into the first break it should be simple and clean. Don’t use too many sounds.
You can easily use a down lifter at the beginning of the break so your listeners can relax a bit, then let the sound elements come from the low frequencies slowly rising into the higher frequencies, while you slowly build drums back in as long as you want the build up before the first drop to be, while layering a riser with a reverb and a delay under any snares you’re using. At the end of the build up before the first drop, set the feedback of your delay higher and higher so the build ends with a big echo into the drop.
When the first drop starts, use fewer sounds (like just the kick and the bass) so you can create a smooth calm start to your drop. Then bring back in all your elements. For the outro, you can always use just a few sound elements and the drums and take them away slowly, or you can just automate an equalizer or the volume on the Master channel and bring it down until the track ends.
Preorder “Back To The Roots”, which includes “Art”, here.
Magnetic byline note: This byline is used for staff produced updates and short announcements, often based on press materials and official release information. Editorial responsibility: David Ireland (Editor in Chief) and Will Vance (Managing Editor). About: https://magneticmag.com/about/ Masthead: https://magneticmag.com/masthead/ Contact: https://magneticmag.com/contact/