Indie Dance, as a genre, is a hard one to pin down; it’s just too damn broad of a term. That being said, it also gives a wide breadth of stuff to love.
KOSHU is a producer who has been crushing it lately in the world of Indie Dance. I think his unique take on such an all-encompassing genre as indie Dance is that his background doesn’t necessarily come from a would-be Wes Christian Anderson soundtrack. He’s a bass head, having worked extensively with Ill Gate through Ill Gate’s Producer Dojo and Total Pacific Northwest Burner, which brings a certain swagger and attitude alongside a certain mindfulness in his productions that few can pull off authentically and effectively.
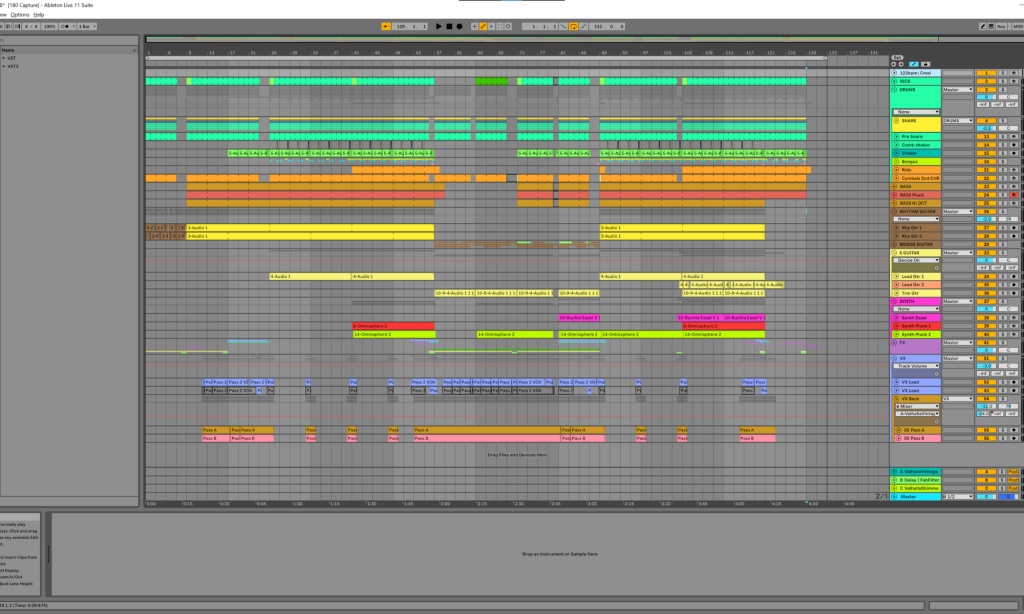
So, with the release of his latest single, “Lose It All,” having just dropped a week or two ago, I wanted to sit him down and find out how he works his magic in the studio for the latest iteration of How It Was Made: KOSHU & Shay – Lose It All.
Neural DSP: Archetype Plini
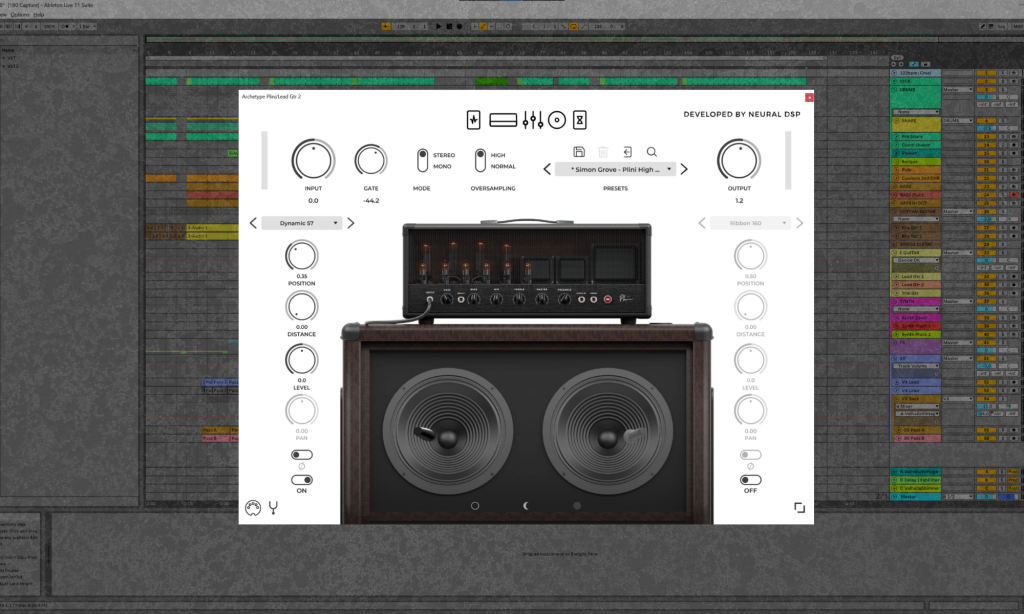
Apart from Shay’s vocals, the guitars definitely take the lead on this song, as far as instrumentation goes. There’s a few different methods I took to getting the right sounds for the different guitar sections, but for the electric guitar, I love using a particular family of plugins as a starting point – Neural DSP. We’ll discuss the Archetype Plini here since that was used the most. These plugins can basically be a one-stop shop for guitar processing. They make your instrument sound super full and rich, the analog amp emulation is top-notch, and the effects are very full (though I generally opt not to use those since I do FX processing further down the line).
When I’m ready to lay down a track, I usually drop in a Neural DSP plugin, in this case the Archetype Plini version, select a preset that matches the energy (in this case, preset named “Simon Grove – Plini High Gain Lead”) and start playing notes to find the right riff. Once I have something recorded, I’ll mess around with different plugin parameters to refine the sound. I usually start with the pedal page, as that has the post-amp effects chain and will yield the biggest changes by twisting around the knobs. After turning up Drive and Tone parameters on the Overdrive pedal to give the guitar more density in the mid-highs, I move to the amp and EQ section to enact more subtle adjustments.
This plugin is a great tool to keep yourself in creative flow without stopping to fiddle around with parameters. It works really well out of the box, allows you the freedom to start playing and exploring and recording your string instrument, and gives you a very clear representation of the potential of your instrument. There’s some additional processing that has to happen for this tool to fit within a broader mix, but if you’re staring at a blank project with a guitar on your lap, unsure of what to do, I would highly recommend having one or two of these plugins in your arsenal to get you stoked on playing that first note to see what comes out.
Waves Reel ADT
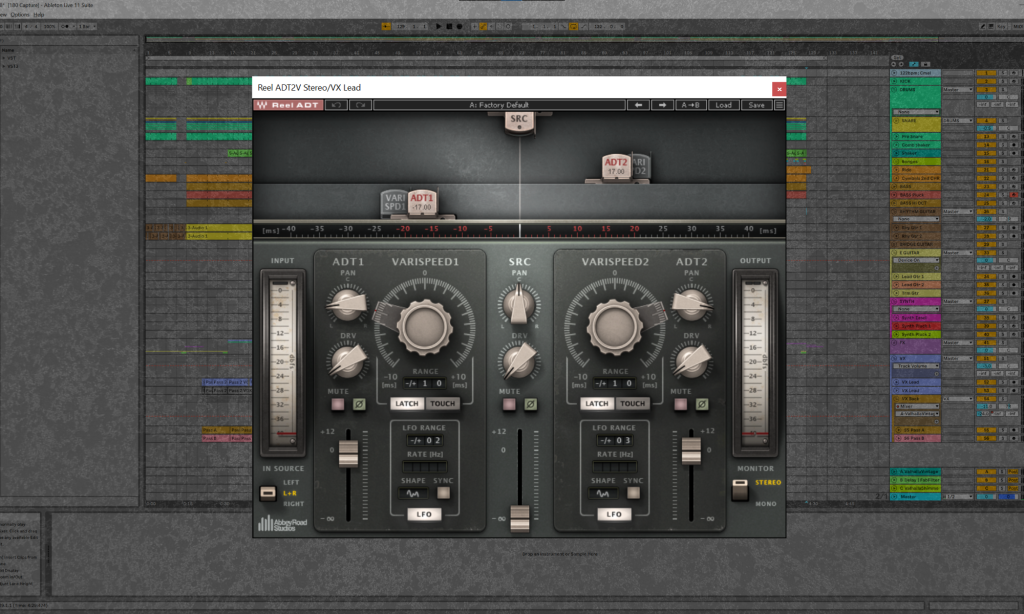
Shay’s vocals define the vibe of the song. Her velvet and airy phrases make me feel we’re in a dark, smoky, underground jazz club. In that sense, it’s important to keep the voice feeling like a clear solo lead while still making it sound full and broad in the mix. While I do have a few different effects in my parallel vocal processing chain, the one I always go for is Reel ADT by Waves. The history behind this effects rig is actually fascinating – it’s a reproduction of a technique that was invented for the Beatles in the 1960s. The lore goes that John Lennon got tired of double tracking his vocals for the entire song, so Abbey Road engineer Ken Townsend created ADT – automatic double tracking. The track is duplicated, offset with a small delay, and its speed is further modulated with an LFO, giving the sense of multiple different vocal tracks, leading to a fuller sound.
This plugin lives in my vocal parallel processing audio rack in Ableton. Using Waves ADT by itself would sound a bit too bare most of the time, so it shares the parallel chain with other effects like H949 Dual Harmonizer, distortion, oversaturation, OTT. I find that there’s a good sweet spot for most vocals to be offset around 15ms either direction, then an additional oscillation of varispeed around +/-5ms. Most of the time, I use two copies of the track, and pan them to either side of the stereo field for width. I usually mute the main center track for this effect, because the center processing is often done in another part of the parallel chain. Then add some saturation and EQ to fit in your song, and that’s it.
This is a very powerful plugin with a long and tested history in music recording. It’s a great tool to have if you only have one lead vocal track to work with, or if you need even more fullness from your multi-tracked vocals. Though the Waves ecosystem feels a bit dated, I would still recommend it’s worth navigating just for this plugin alone.
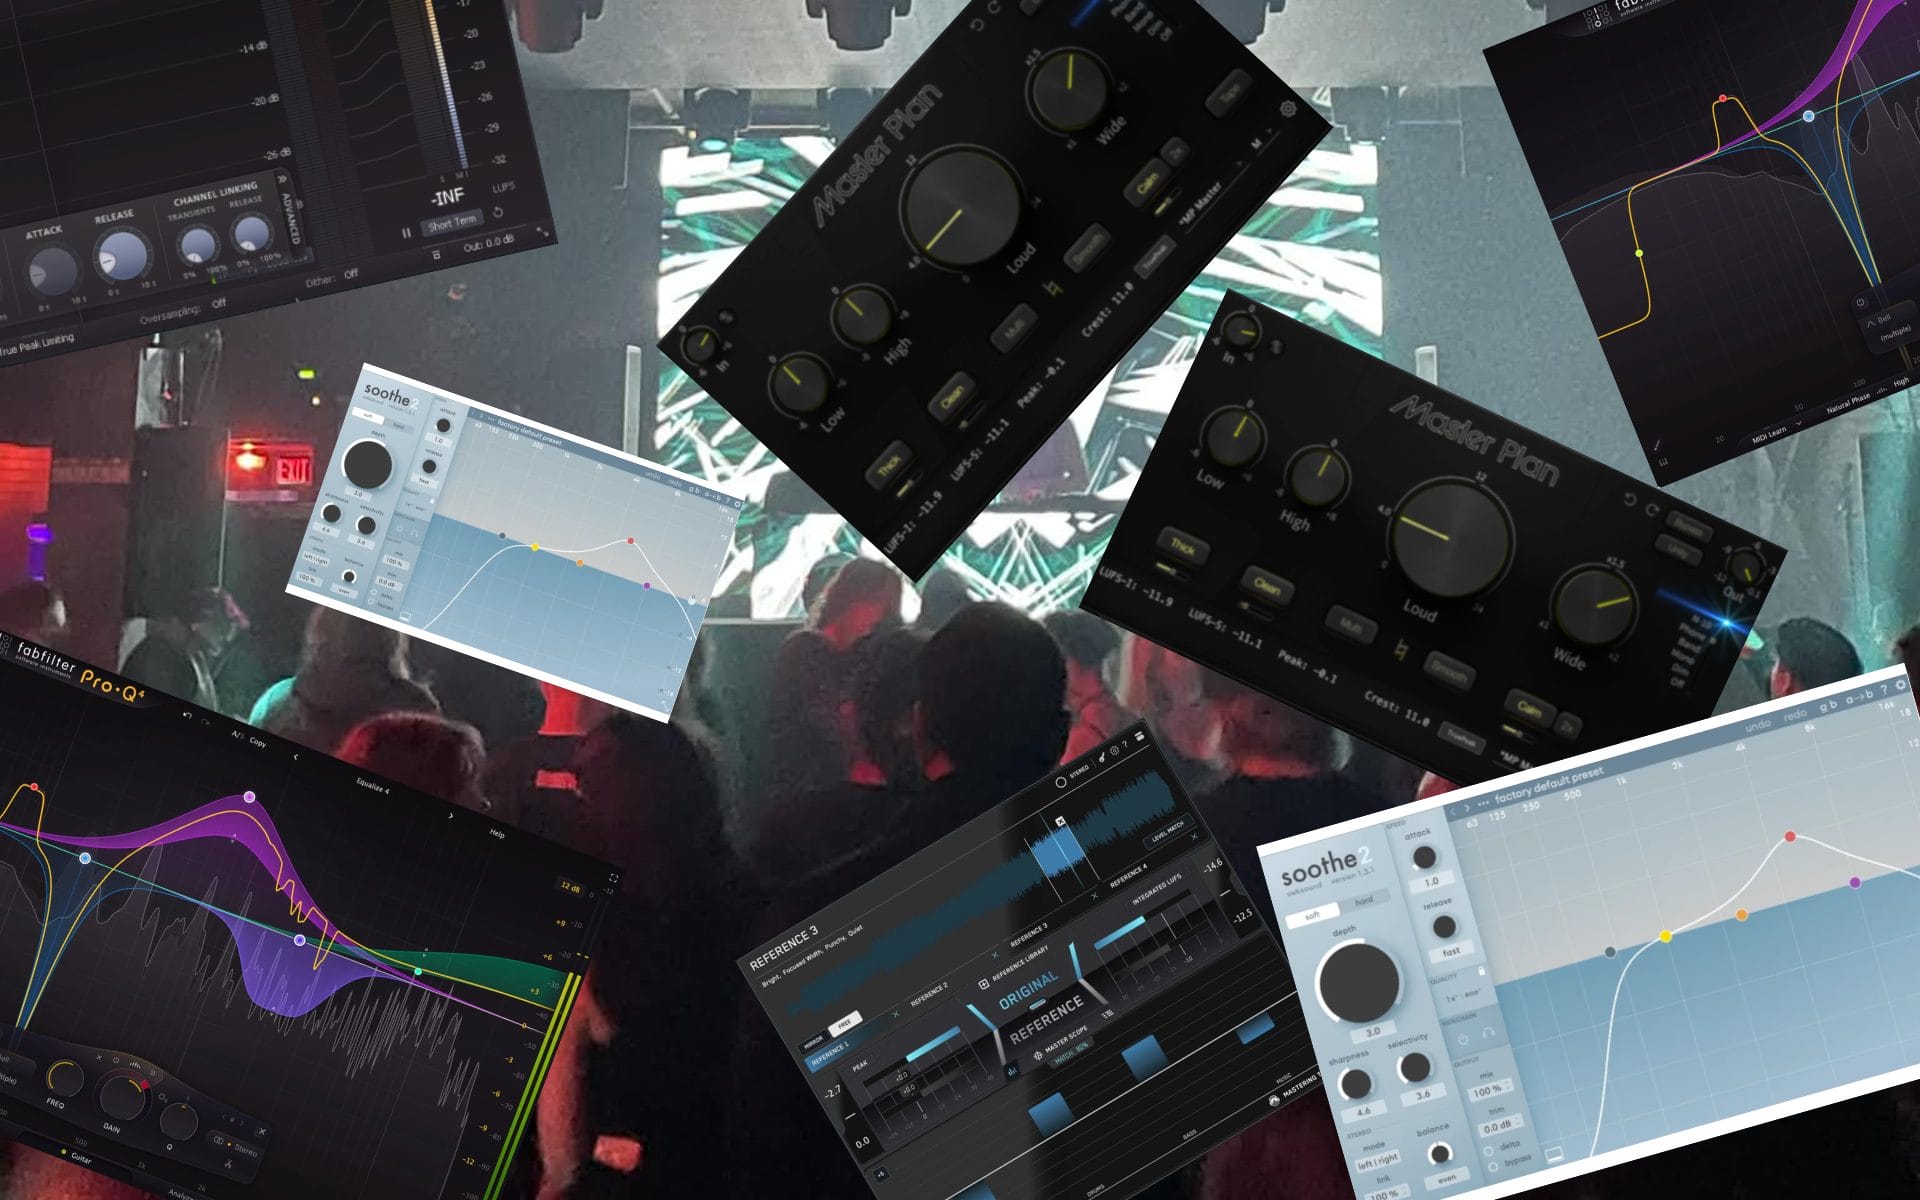
Oeksound Soothe2
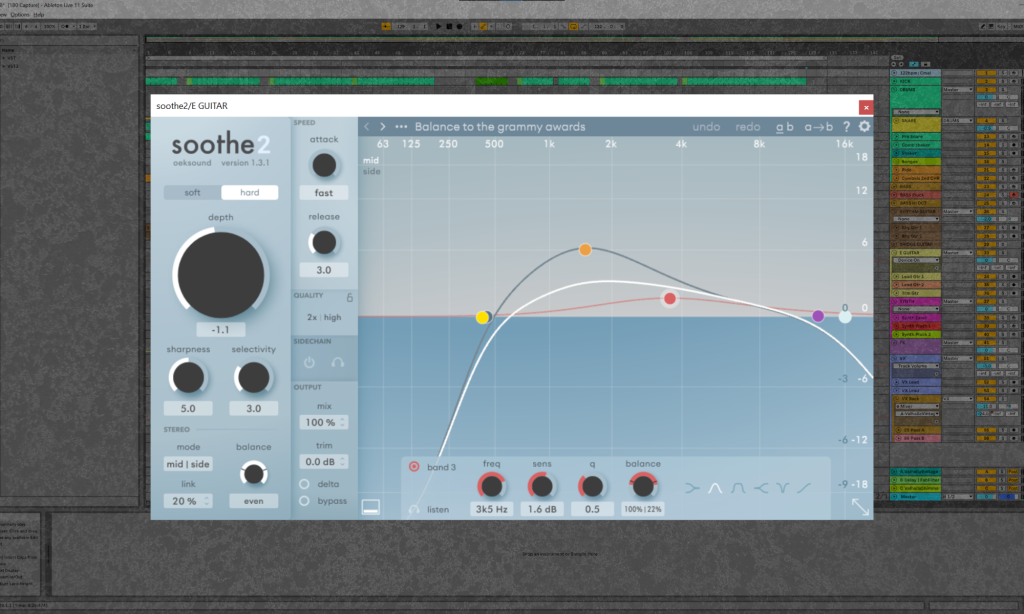
An ideal tool to have in your arsenal when you’re approaching the final stages of mixing. This little plugin uses a dynamic spectral approach to compression, especially when it comes to taming transients that, while not readily perceptible, can throw your entire mix off during the broad compression stages if not addressed. Instead of using a simple EQ to cut unwanted frequency spikes, this plugin lets you identify compression strength along an EQ curve, along with sensitivity parameters, to catch transients while keeping the rest of the sound intact.
I find this plugin super helpful to use with any instrument or synth that sits anywhere near the human vocal range. In my case, I used it with the lead guitars on this track. If both guitar and vocals were active, I needed to make sure Shay’s voice was clear and present, without losing any of the guitar’s character. I could have done this with some parallel compression routing, but this plugin gives us the same result quite well. After I apply it to the lead guitar bus, I tend to pop in the “Balance to the grammy awards” preset for a quick test, as that one has given me the best broad results in the past, and feels the most responsive. Playing around with EQ, I make sure to pump it a bit higher in the 1-2Khz range, and roll everything else off. Aside from changing the Depth/Sharpness/Selectivity parameters slightly, this plugin sounds great already, and makes the guitar ring through all around the vocal range without actually chewing up valuable real estate in the vocal spectral range.
It can be a great tool for getting closer to your ideal mix and helping tame wild transients to achieve a louder master overall. However, there is such a thing as too much—if you overuse it, it can make things sound boxy and less dynamic. Remember to test it out thoroughly and A/B your signal to ensure you’re not sacrificing your sound quality just to cut out transients.
Quick Tips For Making Indie Dance
1. Find your groove. Experiment with syncopation, and don’t feel like you need to fill every gap with sound.
2. Never underestimate the power that short vocal phrases can have on the swell and flow of the track energy, especially when harmonized and layered underneath the main vocal track.
3. Run all (or most) of your reverb and delay into the same bus for a uniform vibe and feel. I realize there’s situations that might call for doing the opposite, but for this one, I really found the tactic helpful in honing down on this uniform. smoky, dark, and alluring vibe.
4. After times of big progress, remember to let it sit for a bit, and come back to it to find new inspiration. Don’t sit on it too long (like I did!) and set a deadline to finish.
5. Collaborate! Brainstorm ideas and melodies with your vocalist. Find other instrumentalists to contribute to the song. It will enrich the overall palette.
Magnetic byline note: This byline is used for staff produced updates and short announcements, often based on press materials and official release information. Editorial responsibility: David Ireland (Editor in Chief) and Will Vance (Managing Editor). About: https://magneticmag.com/about/ Masthead: https://magneticmag.com/masthead/ Contact: https://magneticmag.com/contact/