Philip George (@philipgeorgeuk) has been making house music for well over a decade, and his latest release on Prunk’s PIV Records offers a good look at where his production style has been heading recently. The Nottingham producer has been exploring garage influences and minimal house, moving toward arrangements that give the individual elements room to develop without relying on excessive processing. His Stronger EP, arriving November 6, brings that approach to PIV for the first time, with two original tracks and a remix from label regulars Retrouve.
George’s recent work has included collaborations with Mood II Swing, remixes for artists including Kerri Chandler, KETTAMA and Interplanetary Criminal, and releases on Reliance Recordings and Dansu Discs.
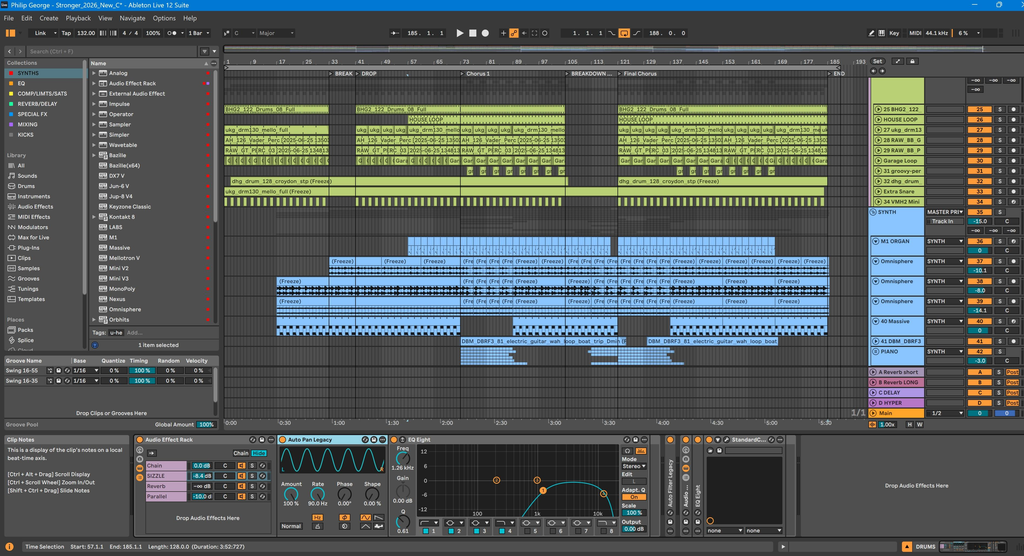
That background helps explain some of the production choices on “Stronger,” where soulful vocals, recorded percussion and carefully controlled drum loops are central to the arrangement. Rather than building the track around a large collection of synthesizers, George has focused on finding the right sounds early and using a relatively small selection of plugins to get them working together.
For this edition of How It Was Made, George walks us through four plugins that helped shape “Stronger,” including Omnisphere for its recorded percussion library, Valhalla Space Modulator for stereo processing, Waves Smack Attack for controlling drum transients and Xfer’s LFO Tool for managing the relationship between the kick, bass and synth layers. He also shares three production tips covering sample selection, learning your instruments and the importance of putting in the time to develop your own music.
Omnisphere
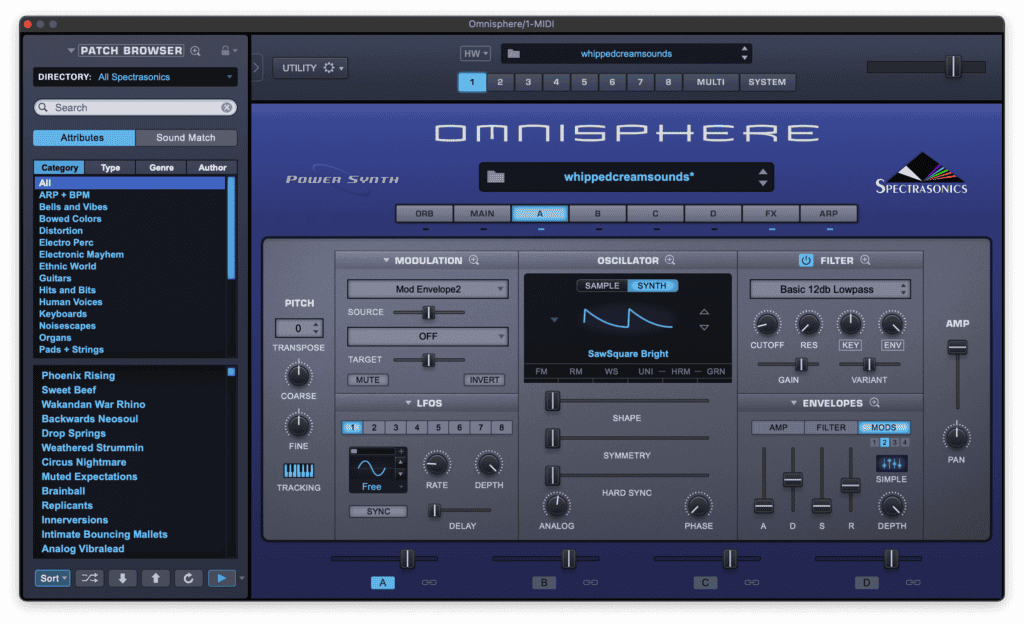
One of the main synths I’ve used for Stronger is Omnisphere, which is a hybrid synthesiser/sampler. I’ve been using this extremely bulky, memory-sized plugin (60 GB) for years, and as scary as that sounds, it’s totally worth it. Real-world acoustic patches, incredible analogue presets, cinematic soundscapes, with parameters that give you quite a bit of control; it’s just a well-rounded plugin.
In this track, I used this synth to find real-world-sounding percussive mallets to accompany the soulful vocals. The library of recorded percussion is incredible, with each hit sounding different, so it was the perfect fit for this record. One preset I used was ‘Coiling Zim’bira 1’. The only real processing I used on top was a bit of EQ and a space modulator to give it some flanging tones.
Fully recommend this plugin to anyone who is looking for some more grounded sounds, as I find that just using fully digital-sounding synthesisers can sometimes feel a bit soulless or square; this plugin gives you, as it seems, almost endless patches, and you’ll always be able to find a sound you are looking for.
Valhalla Space Modulator
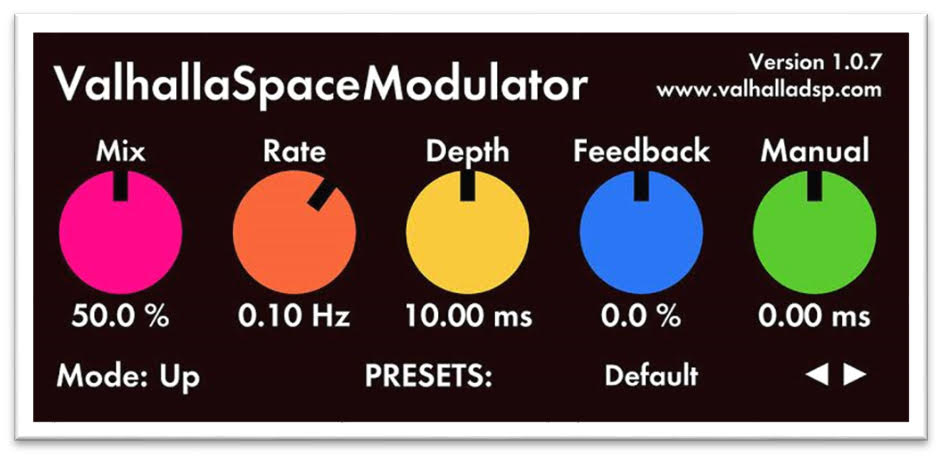
So, the Space Modulator from Valhalla, in a nutshell, is a flanger alternative. I’ve only been using this for the last year or so (And it’s a free download, wahayy). As well as many of the cool parameters and presets it has as a flanger, I love the stereo enhancements it brings. It seems to bring the simplest sounds to life.
So I used this on many of the sounds, but the secret sauce it to use its default patch and bring the mix down to around 20% to give the sound just some more depth; then I sometimes play around with the rate to give it more warped effect. Also, a good way to learn the plugin is to go through the patches and hear what it brings to the table. It’s incredible.
This plugin can be used in literally any genre, in my opinion, but specifically house music; you could use it on vocals to give the vocal some depth, or you could use it on one of your drum loops that’s a little to mono, to give it some stereo space in the mix. You could even pop it onto a pad or synth as a more vanilla flanger to create that warper moving energy.
Smack Attack
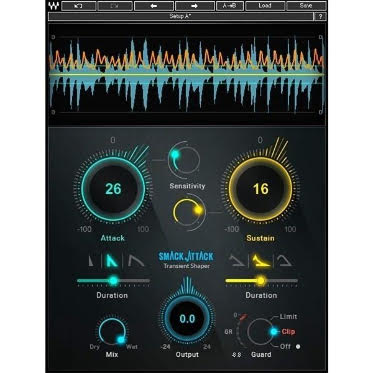
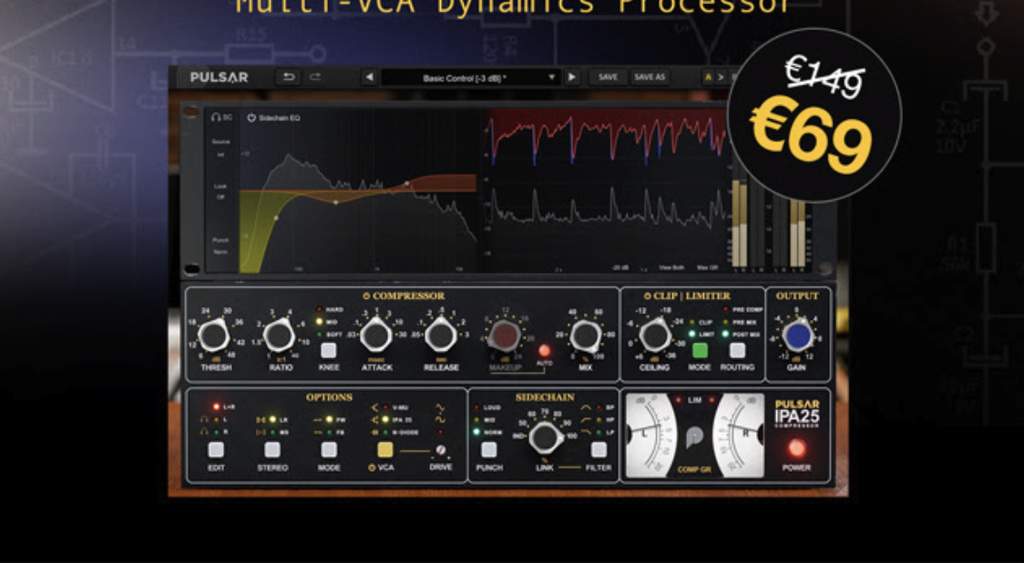
The Smack Attack from Waves, for me, is the perfect transient designer. Mainly used on my drums, whether it’s a clap or loops, I just love how versatile it is. You can get more basic transient shapers. But I love how this one has not just the attack, but also the sustain, and the time of each + shape of each. And at the end of the signal, you have the options of a limiter or clipper for the final output signal.
With this track, I specifically used it on the loops of the record. I usually have 2/3 main loops that bulk out the beef of the drum loop, but sometimes the loops can be a bit too cluttered, so this plugin gives me a way to control those transients to create more space for the other sounds in the drums to breathe. Usually I’ll bring the sustain all the way down to start with to hear how it sounds, then slowly bring the sustain back up to find the happy medium.
If you are making house music, I feel like this is a must-have. Even on the flip side of bringing transients down, you can use it to get more umph on, let’s say, a clap, so it hits a bit harder using the attack parameter. Brilliant plugin.
LFO Tool
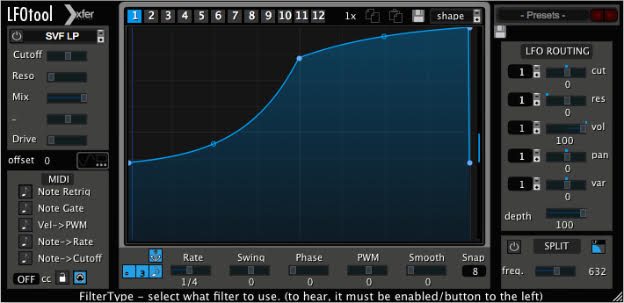
The LFO tool is a manual audio shaper; as a sound passes through it, if that’s on a beat, or half beat, or quarter (You can set that, but the default is on beat), you can shape how the beat passes through. A basic way of using this is similar to a kickstart, so as a sidechain effect, without any specific signal affecting the ducking of the sound, but more so how you’ve drawn the shape.
I usually use this effect plugin on my bass layers and synth layers. And usually after this effect, I will also use sidechain compression, which means I’ll have full control of the sound. I mean, you could just use sidechain compression, but the LFO tool gives you that extra control to make sure sounds aren’t clashing with the kick. As simple as it is, the difference in my mixes has been night and day since using it.
There are so many ways to use this, whether as an automatic sidechain, or you could chop the tail of a clap in the track. Or you can slowly bring it into the mix on a build-up to get that whooshing sound, with a pad to build tension. Again, such a versatile effect; it does exactly what it says on the tin. Top shelf purchase
Quick Fire Production Tips
Tip #1
Love of the grind. So many people expect to make music overnight, but with time and love come great bits of musical art.
Tip #2
Find the best samples you can. People tend to over-process their drums, especially, but if you find good samples to start with, you don’t need to do so much processing.
Tip #3
Find a synthesiser you love and learn it inside out. Someone’s identity in sound can literally come from one synth; it’s not always about using 10 different synths on a track.

Will Vance is a professional music producer who has been involved in the industry for the better part of a decade and has been the managing editor at Magnetic Magazine since mid-2022. In that time period, he has published thousands of articles on music production, industry think pieces and educational articles about the music industry. Over the last decade as a professional music producer, Will Vance has also ran multiple successful and highly respected record labels in the industry, including Where The Heart Is Records as well as having launched a new label with a focus on community through Magnetic Magazine. When not running these labels or producing his own music, Vance is likely writing for other top industry sites like Waves or the Hyperbits Masterclass or working on his upcoming book on mindfulness in music production. On the rare chance he's not thinking about music production, he's probably running a game of Dungeons and Dragons with his friends which he has been the dungeon master for for many years.