Consequential’s latest single, “Cravin’”, marks a significant milestone for the Bury St. Edmunds-born producer.
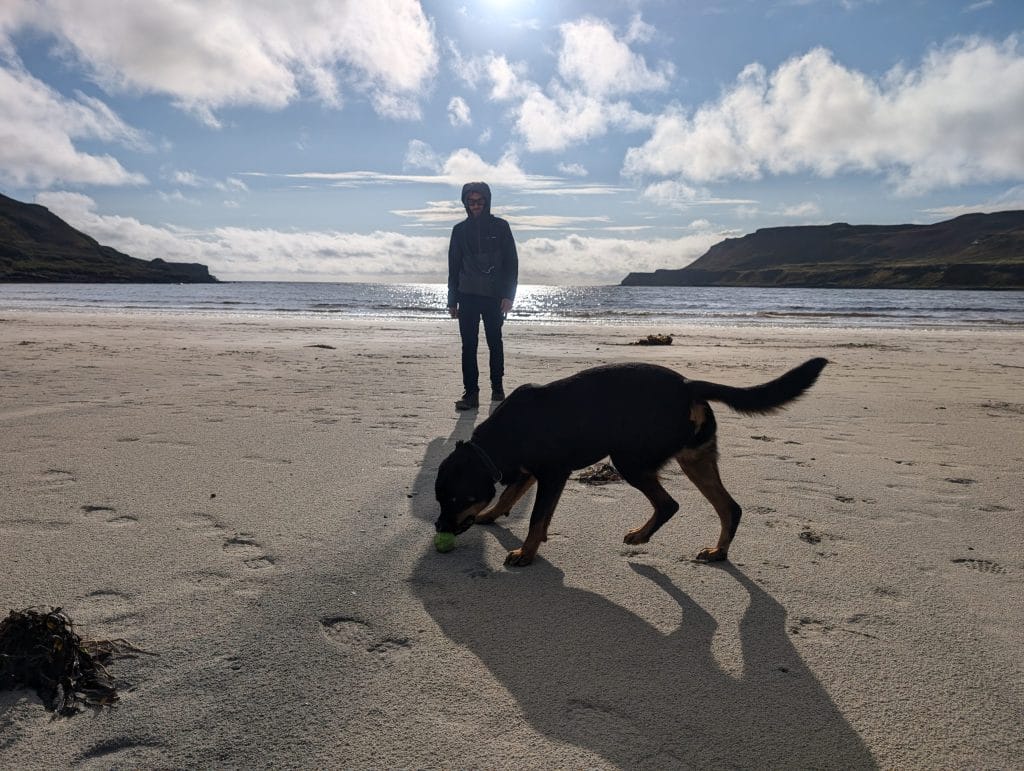
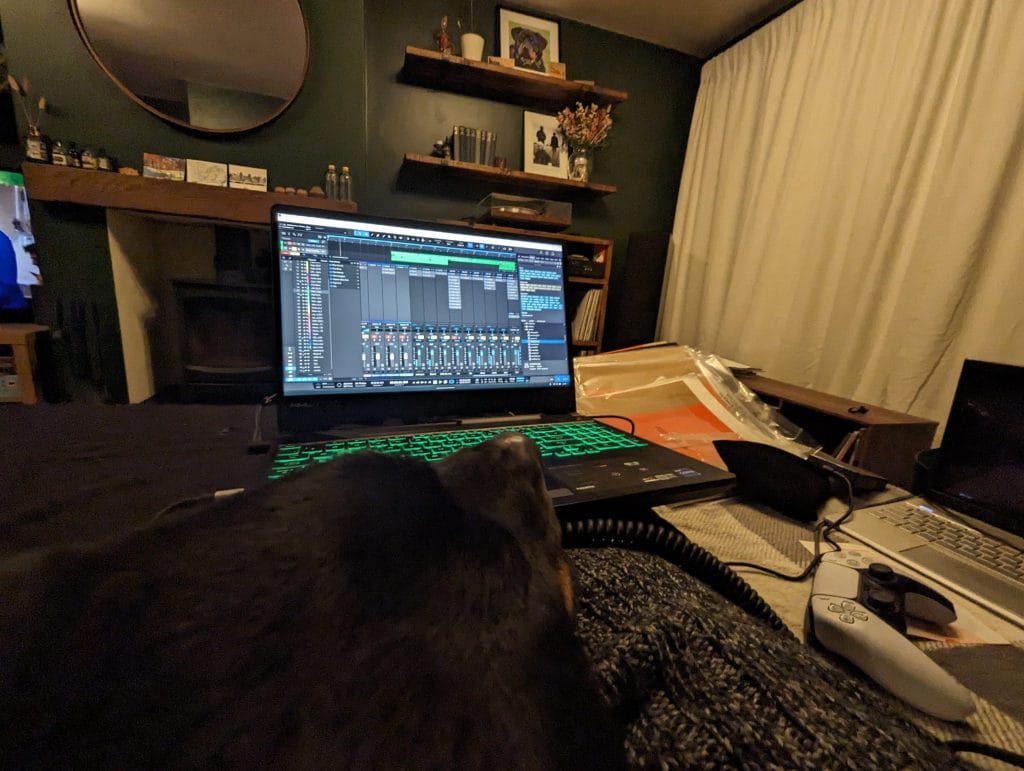
At its core, the track is a showcase of both technical precision and playful creativity – produced entirely in the box yet layered with real-world textures that lend it a tangible edge. Among the most striking of these is a sample of Consequential’s dog catching a tennis ball (for those wanting to see said dog, see the picture below), a small but vivid detail that highlights the project’s ethos of finding inspiration in the everyday.
Known for blending stomping basslines with melodic intricacies, Consequential has carved out a sound both visceral and meditative. “Cravin’” continues that trajectory, balancing a club-ready energy with an almost cinematic depth. It’s a release that speaks not only to production skill, but also to an ability to frame the unconventional – whether drawn from muddy fields or quiet moments on the sofa watching birds nest – as fuel for fresh sonic landscapes. It’s a production ethos that we wanted to learn more about.
On this installment of our “How It Was Made” series, we sat down with Consequential to learn a bit more about how this tune came together. Read on to learn more, and take a listen to the track below!
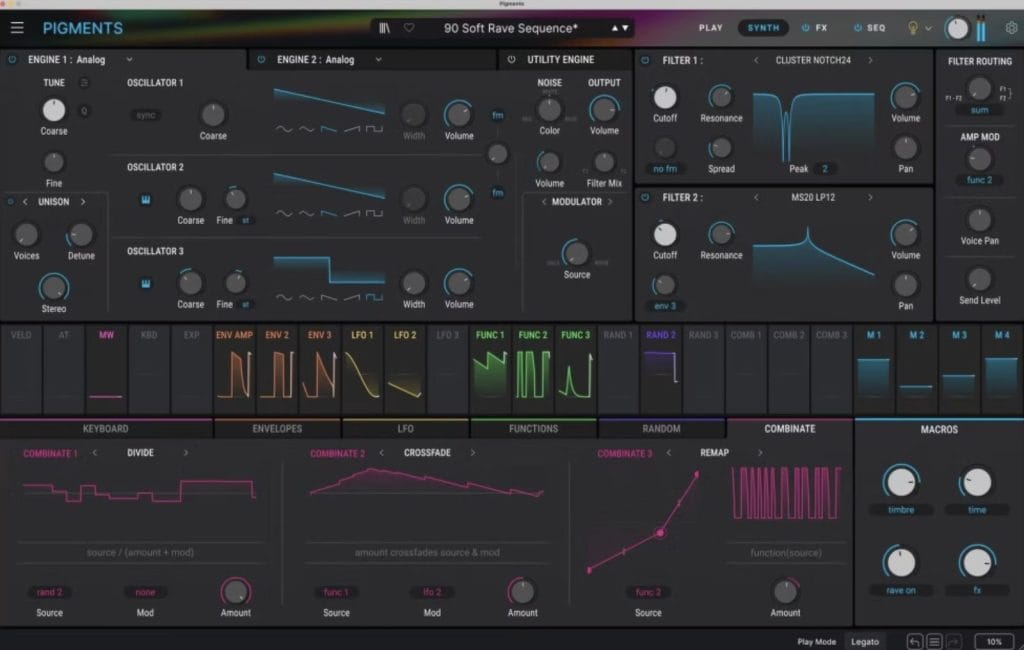
Arturia Pigments
Since the latest update, I find myself leaning further into this synth as my go to workhorse as it pretty much covers every sound you could need and gives a huge amount of control over each parameter. The presets are great starting points if you are looking for a quick idea or you can build from the ground up and it genuinely has endless possibilities.
It can be used for everything from gritty base to soft fluttery bells and deep pads. Whilst they are good, I tend to leave the effects section off on most synths I use as I like to use sends and busses to allow more control over the automation and levels at certain points within a track, and I find it easier to do this externally from the synth.
Soundtoys Decapitator
This is my go-to for saturation. It’s warm sounding and can be used subtly as partial glue on a bus as well as being capable of over the top screaming distortion.
It’s used within my track mainly as a send effect. I have a few varying instances which are all set slightly differently for each type of instrument. Yes, there is a mix knob, but I like to be able to play with the levels across multiple channels and can do this easily within Studio One this way.
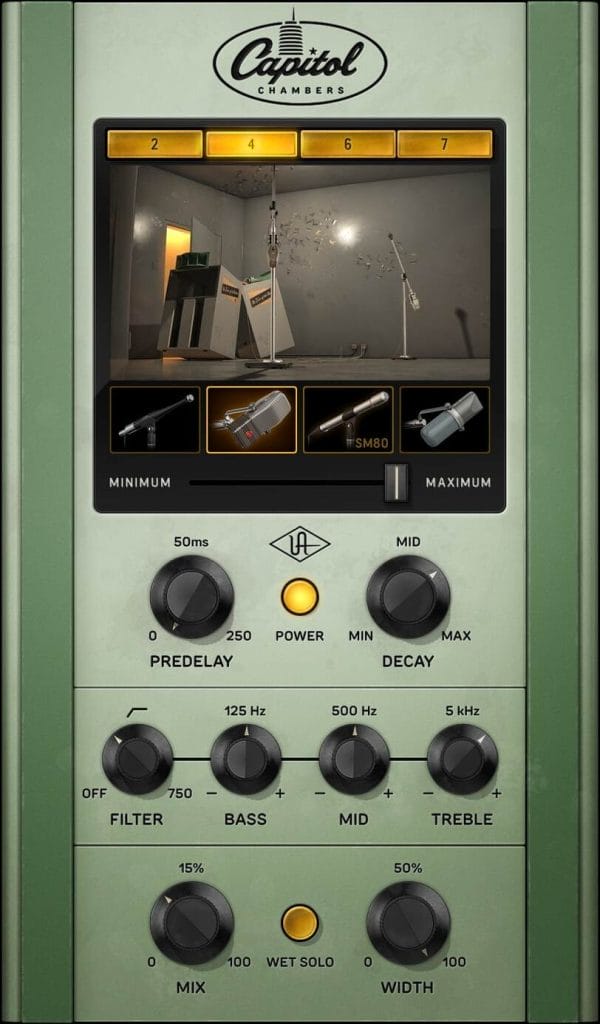
UAD Capital Chambers
Although it is quite intensive on my CPU, I like to use this reverb frequently for setting the scene of a track. Again, using it as a send effect, I can automate the levels on each channel to put it into its space, and it also aids in pulling the sounds together.
I usually have a couple of instances running parallel, one short one long, and start blending each sound or bus differently with these to create depth and space. It’s got a lively feeling to it and helps bring life to digital sounds.
Minimal Audio Hybrid Filter
‘Creamy’ is all I can say about this one.
It gives you multiple filter parameters and control of the modulation over these. It can be used for subtle risers or intense modulation and does it all very well.
I like to have a few instances with different high pass/low pass filtering and automate the levels of these at varying points. A staple in DNB is using a filter as a riser to create tension and room for a drop. It can be used the opposite way to allow space for other elements to pop through in certain points within a track.
Quick Fire Drum & Bass Tips
- The texture is as important as the sound.
- Use your own real-world samples to add personality to a track.
- Try to use at least one sound that means something to you in a moment – after hearing the track a thousand times, you can still relate to the moment.
- Listen to your track in different environments. Remember old gigs where the band sounded better outside? Try this when you are mixing. Leave the room, turn on a tap or the washing machine, touch different surfaces and find what’s resonating. If you can feel something someone else will. If the sound cuts through the noise it will stand out.
- CamelPhat (the plugin now known as Phat FX in Logic Pro X) is still usable.
- If it sounds good, it doesn’t matter if it’s not the latest update or a new toy.
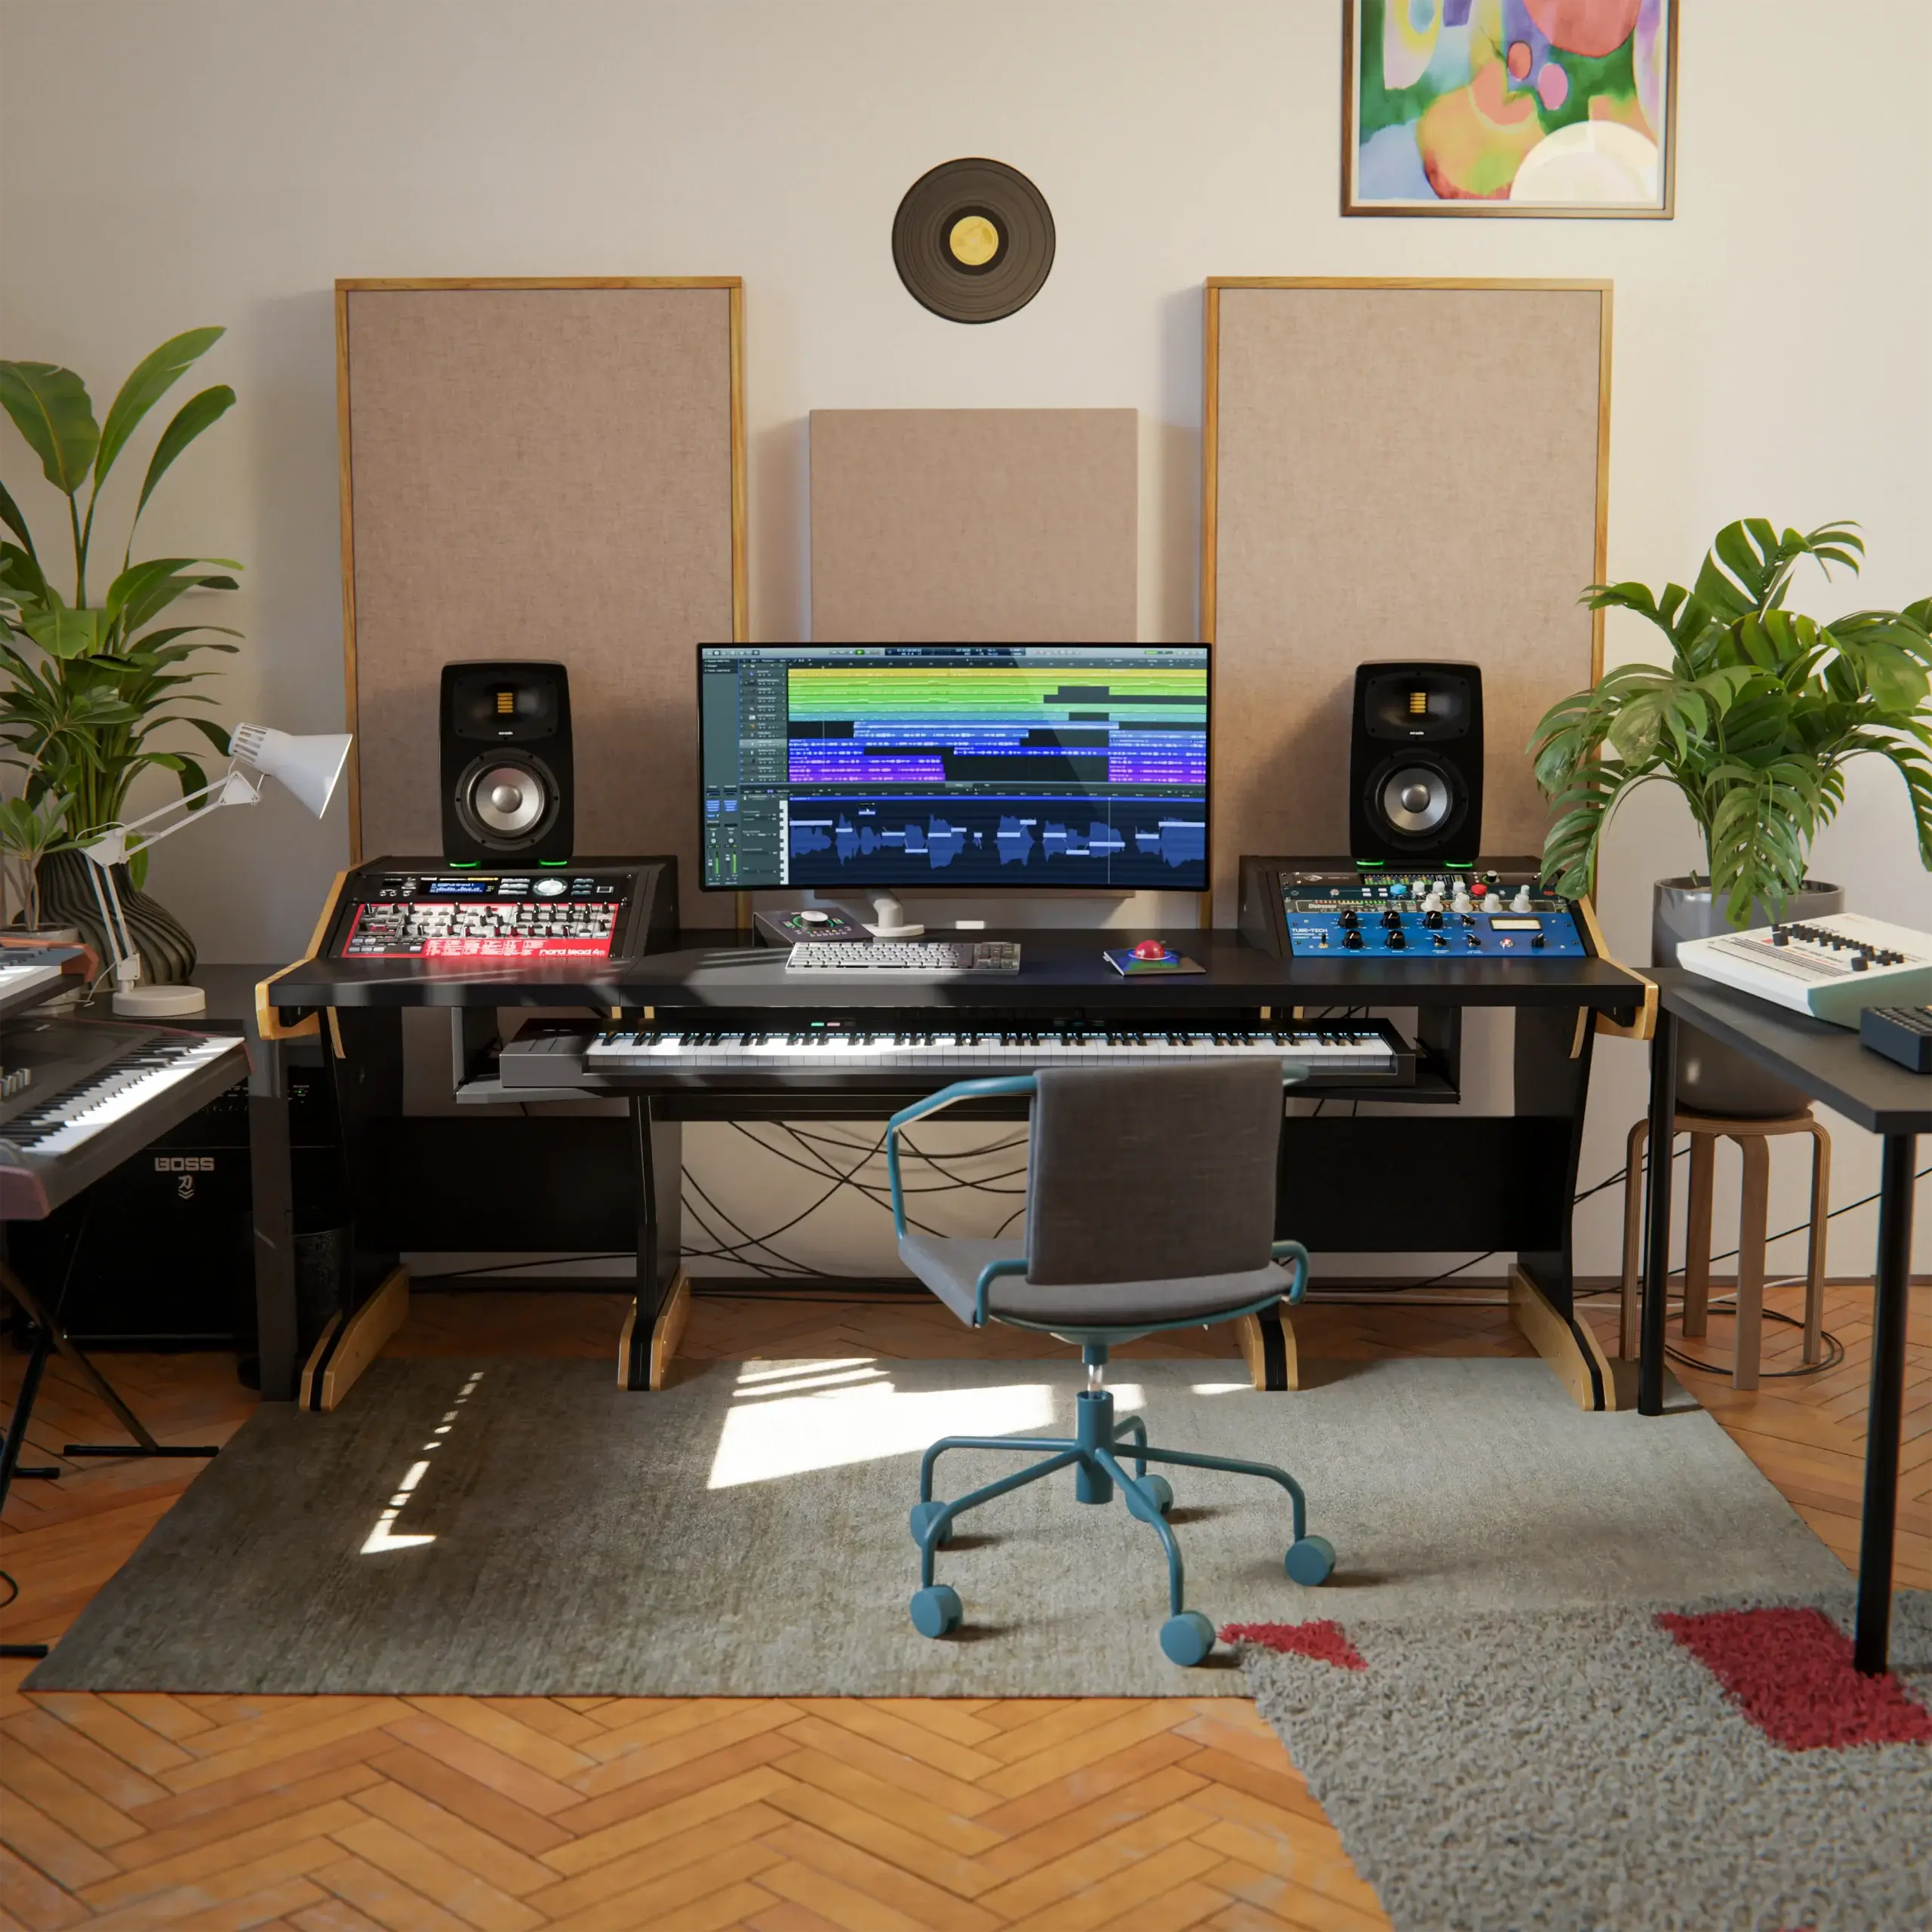
- Be comfortable in the space you are working in, you might be there for a few hours.
- Having a dog laying on you adds more warmth to any mix. Haha!
Stream “Cravin'” here.
Ben Lepper is a music producer and journalist from Boston, Massachusetts.