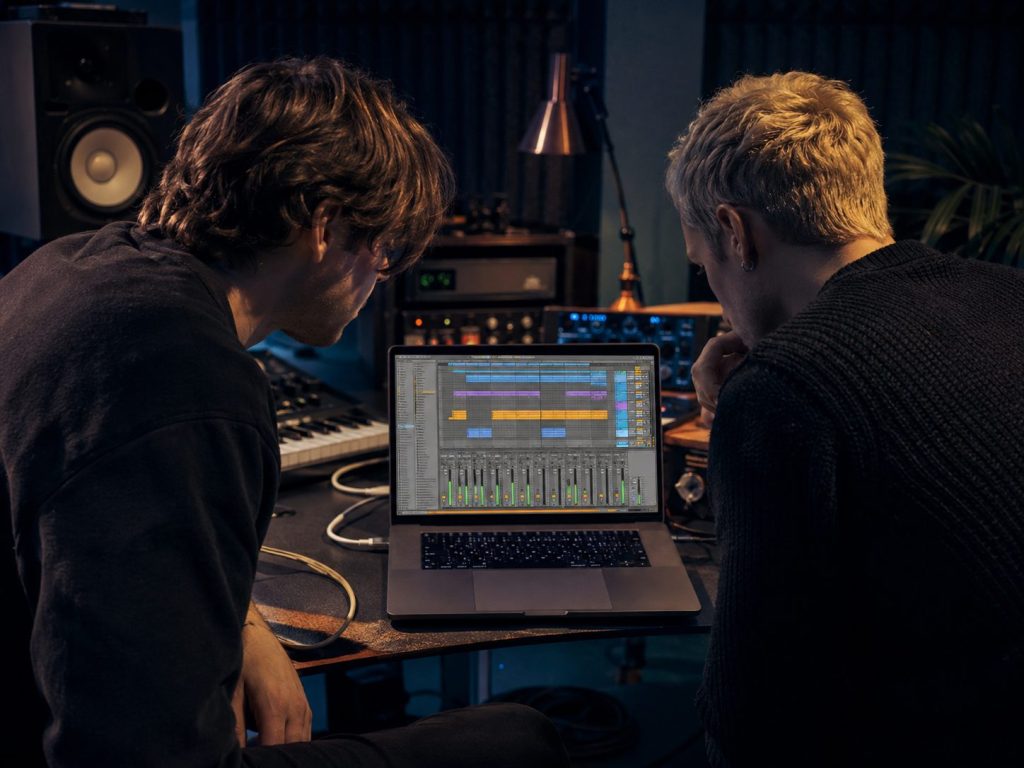
BIJOU is kicking off a major new chapter with “Mind Eraser,” his debut single on FISHER’s Catch & Release, which arrived on August 22. The release marks both a creative relaunch and the start of his first headline tour in two years, also carrying the Mind Eraser name. Built around a driving bassline and written in a whirlwind session with vocalist Datti, the track signals BIJOU’s return with a refined house sound and the stamp of approval from one of the genre’s most visible names.
The track came together quickly — most of it was written on the move, with the initial bass idea drafted in an airport lounge before the studio session. That immediacy carries into the record itself, with its raw energy and punchy presence tested on the road before release. With additional singles lined up on Catch & Release, a revamped visual identity, and an extensive tour schedule hitting major U.S. markets through the end of the year, BIJOU is laying the foundation for a full-scale comeback.
For this How It Was Made feature, BIJOU opens up his process on “Mind Eraser,” walking through the plugins and tools that brought the single to life. From shaping the core bassline in Serum to clipping his drums with Standard Clip, dialing in vocals with Nectar 3, and rounding it out with Ableton’s own saturation and processing, he explains how simplicity and decisive moves can drive a track forward. His breakdown offers practical advice on keeping sound design efficient, managing drums with precision, and using vocal effects creatively without overcomplicating the mix.
Serum
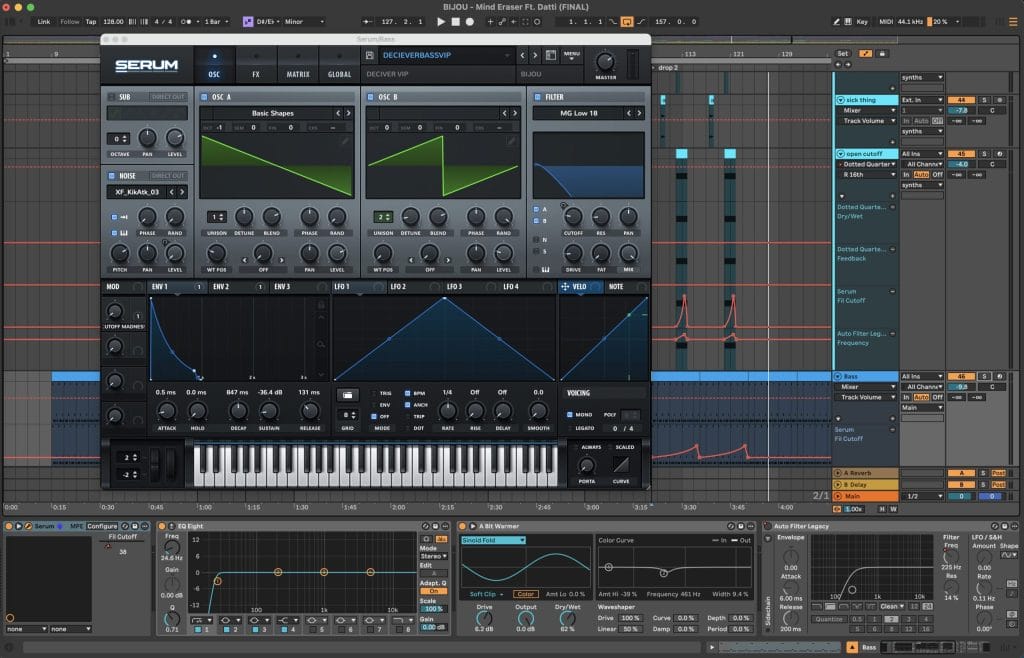
Serum, Serum, and more Serum. I know Serum 2 is out now, but this tune I made back in February prior to it actually coming out. I’m definitely a digital synth guy and have previously had and used some soft synths, but the efficiency with them wasn’t really there. I admittedly also am not the best at sound design, so I work best off of presets and manipulating the sounds from there. A super power of mine is that I know exactly the sound I’m looking for and can typically get it to that point pretty quickly.
It’s simplicity here, as it’s just a sawtooth and saw wave across two oscillators creating the rich and warm bass sound. The bassline is what really drives the track forward, but one of the most important aspects of Serum in “Mind Eraser” was the automation. More specifically, the cutoff filter automation throughout the track. In the second drop, I’m opening up the cutoff filter over an eight-bar phrase, which makes the bass sound more intense and adds energy. That was necessary because the song started to feel stale, which is why there’s such heavy use of one-shots throughout. I also used Ableton’s “A Bit Warmer Saturator” on almost all of the basses and synths, as they’re heavily layered in a call-and-response pattern. The initial synth on the drop was another use of Serum that really added to the energy when it hit.
Something I really want to stress is the simplicity aspect of it. There’s not a ton of crazy sound design going on with “Mind Eraser,” as it’s essentially presets I’ve manipulated to sound unique and in line with my sound. I think producers often overcomplicate things, thinking they need to build everything from scratch, which isn’t the case. There’s nothing wrong with using the tools you have in front of you and finding ways to make them sound unique and personal. That’s what makes music so special—there are no boundaries. In my eyes, Serum embodies that perfectly, because you can use it for anything you need.
Standard Clip
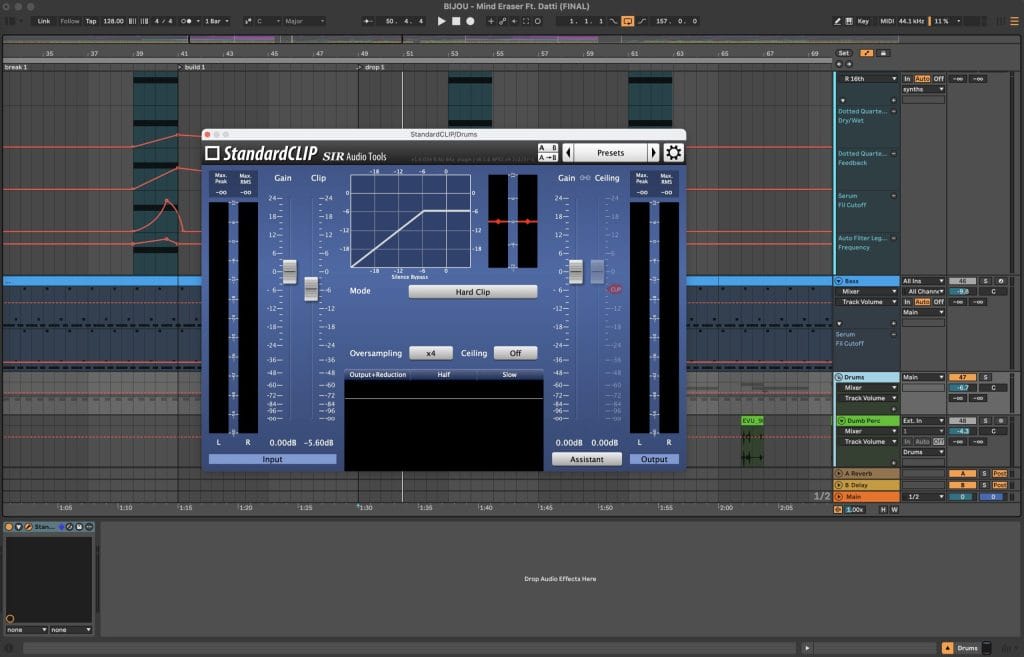
Standard Clip has been one plugin that I’ve used religiously on my drums since the start of this year. Clipping is often confused with limiting, as they do similar things but in very different ways. Clippers make a signal louder without increasing the overall volume of the sound. What we’re doing is clipping off the “peaks” of the drums—most specifically the snares—to create more headroom in the group itself. The purpose is to then push the master of the overall track further.
I mainly use this on my drum group once I’ve mixed it to a point where I’m happy. You want to treat it like a haircut, clipping only the necessary parts of the sound. If you push the clipper too far, you’ll hear audible distortion—that’s when you know it’s time to pull it back. The goal is to have the volume of the drums sitting lower than the kick, since the kick should always be the most prominent element. From a technical standpoint, you rarely need to push past the -6 threshold. If you do, something else is off in the mix.
This is one of those plugins that can easily create heavy distortion if you’re not careful. I only ever use it on drums; I’ll use a limiter elsewhere. Getting my drums to sit lower than the kick used to be a big issue for me, but once I understood clipping, it changed my mixes. It can be frustrating when you’re learning, but the point is to get your music sounding the best it can. Standard Clip is one of the most useful tools for that when it comes to drums.
Nectar 3
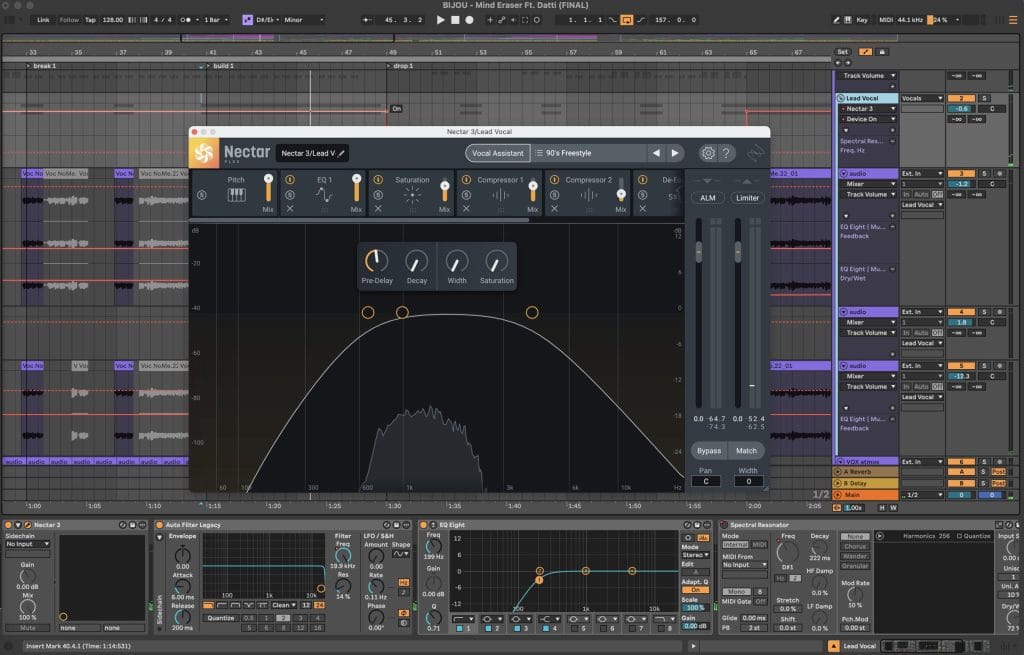
This plugin has become one of my go-tos for vocal processing. It’s an iZotope plugin built specifically for mixing and processing vocals, and it’s incredibly powerful. There are tons of presets, many organized by genre, which makes it easy to get creative quickly. You can throw it on an individual vocal or a group bus and get unique results in almost any style.
For “Mind Eraser,” I actually used two different instances of Nectar on the vocal group. The theme I wanted was spacey and euphoric, but still present enough that you could understand what Datti was saying. On the first instance, I used the “90’s Freestyle” preset, which is more hip-hop driven and includes pitch correction, EQ, compression, saturation, a de-esser, and reverb. This gave the vocal grit and attitude. On the second instance, I used the “Back Me Up” preset, which added backing vocals and harmonic richness without muddying the mix. Together, they created the balance I was looking for. I also added Ableton’s Spectral Resonator to create the robotic tidbits in certain parts of the lead vocal.
I’d recommend Nectar 3 to anyone working with vocals. It’s versatile and has endless possibilities if you’re willing to dig in. One word of caution: many of the presets lean heavily on reverb and delay, which can wash out the vocal. I usually turn those off and rely on separate reverb and delay plugins. But overall, Nectar 3 is an essential part of my workflow for vocal FX and processing.
CONNECT WITH BIJOU

Magnetic byline note: This byline is used for staff produced updates and short announcements, often based on press materials and official release information. Editorial responsibility: David Ireland (Editor in Chief) and Will Vance (Managing Editor). About: https://magneticmag.com/about/ Masthead: https://magneticmag.com/masthead/ Contact: https://magneticmag.com/contact/