Table of Contents
Kidnap is an artist who has been on my radar for about as long as I’ve been listening to dance music, back when he was Kidnap Kid. Still, I found a new level of respect for him when I took his start-to-finish course on IO Academy a few years ago when he dropped some of the best golden nuggets of production wisdom I had ever heard. The exact verbiage escapes me as I watched the course years ago, but his advice on avoiding complex melodies and instead letting the interactions between simple loops create complex harmonies and interesting sequencers has stayed with me for years and is in my mind whenever I’m in the studio.
So, with the release of his latest track, the second single off his new album that he recently announced, there was no better time to invite him to drop a bit more knowledge on how he uses his favorite plugins to make such fantastic music. As always, listen to the song a few times below to familiarize your ears with the sounds and textures we’re about to discuss before diving into the latest iteration of our series How It Was Made: Kidnap – Fortified ft. Dwara, which just dropped on [PIAS] Électronique.
Diva
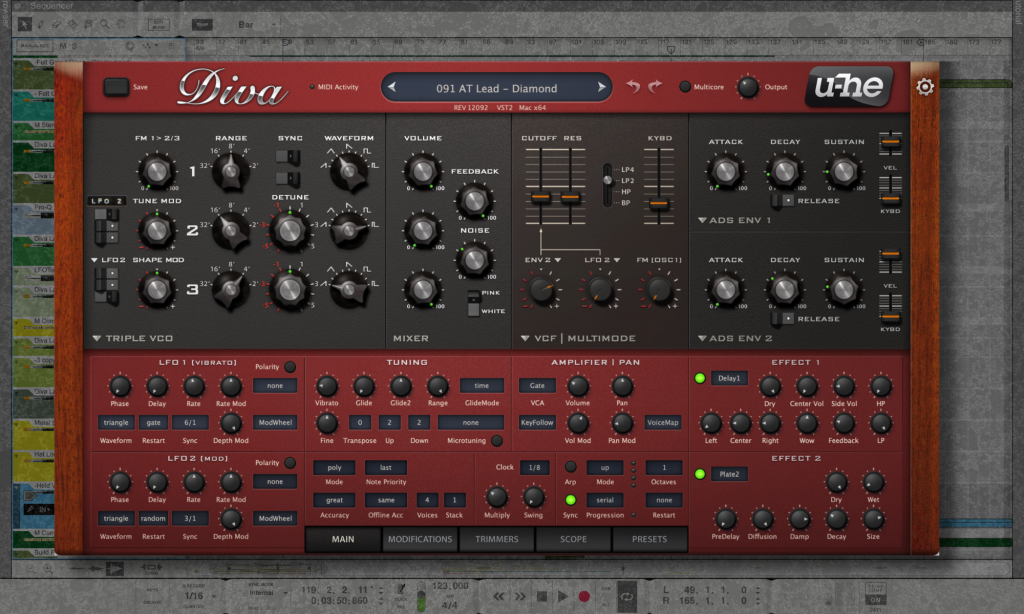
All of the main synth parts in Fortified are made with Diva by U-he. It’s a really popular synth but for good reason! It’s built to emulate the ‘analog’ sound and it does a pretty good job in my opinion. I would be lying if I said I understood how to use every one of its features, but I find that to be a good thing. Not quite understanding what I’m doing helps me to keep me exploring.
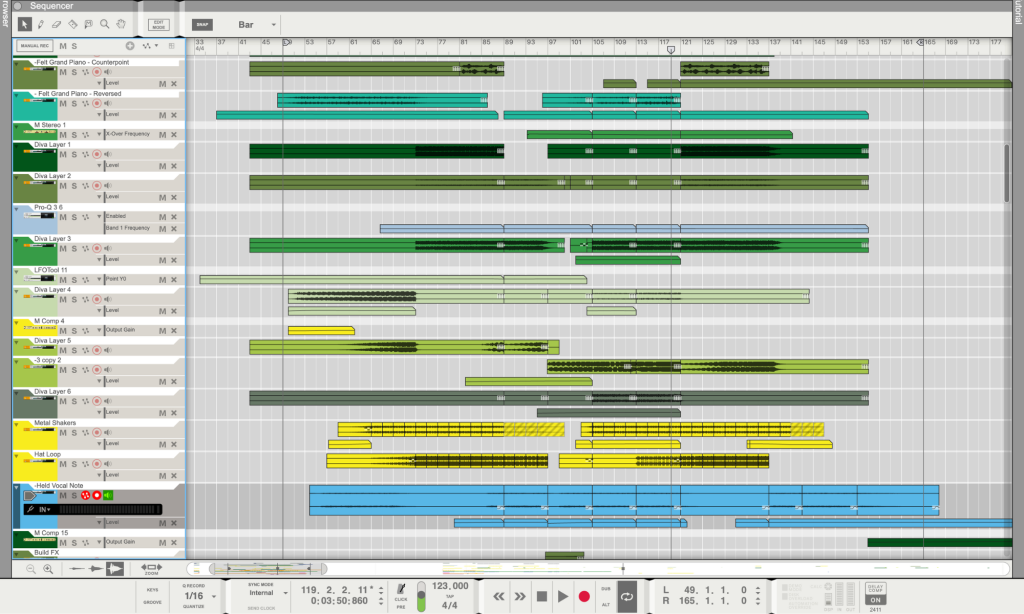
The most import thing to understand about how this track was built is the many layers involved. I created six different Diva instruments and loaded up the same patch (Diamond by Audiotent), then varied them all slightly, changing either the octave of the oscillator, the filter cutoff, the depth of the FX etc (FX used in this case Endless Smile by Dadalife and Echoboy & Crystalliser by Soundtoys).
This created many different versions of the same musical passage which I could layer on top of each other and slowly fade between each one, almost imperceptibly. Typically at any one moment two or three layers are playing but this changes constantly. This technique helps to keep the synth part evolving throughout the track even thought it is essentially playing the same harmony repeatedly.
Something I find I do often when using Diva is to generate the midi through an external arpeggiator rather than playing the notes in direct. I find this brings some pleasant unpredictability to the process. In this case I just the stock arpeggiator in Reason, but any will do! You can add my variety to your different layers by making small subtle changes to each arp loop – either the pattern length or varying one note in the pattern. These small changes can be really beneficial in keeping the music interesting.
Fresh Air
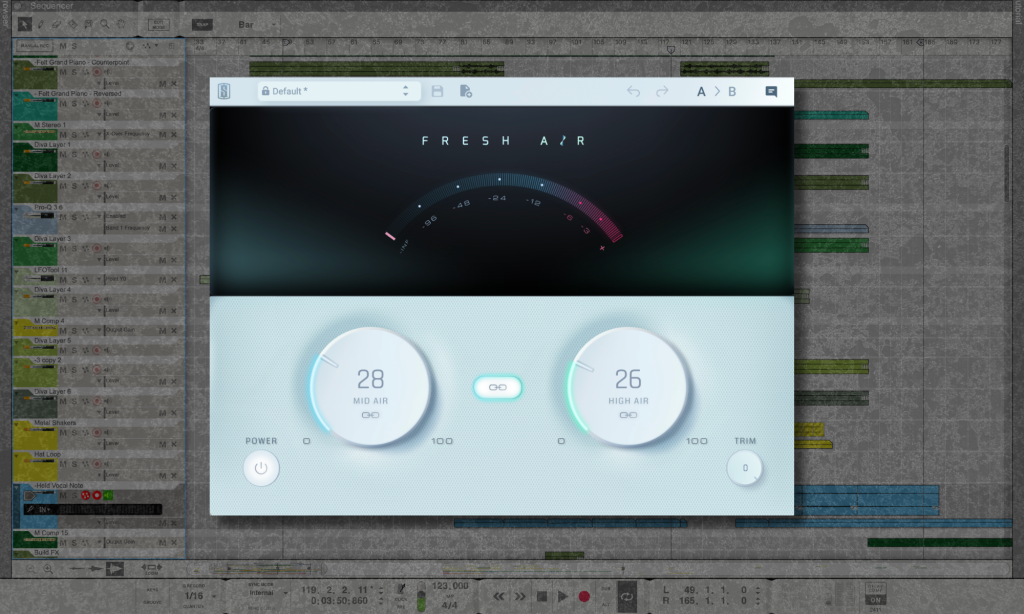
One plugin I used a few times on this track is Fresh Air by Slate Digital.
Once again, I don’t fully understand how it works but when applied it brings out crisp and crunchy high frequencies of a sound without the harshness you might get if you just turned a high shelf EQ up. This can really help something to feel present in the mix without taking up to much headroom. I like to use Fresh Air on ‘real instruments’ as it can enhance the tactile sound of the instrument, making it feel as though it’s being played close to the listener’s ear. In this track I recorded some subtle counterpoint melodies on an acoustic piano and then ran that through Fresh Air.
This really excites the sound and gives a pleasant crunch to the top end. I would encourage experimentation, as this seemingly simple plug-in can produce unexpectedly enjoyable results when thrown onto random instruments at random points in the FX chain. For example, one trick I like to use it for is to add more groove to an arpeggiated synth line.
To achieve this, I duplicate the synth, add Fresh Air to the duplicate, isolate only the very high frequencies, and then add some delay and panning automation. This will effectively play a high-hat pattern that mirrors the synth part with some extra freedom of rhythm.
Ólafur Arnalds Composer Toolkit
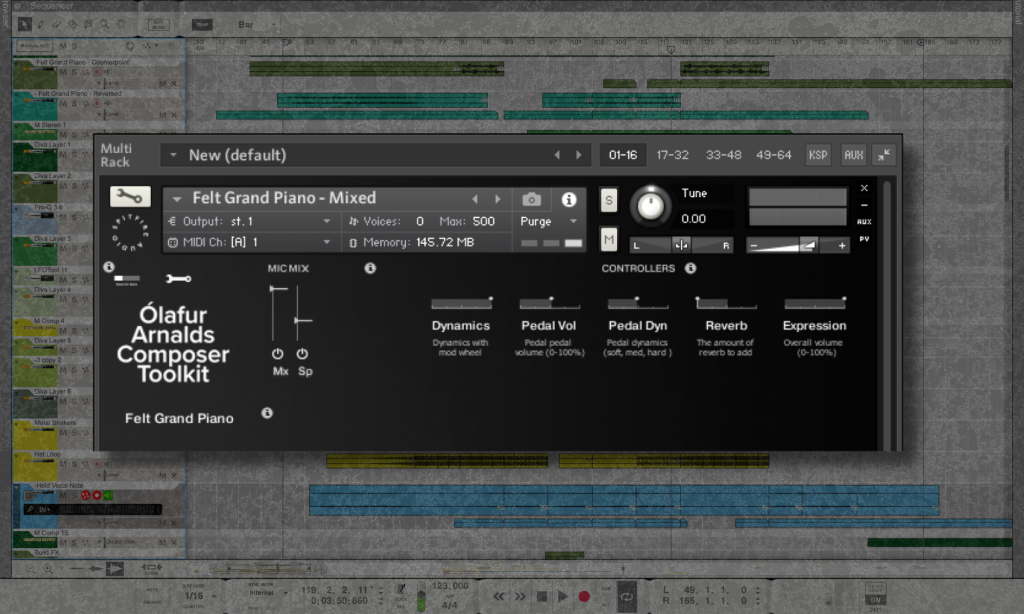
The intro of this track was made using the Felt Grand Piano in the Ólafur Arnalds Composer Toolkit released by Spitfire. It’s a beautiful soft piano and it features quite frequently across my upcoming album ‘Something Lost, Something Gained’. In this case I left the piano fairly unaffected except for some gentle Valhalla Room reverb. However, rather than play the piano in a straightforward manner, I recorded one note from the piano, then reversed it and loaded that into a sampler (in this case, it was an inbuilt Reason sampler called NN-19, but any will do).
I then ran the same arpeggiator pattern that plays the main synth line into the reversed piano sampler and slowly automated the start time of the sample so that each note plays from slightly different points in the sample. I find that reversing sound is a pretty reliable way to create something that sounds otherworldly. Something about the inverse decay of audio is highly counterintuitive to our brains and seems to really grabs attention.
In general, bouncing sound to audio and manipulating if from there often produces more interesting results that adding FX to a synth for example.
Tips For Making Melodic House
Tip #1: Never start with a blank page.
I find them completely daunting and stifling. I will usually start ‘writing’ by picking apart a few other existing songs (often classic, sometimes pop, never electronic music) and then merge and rearrange the chords until I end up somewhere new. Everything is derivative and there’s 100s of years of musical inspiration out there, so use it.
Tip #2: Bounce to audio as soon as possible.
Once you have a passage you feel happy with, bounce it to audio and move forward. I find this helps me commit to the idea rather than tweaking endlessly. You can then chop, reverse, resample, etc. the audio from there. This produces more interesting results than trying to make the perfect synth patch.
Tip #3: Always play midi in using an instrument, never draw with a mouse.
Even if you have multiple instruments playing the same notes, make sure to play it for each different instrument. The subtle differences between the takes might not be immediately noticeable, but they will build up to a track that feels more loose and human in the aggregate.
Tip #4: Ask for help.
This one looks me a long time to learn. If you’re stuck, don’t just bang your head against a wall. Send the demo to a friend or potential collaborator and ask for their input. Even if they don’t work on the music at all, often just a simple remark or piece of feedback can open up a new path forward in your mind.
Will Vance is a professional music producer who has been involved in the industry for the better part of a decade and has been the managing editor at Magnetic Magazine since mid-2022. In that time period, he has published thousands of articles on music production, industry think pieces and educational articles about the music industry. Over the last decade as a professional music producer, Will Vance has also ran multiple successful and highly respected record labels in the industry, including Where The Heart Is Records as well as having launched a new label with a focus on community through Magnetic Magazine. When not running these labels or producing his own music, Vance is likely writing for other top industry sites like Waves or the Hyperbits Masterclass or working on his upcoming book on mindfulness in music production. On the rare chance he's not thinking about music production, he's probably running a game of Dungeons and Dragons with his friends which he has been the dungeon master for for many years.