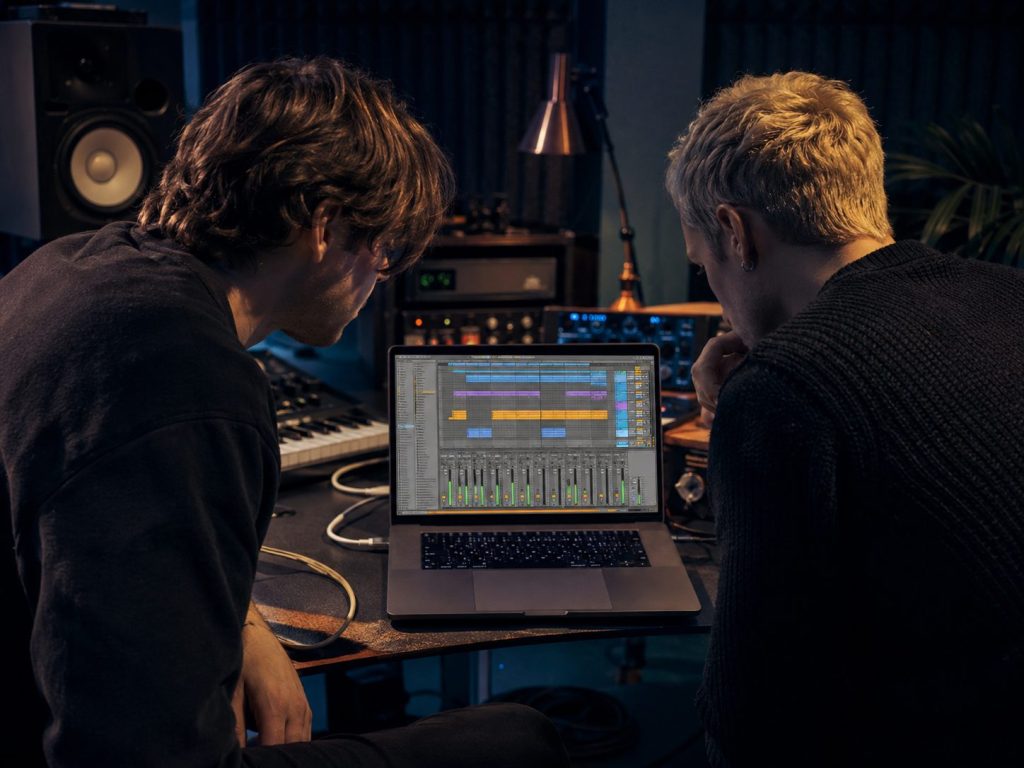
Makebo has been on the All Day I Dream radar for a while, and The Universe EP on February 13 read like a clean continuation of that lane. He first appeared on the label’s A Winter Sampler in 2019, came back for A Winter Sampler II and Summer Sampler, then dropped Skyline as his debut EP on the imprint in 2021. Since starting the project in 2018 out of Barcelona, he’s also put records out on Anjunadeep, Lost Miracle, and Shanti Radio, and he co-runs Rubicunda with Amonita, so there’s already a clear track record behind this release.
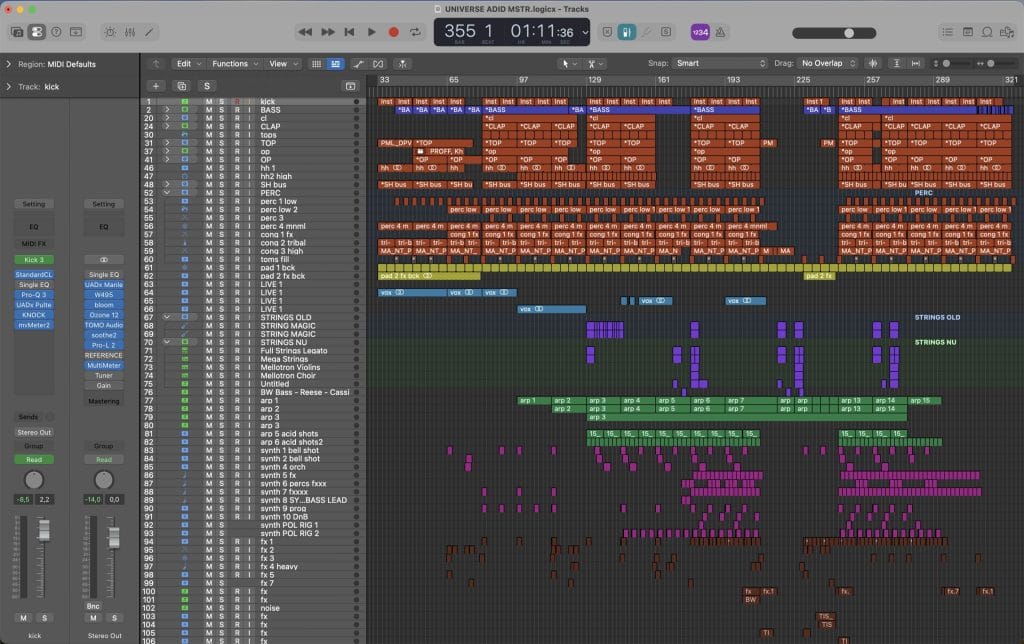
The Universe runs four tracks across 32 minutes, and it was framed as an EP built around low-end weight, percussion detail, and synth choices that stay focused over long arrangements. The title track sets the baseline with crunchy low-end and hypnotic percussion, then “Galaxy” shifts into a lighter rhythmic lift. “Save Me” leans into grittier basslines and vocal elements, and the closer “Birth Of A New Sun” was positioned as the most club-forward moment of the set.
For this How It Was Made feature, the goal was to get specific about how Makebo built those parts, how he kept the low end stable while the synth layers moved, and how he managed tension across extended sections without losing mix clarity.
If you’re producing melodic house and you care about arrangements that hold attention past the first drop, this breakdown had practical value because it stayed rooted in decisions, tools, and repeatable workflow.
Serum 2
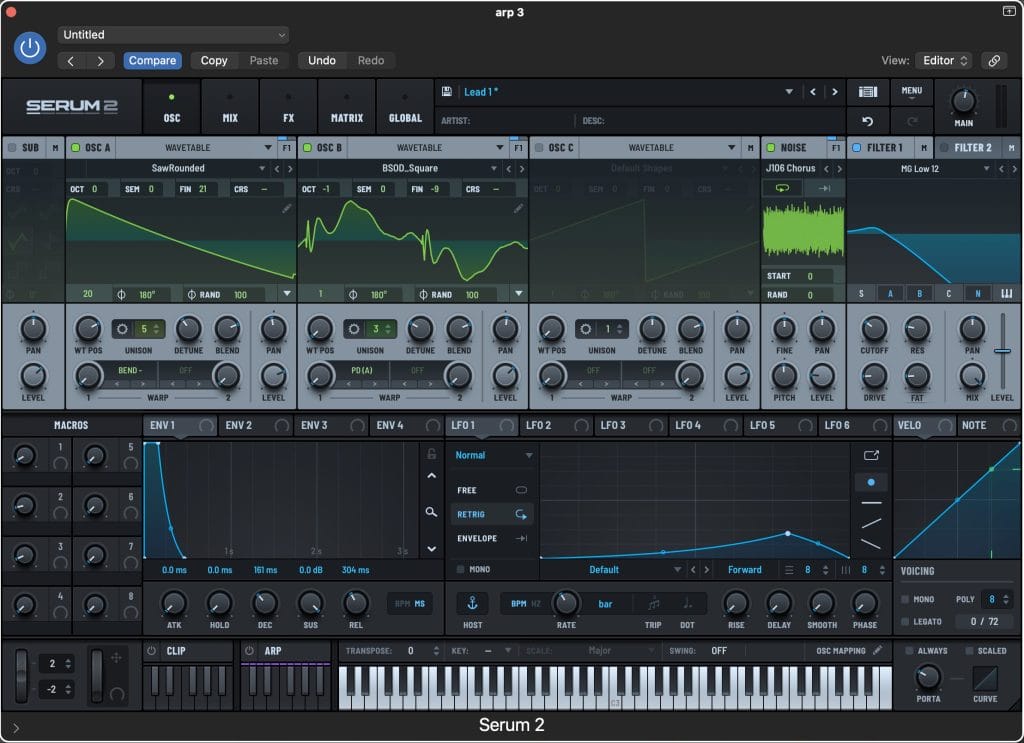
Xfer Records Serum 2 is a powerful wavetable synthesizer. I use it in almost every project because it opens up truly endless possibilities for sound design and finding unique sounds. It’s great for creating basslines, leads, pads, and experimental textures, from clean analog tones to aggressive digital sounds. At the same time, the interface remains intuitive and visually clear, which helps quickly transform ideas into sound.
In this track, I used Serum 2 to create the main bass and auxiliary one-shot basses using FM synthesis, and in some moments where extra tension was needed, I used the Moog Mariana synthesizer to add warmth and an analog sound. I also used Serum 2 for the pads and the main lead, which plays throughout almost the entire track. I automated a lot of the Cutoff and A Warp filters to gradually open up the sound and add movement to the arrangement. I usually record automation in real time to give the arrangement a more lively feel; I don’t like to manually create it. I also added external saturation and a soft compressor to the track to better integrate the sound into the mix.
This is the perfect tool for learning sound design and gaining a deep understanding of synthesis. Thanks to the clear visualization and flexible modulation system, it’s easy to understand how sound is formed and how small changes affect its character. The plugin offers virtually endless possibilities for experimentation, from fine-tuning the tone to creating completely unique textures from scratch. One more tip: save your own versions of presets; over time, you’ll build your own sound library, which makes your tracks recognizable.
ALCHEMY
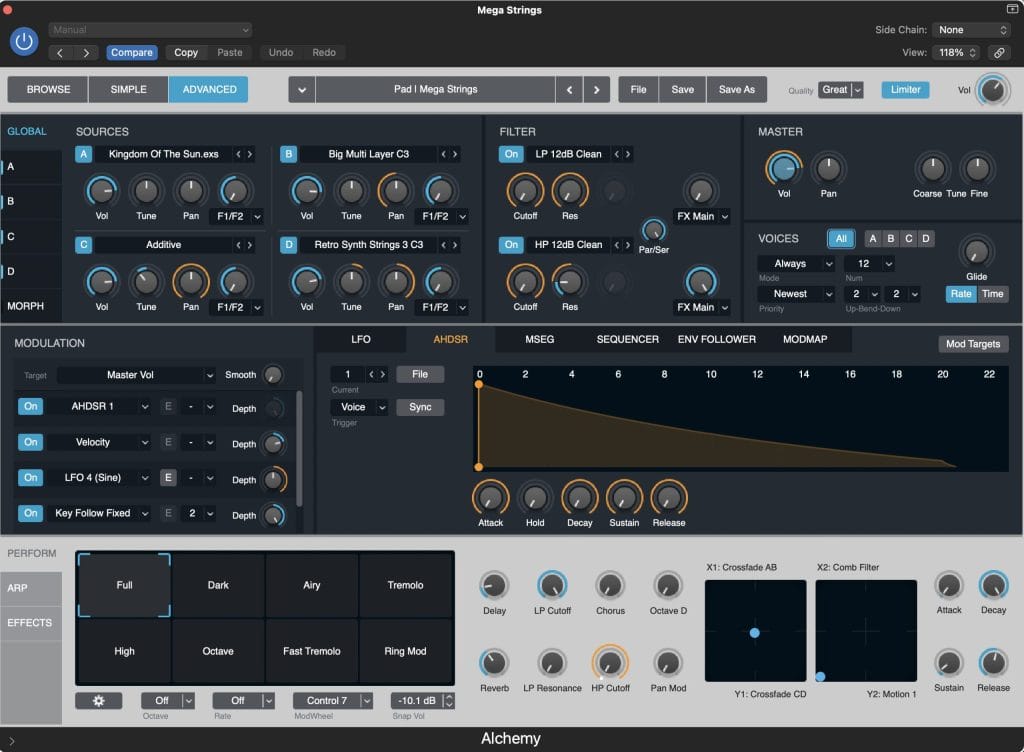
This is Logic’s native base synthesizer. The Aclhemy engine lets you model your own sounds or modify the synthesizer’s included samples using various synthesis and resynthesis methods, as well as effects and settings. Thanks to its flexibility and subtractive, additive, spectral, and granular synthesis, the instrument can produce virtually any sound. It has four patches that produce four independent sound sources. Essentially, these are four different oscillators, but in addition to various waveforms, you can load any audio files or samples. Each sound source has its own filters, modulation parameters, and effects, offering endless possibilities for sound design.
On the track ‘The Universe,’ I used this synth for background textures and ambience, as well as layered violins. I also used Logic’s Studio Strings synth for the main orchestral violins.This basic synth is truly a lifesaver in many situations. Its flexibility allows you to create some truly amazing sounds, from bass to simple effects! It’s a frequent plugin in my projects.
Unfortunately, this synth is only available to those using Logic. I highly recommend using the Perform section. By moving the cursor between the pads, you can adjust the blending levels of different presets, which allows you to create an incredible variety of sounds. I also love automating this; the result is an incredibly vibrant and constantly changing sound.
Universal Audio Pultec EQP-1A + KNOCK
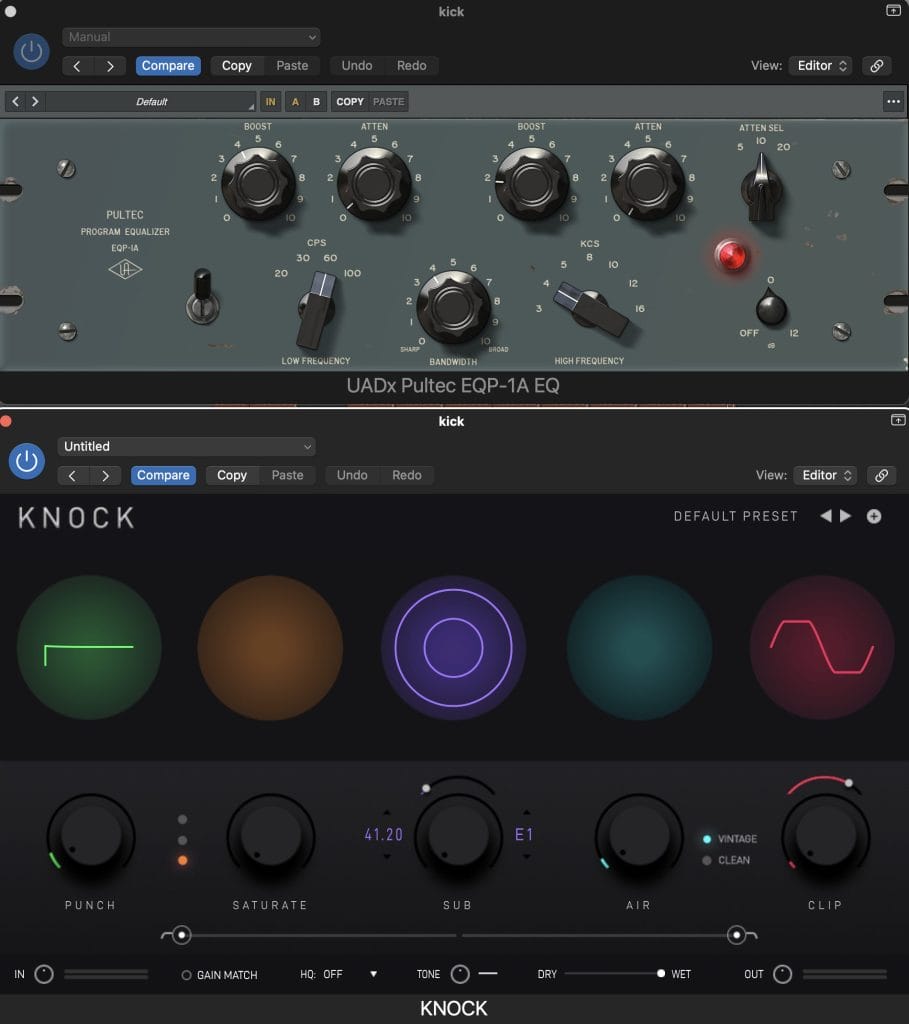
This is my go-to pair for all my kicks.
The first plugin is the Universal Audio Pultec EQP-1A – a timeless classic, a well-known emulation of the legendary tube passive EQ, renowned for its musical and smooth processing character. This plugin allows you to simultaneously boost and cut the same frequencies, creating a dense, deep low end and a pleasant airiness in the high end. It’s great for bass, kick drums, vocals, synths, and the master bus, adding warmth and analog depth.
The second plugin, Plugins That Knock KNOCK, is designed to boost low frequencies and improve percussive dynamics. It allows you to precisely emphasize bass and kick, adding density and punch without distorting or overloading your mix. The plugin features simple controls that let you quickly adjust frequency, attack, and saturation, focusing on feel, not just numbers. KNOCK is great for working with drums and basslines, making the sound more energetic and musically focused.
Every kick drum I create consists of this chain, of course, in addition to EQ and compression, and maybe saturation in some cases, but this pair often saves me. I love spacious and warm kicks that are perfectly audible in the mix and punchy enough, and these two plugins can do that quickly. With the Pultec EQP-1A, I usually boost at 30 or 60 Hz, depending on the kick, and I can also add a slight click around 4000-5000 Hz. And in the KNOCK plugin, I often add a little Punch, which is the attack in this plugin, which makes the kick more audible and punchy in the mix. Also, if I need a little air in the high frequencies, I mix in a little AIR, and SATURATE and CLIP can be added as needed, I don’t do this often so as not to overload the sound.
Devious Machines – Infiltrator
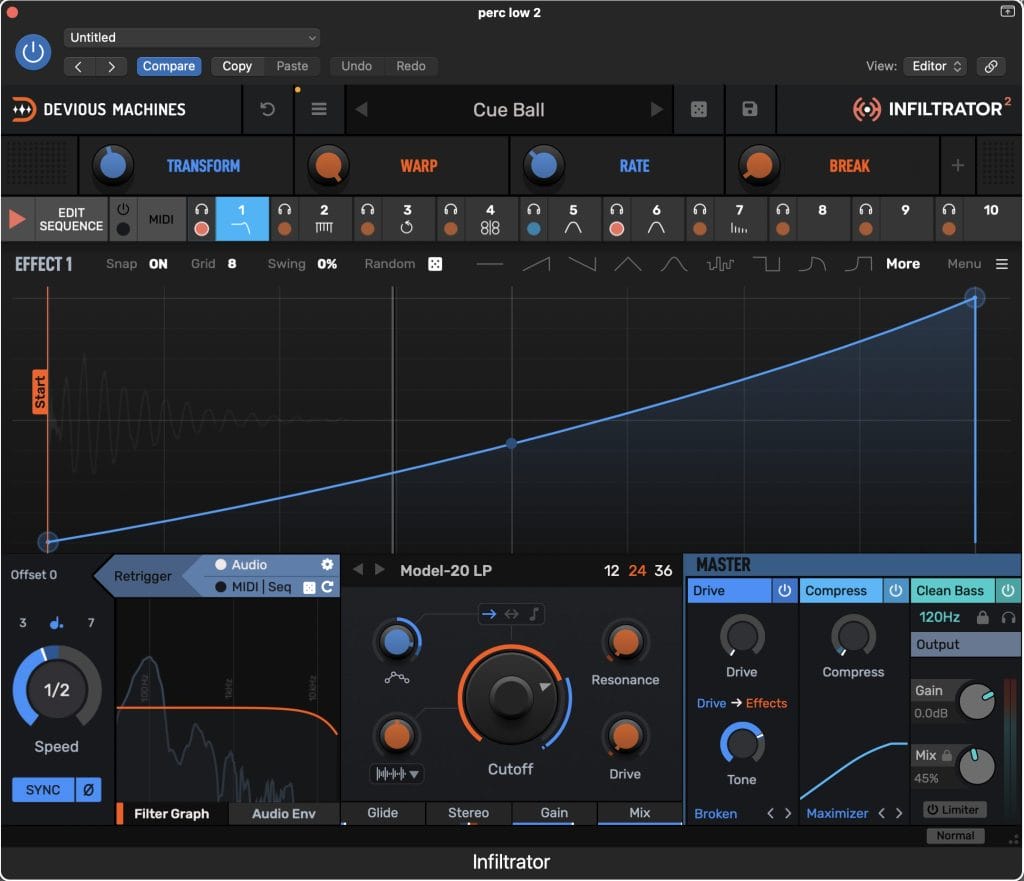
Devious Machines Infiltrator 2 is a powerful multi-effects processor with step sequencing, designed for creative sound processing and transformation. The plugin combines over 50 effects from filters, distortion, and modulation to rhythmic gates, stutters, and granular textures that can be animated using a flexible sequencing system. It’s perfect for adding movement, rhythm, and unexpected details to synths, drums, vocals, or any other mix element.
One of my favorite plugins, it easily transforms ordinary sound into incredibly cool and complex textures. In my track, I used it on some percussion, giving them a subtle glitch effect, and on some synth basses to achieve unusual, saturated harmonics. As usual, I used a lot of automation in this plugin to keep the sound constantly changing and alive.
This plugin can be used on absolutely any sound. Sometimes it helps add a special twist to a track or simply helps find an unusual solution. It is ideal for creating backgrounds, textures and effects.
Plugin Alliance THE OVEN
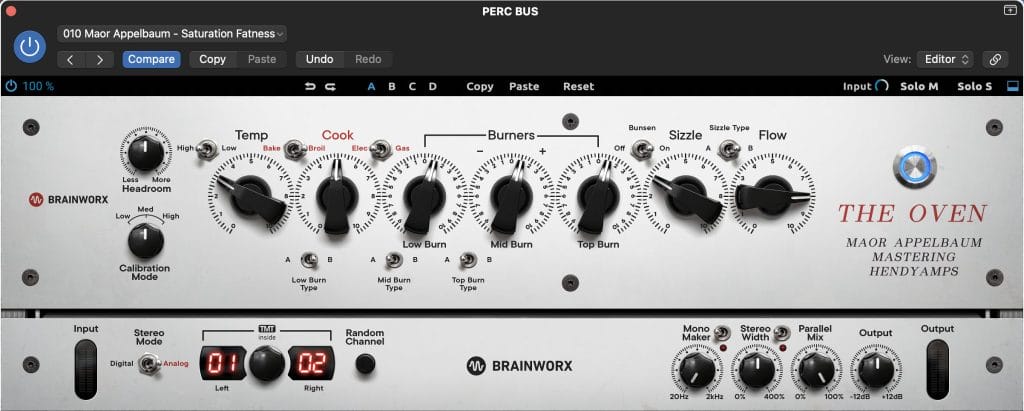
A versatile audio plugin designed for mixing and mastering, it’s designed to add warmth, density, and musical richness to mixes or individual tracks. It combines smooth saturation, subtle EQ, and unique harmonic schemes, enhancing the presence and depth of sound without aggressive processing. It’s perfect for bass, drums, synths, and the master bus, adding character and an analog feel. The interface remains simple and intuitive, so you can achieve the desired result quickly and by ear, without unnecessary technical complexity.
THE OVEN is a plugin I use in every project, without exception. I use it on both bands and the master channel, depending on the situation. It works very delicately; its effect is felt rather than heard until you push it too hard, and that’s precisely its strength. Ultimately, THE OVEN helped carefully shape the track’s tonal balance, adding warmth, width, and that distinctive analog smoothness without the feeling of overprocessing.
Makebo’s Must-Read Production Tips

Tip #1: It’s no secret that dance music often uses one-shot samples or loops, at least to create a rich drum part. Selecting high-quality sounds from the start will help you avoid mixing issues later. And my advice: check them for mono compatibility right away to avoid phase distortion.
Tip #2: Learn to work with layering – it’s a secret weapon in the right hands. It can help create complex and unusual sounds, and layering is also very helpful in creating a thick drum part. But don’t overdo it; you need to know when to stop.
Tip #3: Experiment with new processing chains. There’s such a wide variety of interesting plugins on the market, and with the right use, you can achieve exceptional sound quality for your tracks. Always strive for excellence in this area; it’s interesting, to say the least. Every time you sit down to work on a new track, you can make it better, because writing a track is only half the battle – with proper mixing and mastering, you can achieve even better results. It’s not uncommon to come across tracks with a great idea that sound poor.
Tip #4: Try different saturators and tape machines. We live in a digital age, but analog will always sound better. Use these on drums and other musical elements, as they can completely transform the clarity of these tracks. Find that perfect balance between digital and analog that will result in a lively sound.
Tip #5: Don’t overload the master channel. I believe that 99 percent of a good-sounding track is the mixing. The master simply boosts the volume and corrects very minor imperfections.
Will Vance is a professional music producer who has been involved in the industry for the better part of a decade and has been the managing editor at Magnetic Magazine since mid-2022. In that time period, he has published thousands of articles on music production, industry think pieces and educational articles about the music industry. Over the last decade as a professional music producer, Will Vance has also ran multiple successful and highly respected record labels in the industry, including Where The Heart Is Records as well as having launched a new label with a focus on community through Magnetic Magazine. When not running these labels or producing his own music, Vance is likely writing for other top industry sites like Waves or the Hyperbits Masterclass or working on his upcoming book on mindfulness in music production. On the rare chance he's not thinking about music production, he's probably running a game of Dungeons and Dragons with his friends which he has been the dungeon master for for many years.