Double Touch have built a reputation on All Day I Dream for tracks that balance musicality with floor-ready energy, and their new Gran Amigo EP is a perfect example. Across its four songs, the duo lean on their backgrounds in classical piano and live percussion while still pushing the kind of grooves that work on a late-afternoon dance floor.
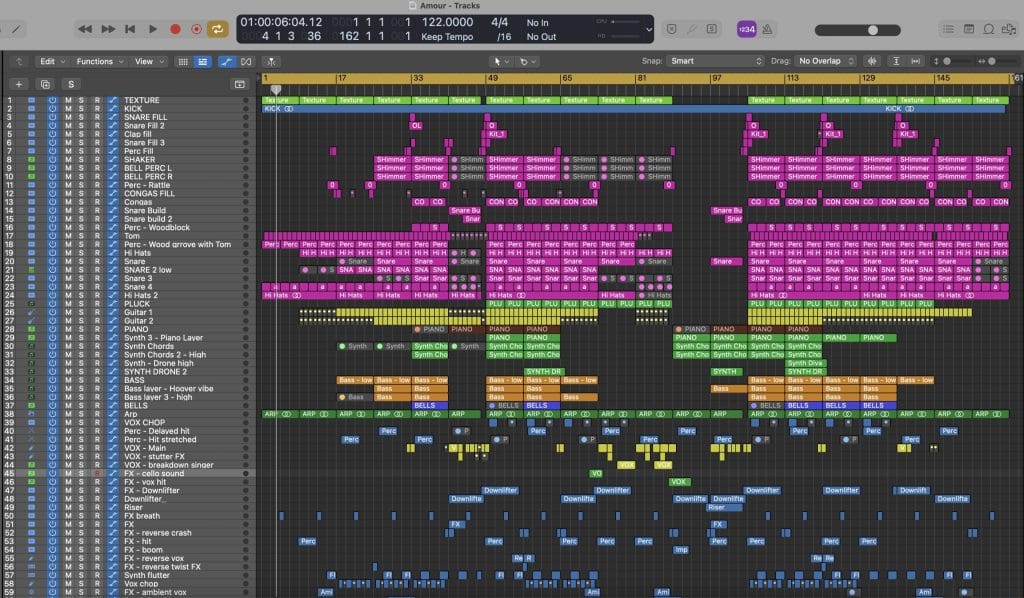
The closing track Amour stands out as a deep, slow-burn moment that layers bass weight with subtle melodic textures. It shows how Van-Anh Nguyen and Mark Olsen take the same care in their production as they do in their live sets, where every detail feels placed with intention.
For this feature, they broke down the tools and techniques that shaped Amour. From bass design in Diva to vocal treatment and granular FX, Double Touch open up their process in a way that gives insight into how they build the atmosphere and emotion that defines their sound.
Diva
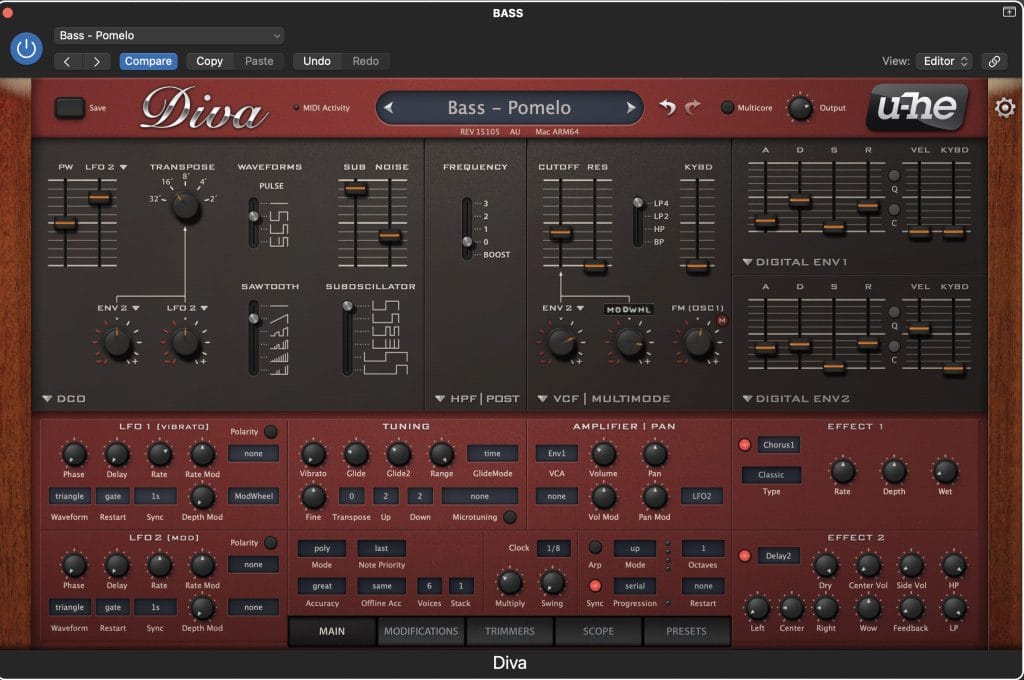
Diva was used for the main bass sound which is the backbone of this track. I’m quite sure everyone has Diva, but it emulates classic analogue hardware by modeling the circuits of oscillators, filters, and envelopes of the well-known vintage synthesisers. As we are on the road so much nowadays and away from our home base studio in Sydney, we tend to use mostly VST’s nowadays such as Diva, Omnisphere, and Serum. This allows the studio to be portable and we can write anywhere – hotel rooms, planes, night club toilet stalls….
We used a bass preset we created for another one of our tracks last year called “Pomelo”, so we named this preset “Bass – Pomelo.” This preset uses the DCO in Diva which blends a few waveforms – sawtooth, square, sub, and noise. It’s a pluck sounding bass but with a slightly slower attack and medium release. This gives it more of a lazy sound which lays back on the beat, giving it a funkier groove. Inside the VST FX, I added some chorus for some width, and a touch of delay. Outside of the VST I put a low EQ cut below 30HZ, added some short reverb using Logic’s ChromaVerb (which is what I use for a more digital sounding reverb, while I use Space Designer for more natural reverbs), and used LFOTool for a pumping side chain effect to give some room for the kick drum and give it some groove.
There wasn’t much automation on the bass with this track. We layered other instruments instead to build the sounds and make it a little more interesting. After the first 8 bars of the main bass, two more bass layers were added (mid/high frequencies). One is a hoover style bass sound with Serum, and the third bass layer is a high-end metallic sound with Diva. Then synth pluck chord harmonies are layered on top using Spectrasonics Omnisphere.
CLA Vocals – Waves
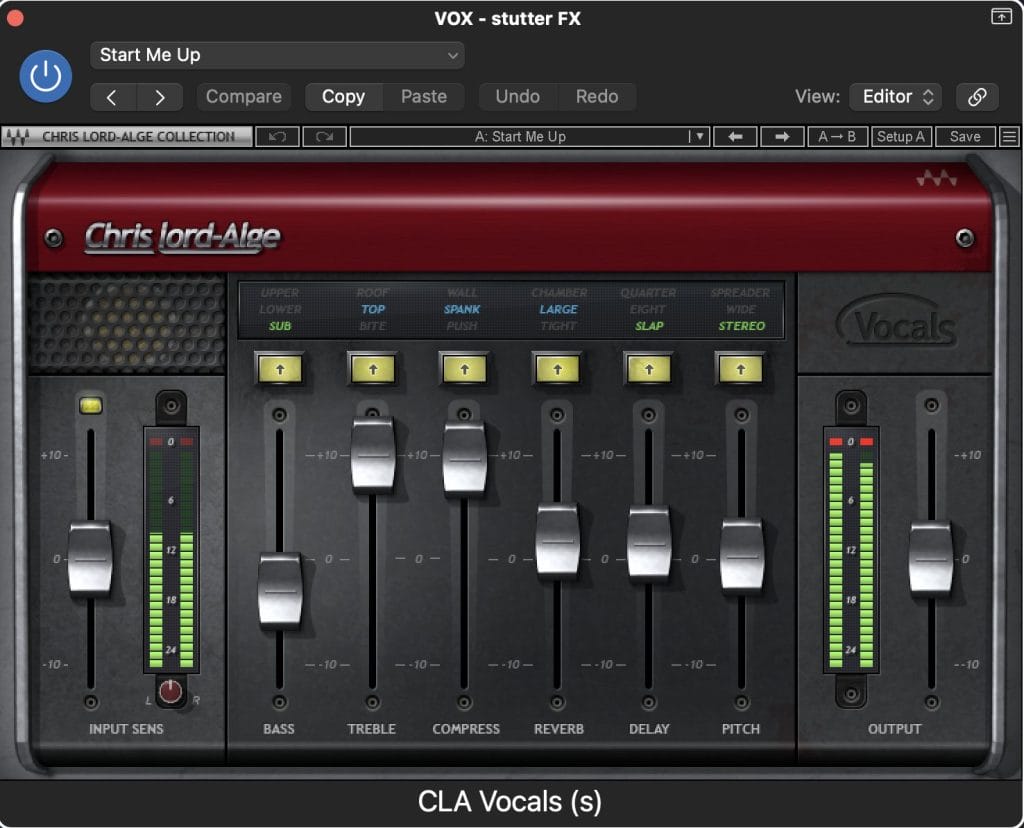
CLA Vocals is a digital audio plugin for vocals which is an all-in-one vocal processing tool. It’s a simple plugin which has controls for bass, treble, compression, reverb, delay, and stereo width. I have been using this for years on all recorded vocals for our music, and also on vocal samples or cuts.
I usually start with the “Start Me Up” preset and then tweak it for each track. For this track we found a spoken word French sample which was cut up and then put through CLA Vocals to give it some life. The high end was pushed and I put a lot of compression on it. Then added a long reverb and slap delay. Then for the added quirky delays and FX you hear on some of the spoken words, I used Portal which I will talk about next.
CLA Vocals is a great basic tool to use as a vocal chain. If you want an easy all-in-one tool instead of having 5 separate FX plug-ins in separate windows, this is highly recommended!
Portal – Output
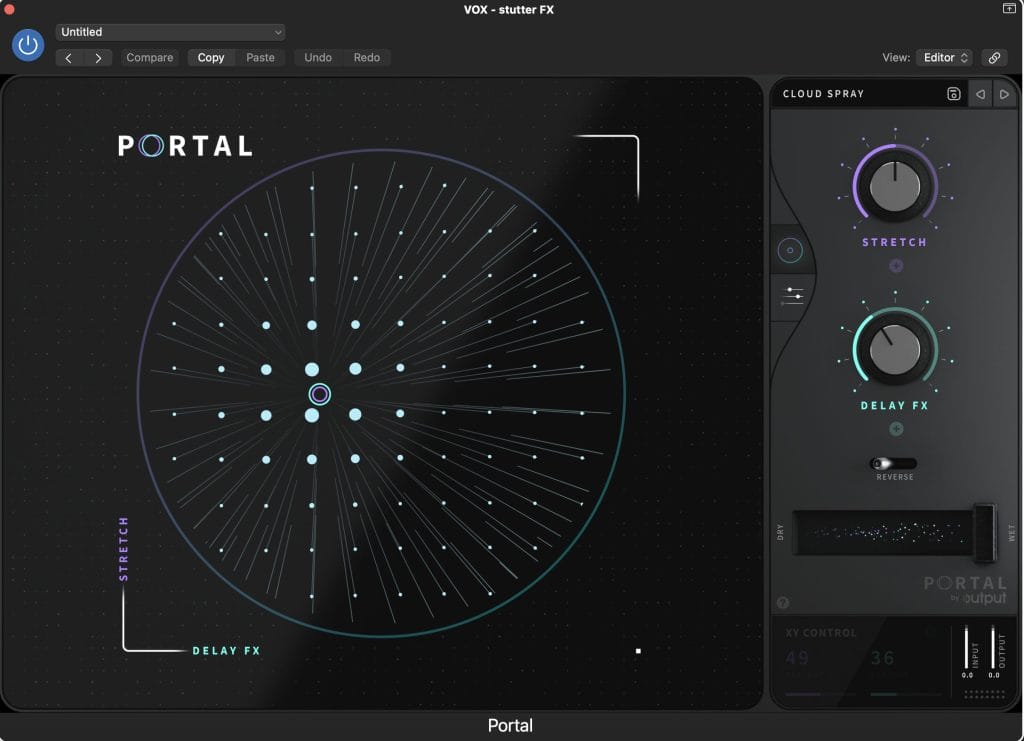
Portal is a granular syntheses FX plugin which transforms audio and can create some great quirky sounds out of basic audio samples. I used this on the spoken word vocal on occasional words to give it some strange textures such as delays and stretches every now and then.
I had the main spoken word vocal track with just the basic CLA Vocals chain I spoke about above. On a second channel, I used the Cloudspray preset in Output on some of the words so every now and then you get some weird delays and FX on the vocal. This channel had the preset on 100% wet, so it was just the FX coming through. I also put a low cut around 1k HZ on this Portal track with just the high-end of the vocal coming through, and reduced the volume so it’s just background FX and not too upfront in the mix.
Portal can be used on any audio, not just vocals. So you can get some quirky new sounds out of drums, guitar, synths with some experimentation.
Logic Low Pass and High Pass Filters
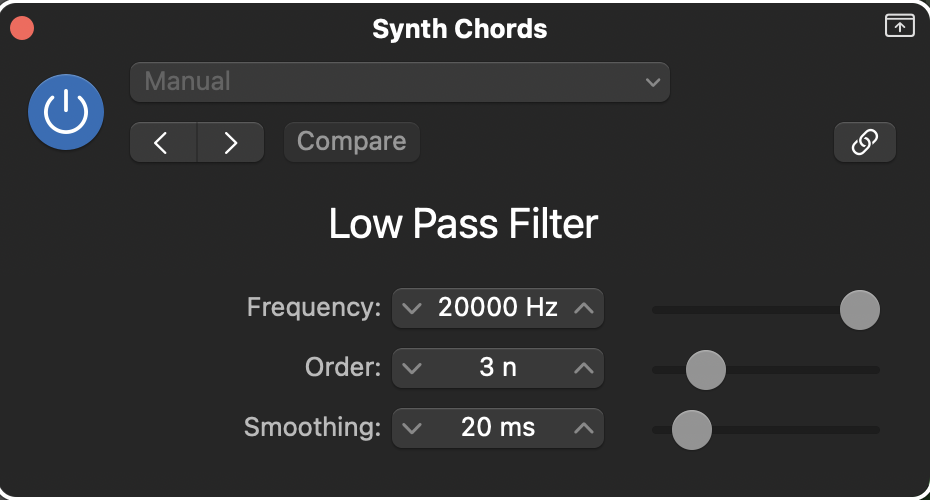
I still use these “Legacy” plug-ins in every track. You can only access these by holding the Option key in the plug-in menu. I’m not sure why Logic deleted these from the stock plug-ins in Logic X as they are great. They are very basic High and Low Passes which I automate the frequency on a lot of the instruments to give it more life with gradual fade in’s out fade out’s. It’s great for blending in instruments rather than having sudden changes.
In this song, I automated a Low Pass filter on the synth chords to slowly bring them in and build up into the Piano breakdown. I also like automating things like percussion in the break-downs. Bringing them down gradually to fade out, and then slowly building them up again with Low/High Pass frequency automation.
Quick Tips from Double Touch
Tip #1: Less is more – It’s so tempting to add more layers when finishing a song, but deleting layers can improve a track more than adding more instruments. The Mix will be cleaner and the Master will be louder if it has space and the instrumentation isn’t so busy. If you aren’t sure about a layer, mute that channel and if you can’t hear much of a difference, delete it.
Tip #2: Collect your favourite drum/percussion sample hits and save them in folders in a Sampler. You can have these in sub-folders such as Kicks, Snares, Toms, Claps, and Percussion. This makes it super quick to write drum grooves in future Project Files.
Tip #3: Only layer sounds that compliment each other. Layering a few different sounding Claps/Snares can give a fat sound, but layering similar sounds can sound messy. Layering synths/pads can also make a big difference – a low warm pad layered with a high shimmering pad can sound great.
Tip #4: You don’t have to Quantise everything. Leave some MIDI with a human touch, otherwise the track will sound too robotic.
Tip #5: The stock FX plug-ins in Logic are great. You don’t need to spend hundreds of dollars a month on the latest Reverb plug-in. Concentrate on the song writing and the production, get familiar with the gear you have and master it.

Will Vance is a professional music producer who has been involved in the industry for the better part of a decade and has been the managing editor at Magnetic Magazine since mid-2022. In that time period, he has published thousands of articles on music production, industry think pieces and educational articles about the music industry. Over the last decade as a professional music producer, Will Vance has also ran multiple successful and highly respected record labels in the industry, including Where The Heart Is Records as well as having launched a new label with a focus on community through Magnetic Magazine. When not running these labels or producing his own music, Vance is likely writing for other top industry sites like Waves or the Hyperbits Masterclass or working on his upcoming book on mindfulness in music production. On the rare chance he's not thinking about music production, he's probably running a game of Dungeons and Dragons with his friends which he has been the dungeon master for for many years.